Examine all packaging material for small parts that may have come loose during shipment. Periodic checks are recommended to insure
that all components are in proper position, tight and free from damage. Keep this assembly instruction for future reference. Adult
assembly is required. Customer Service Phone Number: 502-562-0000
A
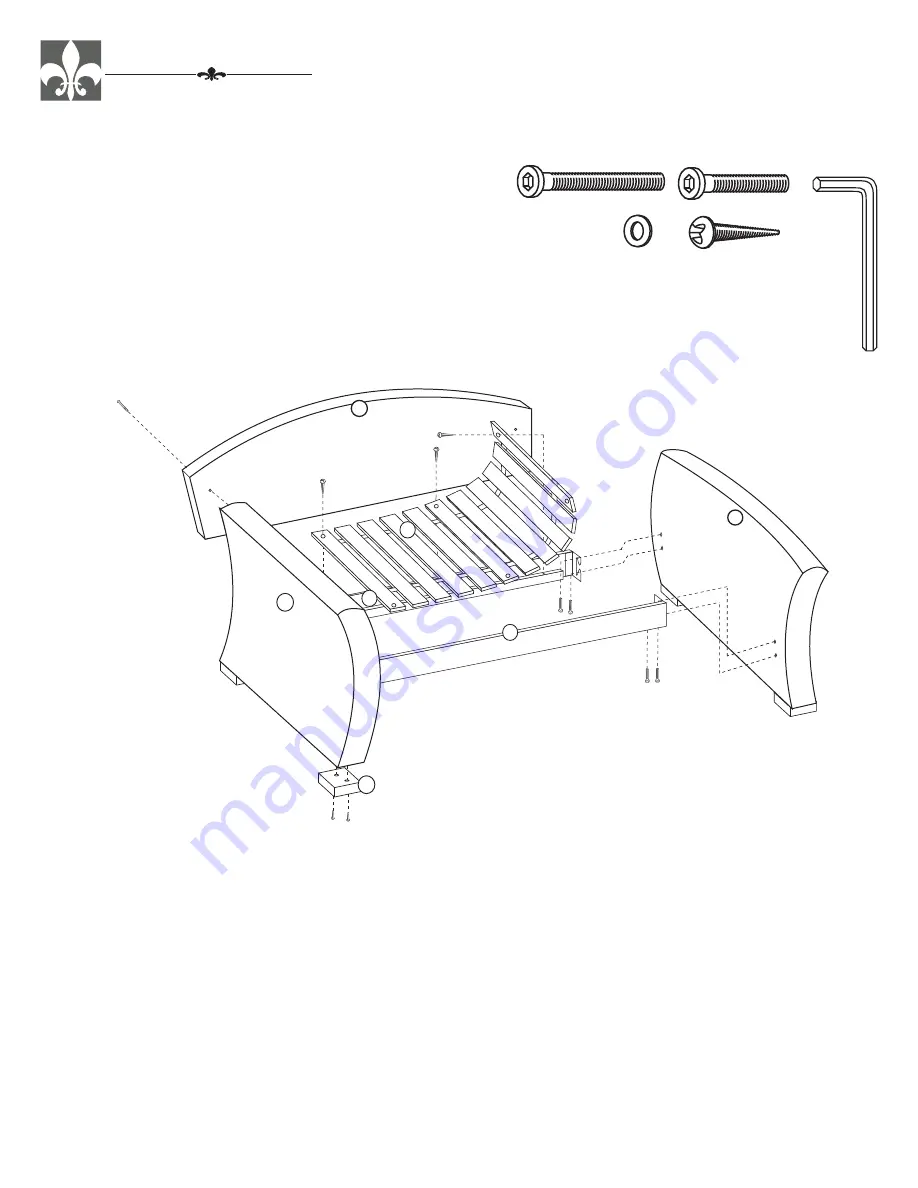
HARDWARE LIST
(6) Allen Bolts 1-1/2
(16) Allen Bolts 1
(4) Flat Washers
(20) Wood Screws
(1) Allen Wrench
A
B
D
E
F
PARTS LIST
(1) Back Panel
(1) Left Side Panel
(1) Right Side Panel
(1) Main Leather support Panel
(1) Top Mattress Support (with 14 Slats)
(2) Trundle Support
(1) Back Trundle Support
(1) Front Trundle Support
(1) Leather Trundle Panel
(1) Bottom Mattress Support (with 13 Slats)
(4) Legs
(1) Back Main Support Panel
G
H
I
J
K
M
N
O
P
Q
R
S
Date: 09-24-08
BROOKLAND DAYBED
Model #1328-010 Side Rails, Trundle, Back Panel
Model #1328-020 Side Panels
Model #1328-030 Slats
FURNITURE, LLC.
HILLSDALE
B
D
E
F
Page 1 of 2
H
I
J
S
G
K
A
E
E
E
B
B
B
B
E
E
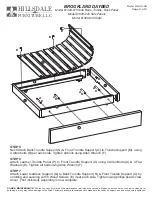
STEP 1
Begin Assembly by attaching the 4 Legs (R) to the bottom of the Right Side Panel (I) and the left
Side Panel (H) using 2 Wood Screws (E) per each leg. Tighten all screws using phillips head
screwdriver (not included).
STEP 2
Attach, Main Leather Support Panel (J) & Back Main Support Panel (S) to Left Side Panel (H) &
Right Side Panel (I) using 4 Allen Bolts (B) per each side. Tighten Bolts using Allen Wrench (F).
STEP 3
Next, attach Back Panel (G) to back side of Left Side Panel (H) & Right Side Panel (I) using 1 Allen
Bolt (A) per each side. Tighten all bolts using Allen Wrench (F).
STEP 4
Attach top Mattress Support (K) to Main Support Panels (J) & (S) by unrolling and securing with 6
Wood Screws (E) 3 per each side. Tighten using philips head screw driver (*not included). See
next page for more assembly instructions.
R
Some hardware may
already be inserted into
the panels.
*


