CARE & MAINTENANCE:
The touch of a soft cloth is all the maintenance the finish will ever need. Please do not use harsh or abrasive cleaners for polishing,
as they may cause damage to the finish. Periodic checks are recommended to make sure that all bolts, screws and nuts are securely tightened.
B
B
C
C
B
B
C
C
B
B
B
B
C
C
C
C
B
B
C
C
J
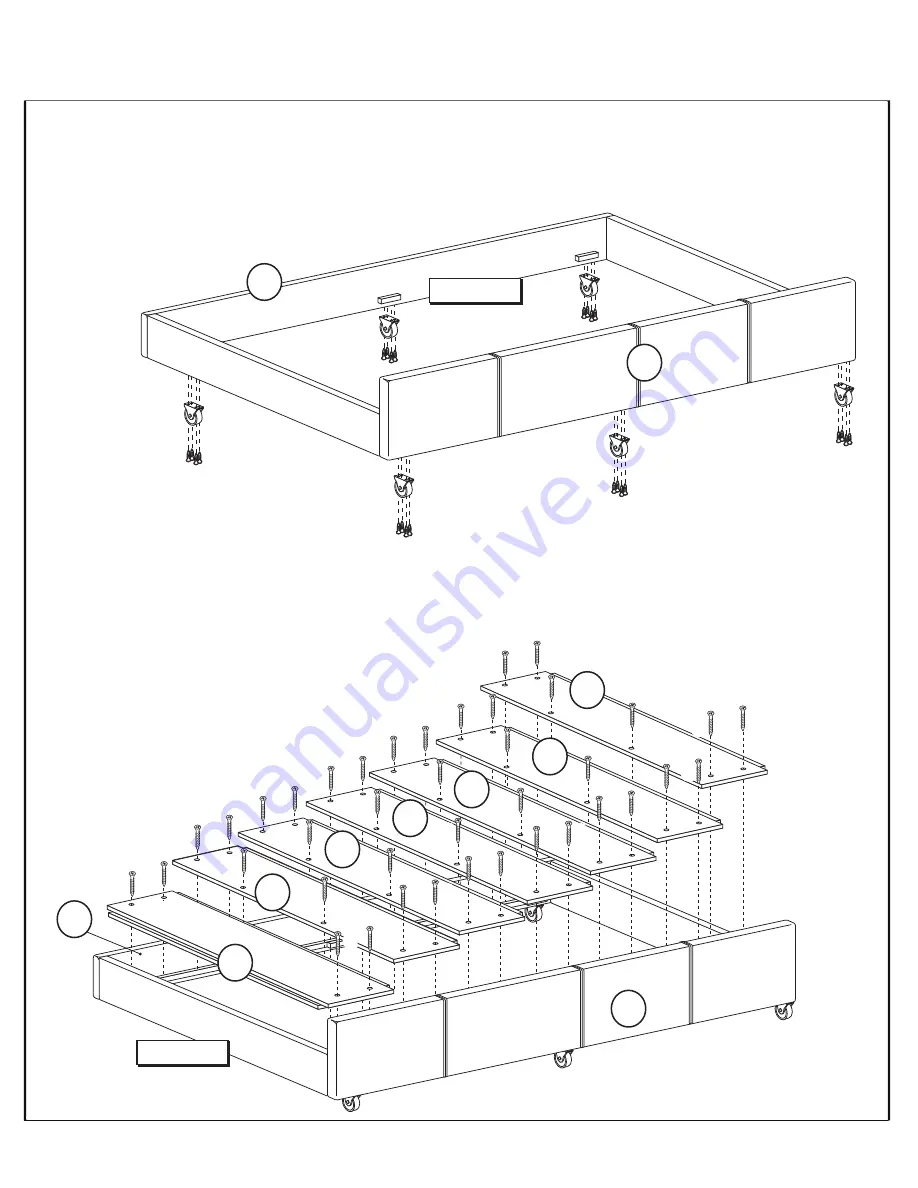
STEP 3 - Figure 2
Attach the Casters (C) to the bottom of each Trundle Front Panel (H) and Trundle Back Panel (J) using
4 Wood Screws (B) per caster. Tighten all screws with philips head screwdriver (not included).
H
H
J
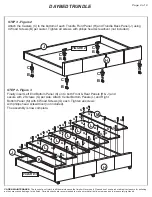
STEP 4 - Figure 3
Finally insert Left End Bottom Panel (K) on to both Front & Rear Panels (H & J) and
secure with 2 Screws (G) per side. Attach Center Bottom Panels (L) and Right
Bottom Panel (M) with 6 Wood Screws (G) each. Tighten all screws
with philips head screwdriver (not included).
The assembly is now complete.
FIGURE 2
FIGURE 3
K
L
L
L
L
L
M
G
G
G
G
G
G
G
G
G
G
G
G
G
G
G
G
G
G
G
G
G
G
G
G
G
G
G
G
G
G
G
G
G
G
G
G
G
G
G
G
G
G
G
G
G
G
G
G
G
G
G
G
G
G G
G
G
G G
G
G
G G
G
G
G G
G
G
G G
G
G
G G
G
G
G G
G
Page 2 of 2
DAYBED TRUNDLE


