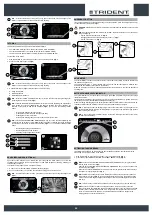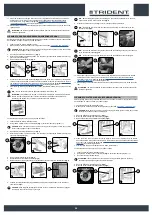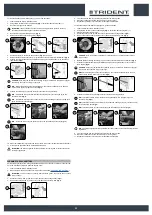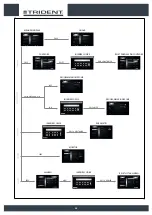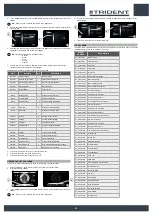
BROWSING THE COMMAND DISPLAY MENU
From the work screen, by pressing the “SETTING” button on the operator menu screen, the following
screens can be displayed:
1. Language
2. Hour meter
3. Zone programming
4. Parameters
5. Monitor
6. Alarms
N.B.
: pressing the “EXIT” key returns you to the previous menu screen.
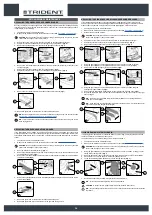
CHANGING THE LANGUAGE OF THE GRAPHICS INTERFACE
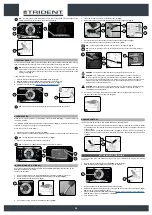
To change the hour meter displayed, proceed as follows:
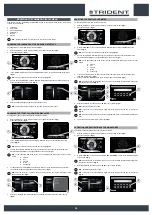
1. With the machine on, press the menu button (1) on the working screen (
Fig.1
).
2. Press the setting (2) (
Fig.2
).
3. In the “MAIN MENU” screen, select the “LANGUAGE” option, on the left-hand side of the screen
(
Fig.3
).
N.B.
: when an option is selected from the list, this is highlighted.
4. As soon as the “LANGUAGE” option is selected, the languages that can be chosen will appear
on the right-hand side of the screen (
Fig.4
).
5. Select the desired language and then press the “EXIT” key.
N.B.
: The language will be changed the next time the machine is turned on.
OFFICE
0000.00
100%
0000.00
100%
ECO mode
1
2
1
2
Menu principale
Lingua
Contaore
Programmazione Zone
Parametri
Monitor
Allarmi
Esci
Italiano
English
Spanish
French
German
Menu principale
Lingua
Contaore
Programmazione Zone
Parametri
Monitor
Allarmi
Esci
Italiano
English
Spanish
French
German
3
4
3
4
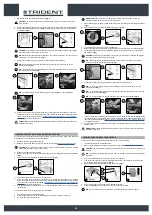
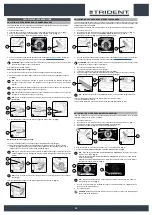
CHANGING THE TYPE OF HOUR METER DISPLAYED
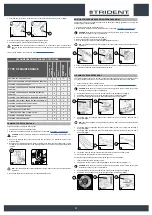
To change the type of hour meter displayed, proceed as follows:
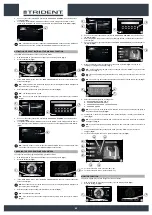
1. With the machine on, press the menu button (1) on the working screen (
Fig.1
).
2. Press the setting (2) (
Fig.2
).
3. In the “MAIN MENU” screen, select the “HOUR METER” option, on the left-hand side of the
screen (
Fig.3
).
N.B.
: when an option is selected from the list, this is highlighted.
4. As soon as the “HOUR METER” option (3) is selected, all of the set hour meters stored in the
machine will be displayed on the right-hand side of the screen (
Fig.3
).
N.B.
: on the right-hand side of the screen, we can view the data relating to all of the set hour
meters
:
A. Viewed.
B. Key.
C. Traction.
D. Brush.
A. Vacuuming.
2. To change the hour meter displayed on the work screen, click on the drop-down menu (4) that
can be found in the upper right-hand corner of the screen (
Fig.3
).
N.B.
: when the button (4) is pressed, the pop-up menu for the hour meters will appear at the
centre of the screen (
Fig.4
).
3. Select your preferred hour meter from the ones available, and then press the “EXIT” key (5)
(
Fig.3
).
OFFICE
0000.00
100%
0000.00
100%
ECO mode
1
2
1
2
Reset
Menu principale
Lingua
Contaore
Programmazione Zone
Parametri
Monitor
Allarmi
Esci
VISUALIZZATO
TOTALE PARZIALE
Chiave
0000.00 0000.00
Trazione
0000.00 0000.00
Spazzole
0000.00 0000.00
Aspirazione
0000.00 0000.00
Chiave
Reset
Menu principale
Lingua
Contaore
Programmazione Zone
Parametri
Monitor
Allarmi
Esci
VISUALIZZATO
TOTALE PARZIALE
Chiave
0000.00 0000.00
Trazione
0000.00 0000.00
Spazzole
0000.00 0000.00
Aspirazione
0000.00 0000.00
Chiave
3
4
3
5
4
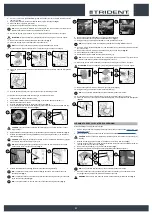
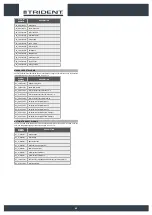
RESETTING THE PARTIAL HOUR METER
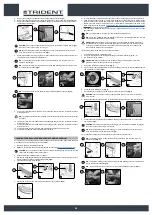
To reset the partial hour meter, proceed as follows:
1. With the machine on, press the menu button (1) on the working screen (
Fig.1
).
2. Press the setting (2) (
Fig.2
).
3. In the “MAIN MENU” screen, select the “HOUR METER” option, on the left-hand side of the
screen (
Fig.3
).
N.B.
: when an option is selected from the list, this is highlighted.
4. As soon as the “HOUR METER” option (3) is selected, all of the set hour meters stored in the
machine will be displayed on the right-hand side of the screen (
Fig.3
).
N.B.
: on the right-hand side of the screen, we can view the data relating to all of the set hour
meters
:
A. Viewed.
B. Key.
C. Traction.
D. Brush.
A. Vacuuming.
2. To reset the partial hour meter, select the hour meter that you wish to reset (4) from the right-
hand side of the display (
Fig.3
).
3. To reset, select the “RESET” button (5) on the lower right of the display (
Fig.3
).
N.B.
: when the button (5) is pressed, the pop-up menu for inserting the password will appear at
the centre of the screen (
Fig.4
).
4.
Enter the password chosen and press "ENTER" (6) to confirm (
Fig.4
).
N.B.
: the default password is 2234.
N.B.
: if you enter one of the password digits incorrectly, simply press the key (7) to delete it
(
Fig.4
).
N.B.
: when the correct password is entered, the partial hour meter selected will immediately be
reset.
5. To exit the menu, press the “EXIT” button (8) (
Fig.3
).
OFFICE
0000.00
100%
0000.00
100%
ECO mode
1
2
1
2
Reset
Menu principale
Lingua
Contaore
Programmazione Zone
Parametri
Monitor
Allarmi
Esci
VISUALIZZATO
TOTALE PARZIALE
Chiave
0000.00 0000.00
Trazione
0000.00 0000.00
Spazzole
0000.00 0000.00
Aspirazione
0000.00 0000.00
Chiave
Enter
Inserire codice
3
4
3
8
5
4
6
7
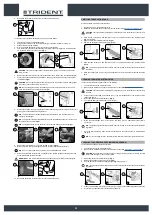
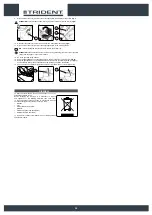
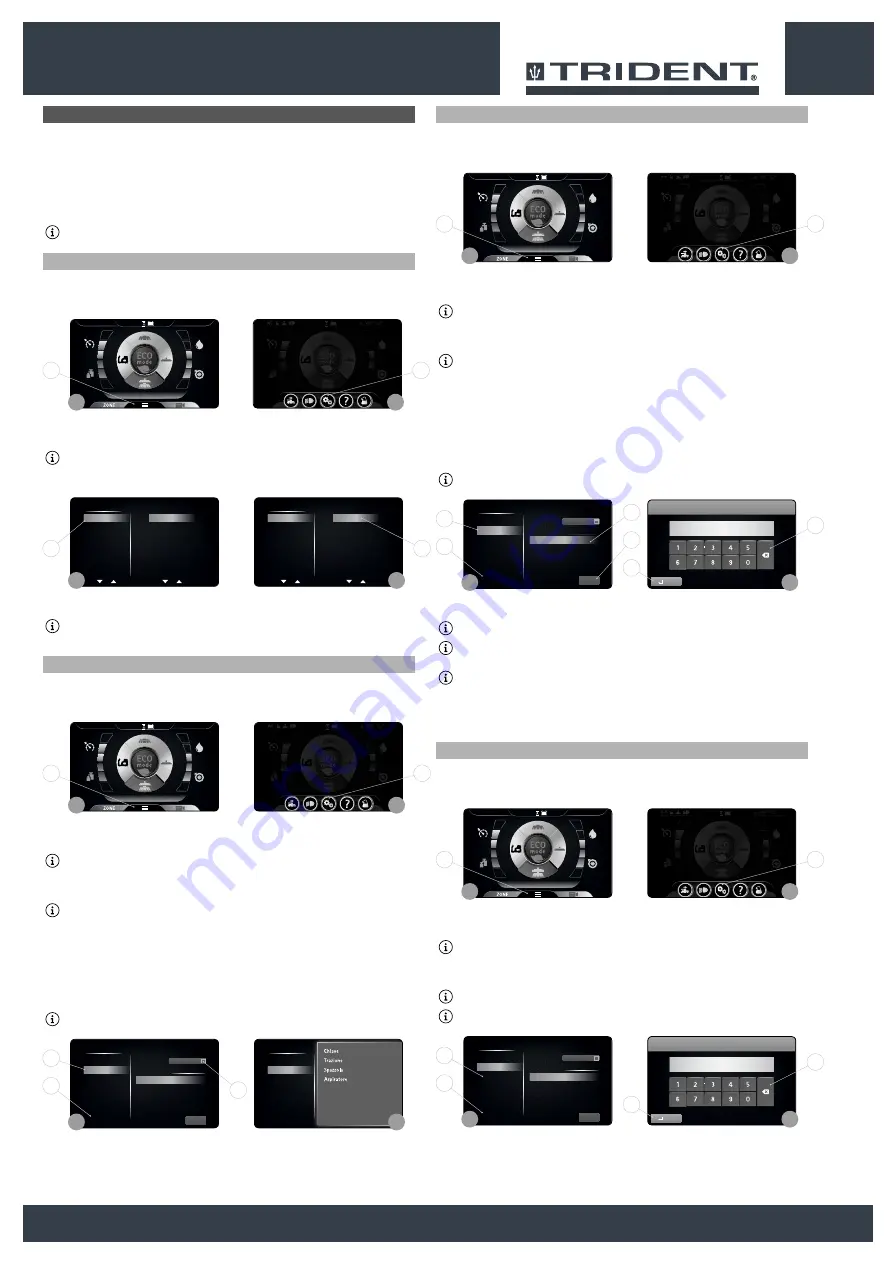
ACTIVATION OR DEACTIVATION OF THE WORK ZONES
To activate or deactivate the work zones, proceed as follows:
1. With the machine on, press the menu button (1) on the working screen (
Fig.1
).
2. Press the setting (2) (
Fig.2
).
3. In the “MAIN MENU” screen, select the “ZONE PROGRAMMING” option (3) on the left-hand side
of the screen (
Fig.3
).
N.B.
: when the button (3) is pressed, the pop-up menu for inserting the password will appear at
the centre of the screen (
Fig.4
).
4.
Enter the password chosen and press "ENTER" (4) to confirm (
Fig.4
).
N.B.
: The default password is 1000.
N.B.
: if you enter one of the password digits incorrectly, simply press the key (5) to delete it
(
Fig.4
).
OFFICE
0000.00
100%
0000.00
100%
ECO mode
1
2
1
2
Reset
Menu principale
Lingua
Contaore
Programmazione Zone
Parametri
Monitor
Allarmi
Esci
VISUALIZZATO
TOTALE PARZIALE
Chiave
0000.00 0000.00
Trazione
0000.00 0000.00
Spazzole
0000.00 0000.00
Aspirazione
0000.00 0000.00
Chiave
Enter
Inserire codice
3
4
3
8
4
5
39

