
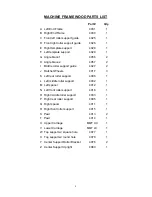


14
FIG. 2
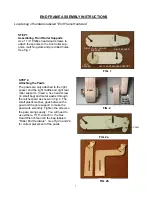
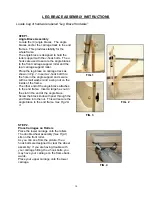
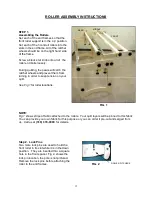
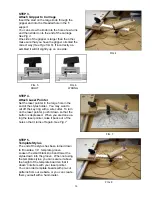
LEG BRACE ASSEMBLY INSTRUCTIONS
Locate bag of hardware labeled “Leg Brace Hardware”
FIG. 1
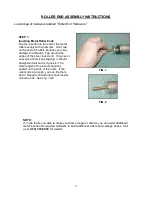
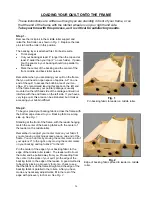
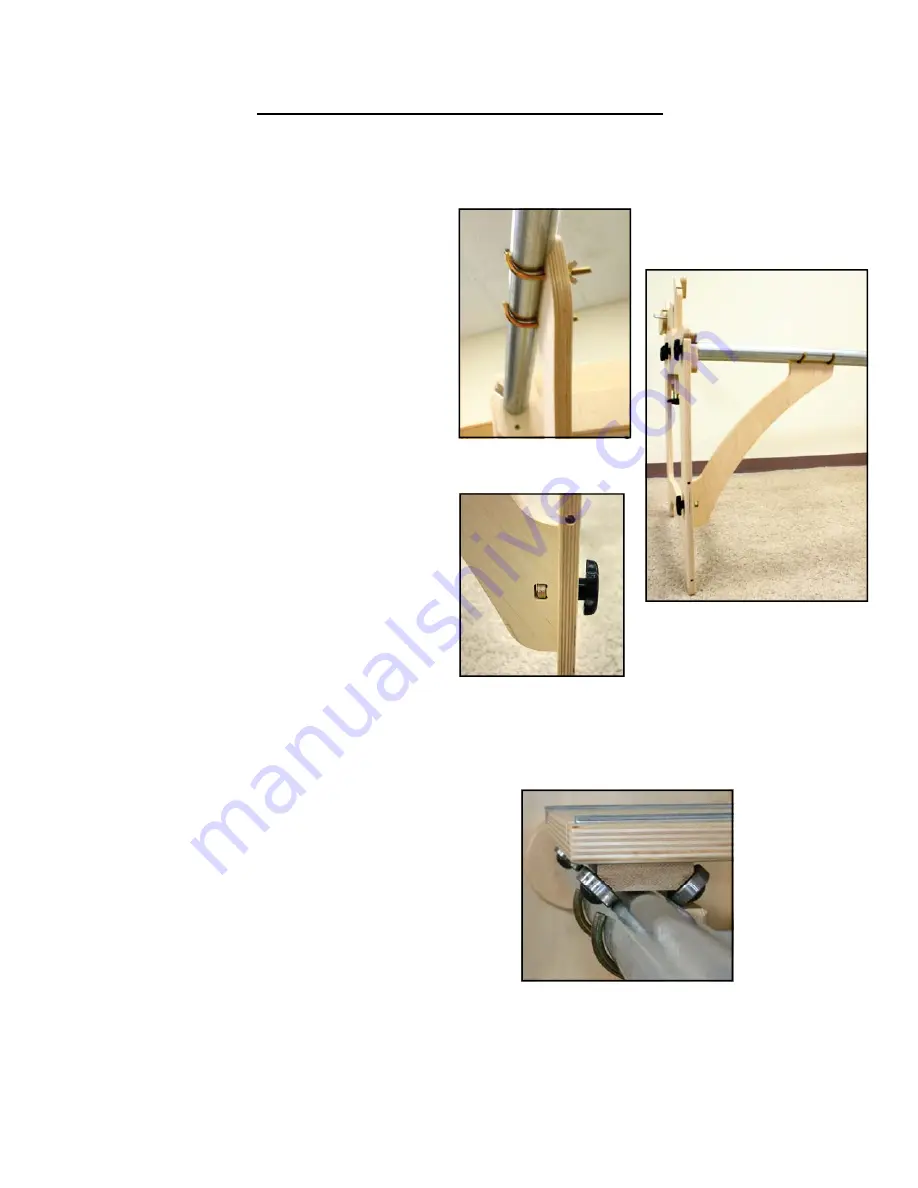
STEP 1.
Angle Brace Assembly
Locate the (4) angle braces. The angle
braces anchor the carriage track to the end
frames. This provides stability for the
whole frame.
The angle brace is designed to hold the
roller support with the J-hook bolts. The J-
hooks are used to secure the angle braces
to the front carriage support roller and the
rear carriage support roller.
Place the leg brace on carriage track as
shown in
Fig. 1
. Insert a J-hook bolt thru
the hole in the angle support and secure
with a small washer and a wing nut on the
inside of the frame.
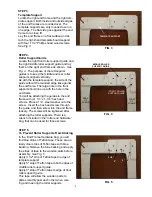
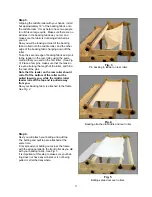
The other end of the angle brace attaches
to the end frame. Insert a large hex nut in
the slot in the end of the angle brace.
Screw the black knob with post through the
end frame into the nut. This will secure the
angle brace to the end frame.
See Fig 2 &
3.
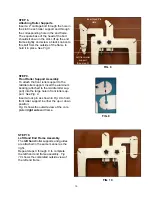
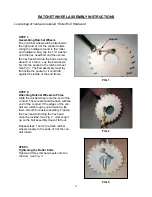
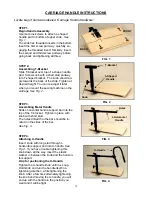
STEP 2.
Place Carriages on Rollers
Place the lower carriage onto the rollers
The double wheel assembly
(See Fig.4)
sits on the front roller.
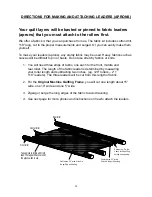
As you can see from the picture, the J-
hook bolts are designed to clear the wheel
assembly. If you are having trouble with
your carriage hitting the J-hook bolts, you
may have your carriage on the frame back-
wards.
Place your upper carriage onto the lower
carriage.
FIG. 4
FIG. 3


