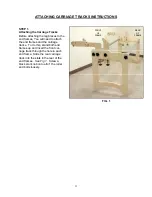
15
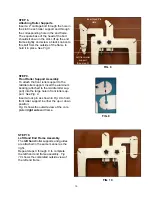
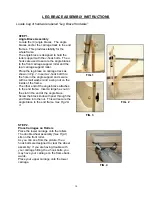
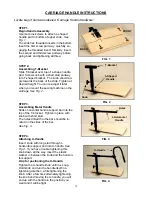
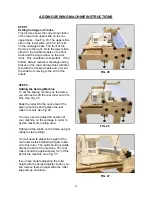
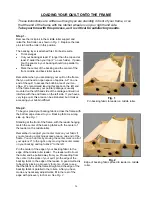
Step 2. Lock Pins
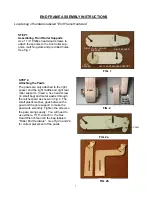
Two more lock pins are used to hold the
front roller in its slot while it is in the down
position. They are inserted thru a square
hole in the front spacer Fig 2. shows the
lock pin location, the pole is not pictured.
Remove the lock pins before attaching the
roller to the end frames.
FIG. 2
ROLLER SITS HERE
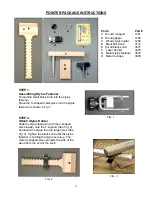
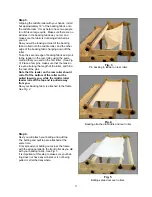
STEP 1.
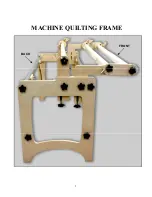
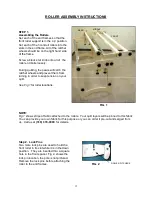
Assembling the Rollers
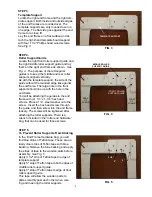
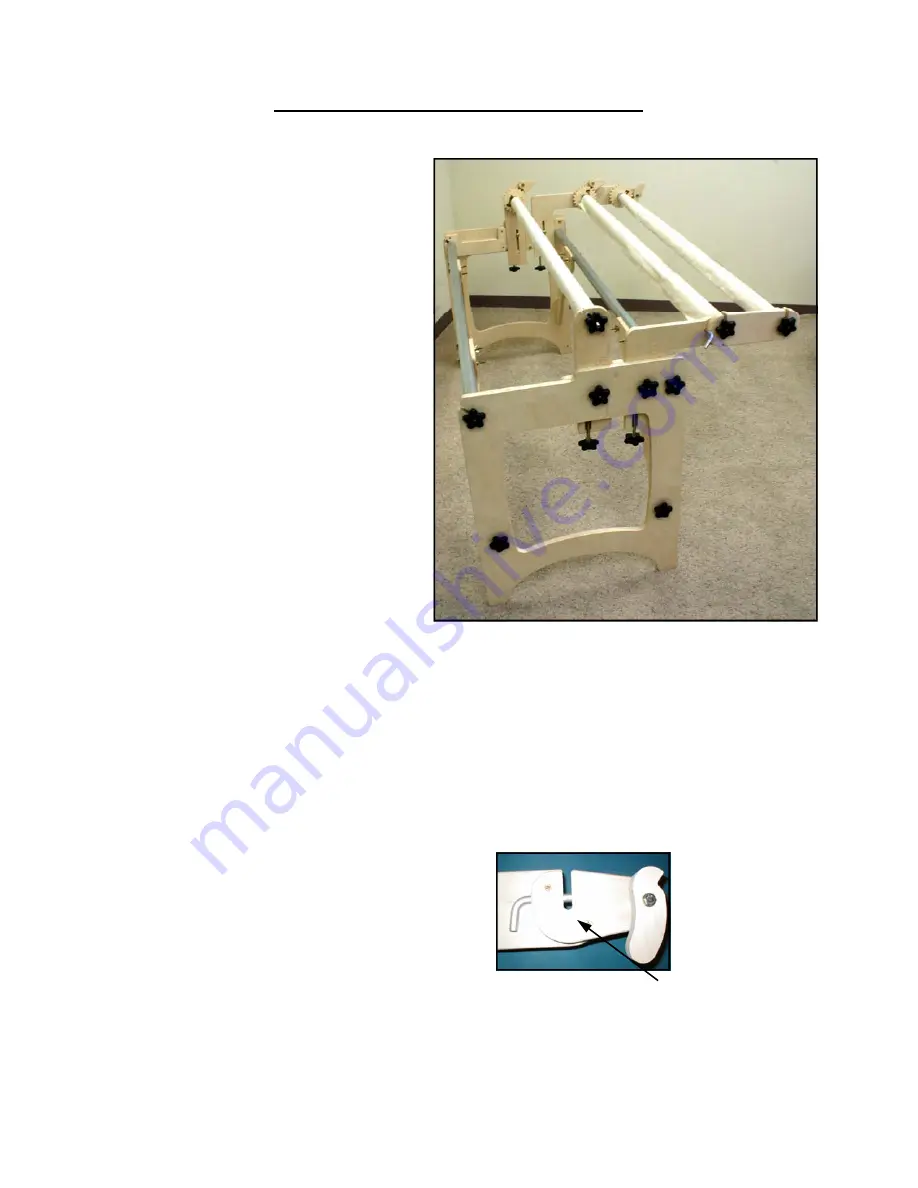
Set each of the end frames so that the
front roller support is in the ‘up’ position.
Set each of the 3 conduit rollers into the
slots in the end frame. All of the ratchet
wheels should be on the right hand side
of the frame.
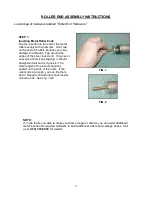
Screw a black star knob onto all of the
roller end bolts loosely.
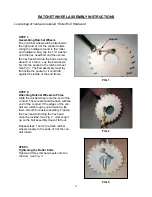
During quilting, the pawls will catch the
ratchet wheels and prevent them from
turning in order to keep tension on your
quilt.
See Fig 1
for roller locations.
NOTE:
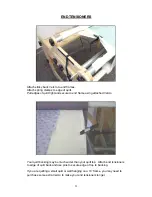
Fig 1
shows strips of fabric attached to the rollers. Your quilt layers will be pinned to this fabric.
You can provide your own fabric for this purpose or you can order it pre-cut and serged from
us. Call us at
(319) 378-0999
for details.
REAR
MIDDLE
FRONT
FIG. 1
ROLLER ASSEMBLY INSTRUCTIONS


