28
Step 5.
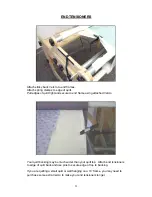
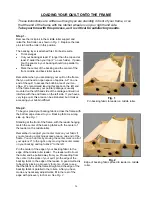
Lay your quilt top carefully on top of your bat-
ting. Spread it out evenly. (
See Fig. 6)
It helps
if your quilt backing and batting are approx. 4”
wider than your quilt top. This way, if your quilt
top is not perfectly straight, you can easily trim
away the extra batting and fabric after you are
done quilting and the quilt is off the frame.
If you are careful to prevent any wrinkles be-
tween the batting and the quilt top during this
step, it will make rolling these layers onto the
frame much easier.
Step 6.
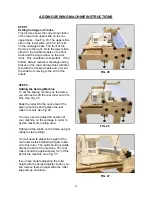
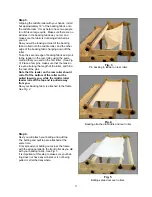
Following the same procedure as you did with
the backing, very carefully pin BOTH the batting
and quilt top to the edge of the leader on the
front roller at the same time. The front leader
rolls over the roller and pulls away from you.
See Fig. 7.
Again, roll the top and batting onto the front
roller, carefully. Stop every few inches and feel
for wrinkles in the batting. You can check the
underside of the frame to see wrinkles in the
batting.
Continue rolling until the rear edge of the top
and batting are even with the rear roller.
Step 7.
The final step is to pin the rear edge of your
quilt top and batting to the rear roller using the
same method as before.
You have already pinned the backing to that
apron, and you will actually be pinning the top
and batting to the backing fabric and not the
apron. This is critical because if you are sew-
ing near the edge of the quilt top fabric, you will
not accidentally sew into the fabric of the
leader.
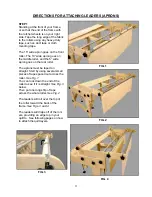
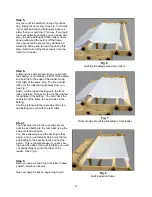
See Fig. 8.
Fig. 8
Quilt loaded on frame.
Fig. 7
Pin front edge of quilt top & batting to front leader.
Step 8.
Remove lock pins and drop front roller to down
position. Replace lock pins.
See next page for tips on beginning to quilt.
Fig. 6
Quilt top & batting spread over rollers

