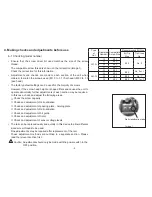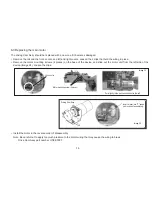
Adjustment is required in the following cases.
• If screws do not move easily, or jump about in the rail:
→
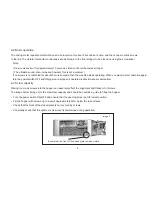
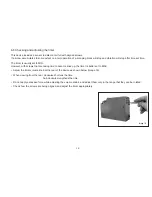
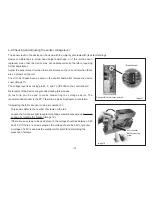
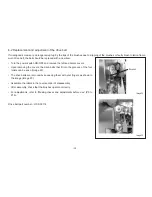
Rotate the oscillation amplitude adjustment volume knob at the rear of the device with a precision screw driver.
→
Rotate the oscillation frequency adjustment volume knob at the rear of the device with a precision screw driver until a
resonance point is found.
The two volume knobs above should be adjusted until the optimum operating condition is found.
• To find the optimum operating condition, first maximize the oscillation amplitude and adjust the oscillation frequency until a
resonance point (the frequency at which the rail oscillates the most) is found. Then adjust the oscillation again until it is smaller.
• While adjustments can be made when the device is operating, it is recommended that oscillations be adjusted before use.
• Do not apply excessive force while adjusting the volume knobs, and adjust them only within the range that they can be rotated.
4-6 Checking and adjusting rail oscillations
• The factory
setting for oscillation suits ordinary purpose screw thread sizes that can be used with the supplied rail.
(Check the rail thread size on the label at the front of the rail. Eg: 17 means a M1.7 thread)
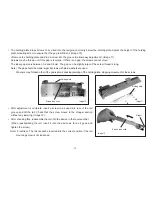
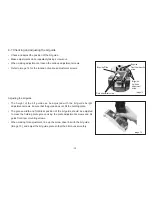
• Place 2 or 3 screws to be used into the rail groove and turn the power on.
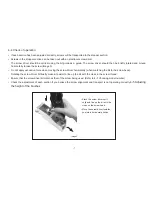
• No adjustment is required if these screws move smoothly to the stopper (Image 13).
• When the number of screws is low and no screw is picked up in a given period of time, vibration will become the
maximum and it will stop operation after that.
(Refer to 4-2 “Basic Operation”.) Adjustment of volume
is not effect at the time of a forced oscillation.
• After it stops, turn on the machine again
and repeat the above procedure.
Screws to be used
* The screws to be used move smoothly in the direction of the arrow.
Image 13
Stopper
- 12 -

