Hipo INKJET plotter manual
5
Chapter 3 Quick installation
(1)
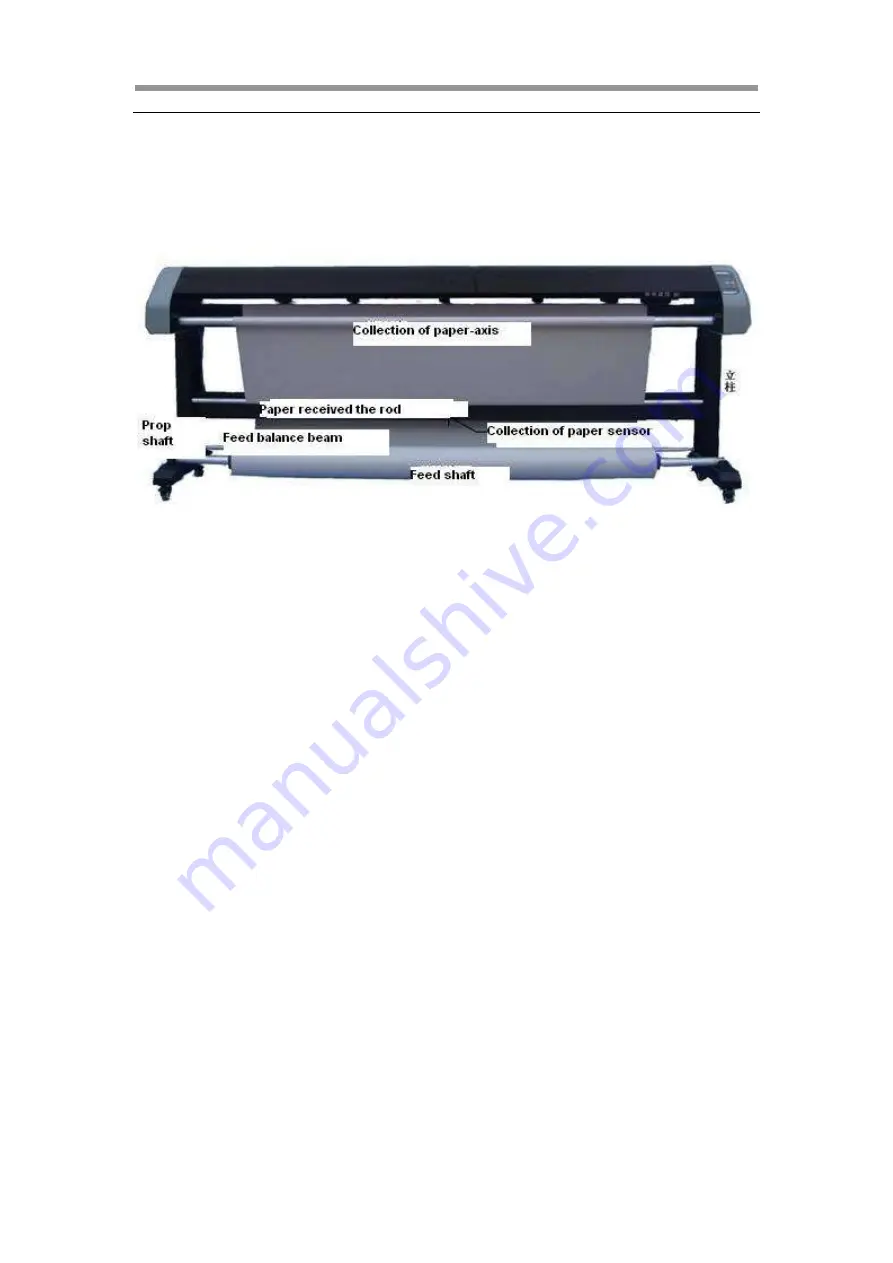
Installation Diagram
(2)
Installation Steps
(
a
)
Dismantle the packing box
1) Check the parts according to the packing list
2) Read the manual carefully
(
b
)
Assemble the foot bars and upright posts according to the
Installation Diagram. The left and right upright posts and foot bars should
be paralleled. Do not screw down the two screws at the top of the left and
right upright posts yet; Screw them a little, not so tight, to assist the
installation of the handpiece.
(
c
)
Add the draw rod according to the diagram. Remember not to
screw so tight of the screws on both ends of the draw rod temporarily, so
as to adjust the parallelism between the posts if needed and assist the
installation of the handpiece.
(
d
)
Add the handpiece. It takes two people to put the handpiece
horizontally on the outer convex bolt of the upright posts, and tighten the
screws. Make sure to tighten the other screws with the precondition that
the left and right upright posts are paralleled.
(
e
)
Add paper-collecting axle.
(
f
)
Add paper-feeding axle and paper scroll.
(
g
)
Add the paper-collecting balance pole and put it on its frame.
(
h
)
Add the Nozzle. Be careful not to damage the touch spot of the
nozzle. Do not crash the nozzle against hard wall of the ink car to avoid
damage on the nozzle. Make sure that the nozzle is properly installed.
See:


