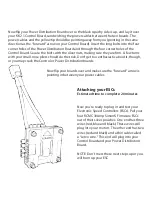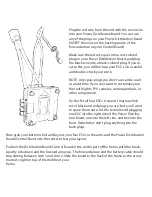
The Hover Test
Estimated time to complete: 10 minutes
Once you have all the motors turning in the right direction and all calibrations complete, it’s
time to test whether your Hiro can get off the ground. Unplug your battery and put on your
propellers.
Now, before you go throwing any old propeller on any old motor, keep in mind you have
left-hand and right-hand propellers. If you’ve got the wrong propellers on, you will just
power up but your drone won’t take off.
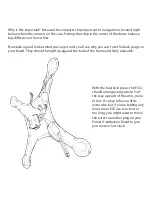
Look at your propellers. Two have “10x4.5” marked on them. The other two have “10x4.5R”
written on them. The 10x4.5R props go on Motors 1 and 3. The 10x4.5 props go on Motors 2
and 4.
To attach your prop, you’ll first need a prop adapter. Grab one of the flats of adapters and
remove the cap screw on Motor 1. Try to fit one of the adapters on the flat over the shaft of
the motor. By trial and error, find the adapter that fits snuggly over the shaft but not so tight
you have to force it. Keep trying larger and smaller adapters until you find the right fit. Once
you’ve found the right adapter, swivel the flat back and forth until the adapter comes off
(it may need help by clipping with a small wire cutter or scissors). The adapter will fit like a
little washer inside the lip of the propeller where it attaches to the shaft. If it doesn’t fit, you
may have to clip off any bits of plastic left over from when you removed it from the flat. Now
toss that flat. Or save it. Or repurpose it for something else. Unfortunately, there’s only one
adapter of each size per flat, so the others won’t fit these motors and your used flat can’t be
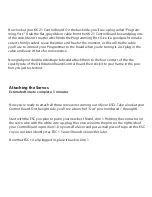
Make sure you swap only the wires between the ESCs and the motors, NOT the ones
between your ESCs and your Control Board because, again, fried electronics.
Now unplug your battery.

