Mounting your Control Board to your Power Distribution Board
Estimated time to complete: 10 minutes
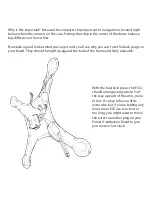
Set your frame aside and get out your KK 2.1 Control Board (The one that has a “Multi-Rotor
Control Board” sticker) and your Power Distribution Board. Inside the Control Board box
you’ll find four long black bolts with little silver nuts. Now take a moment to get familiar with
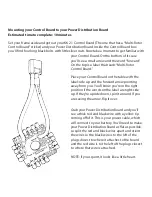
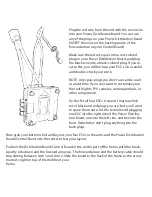
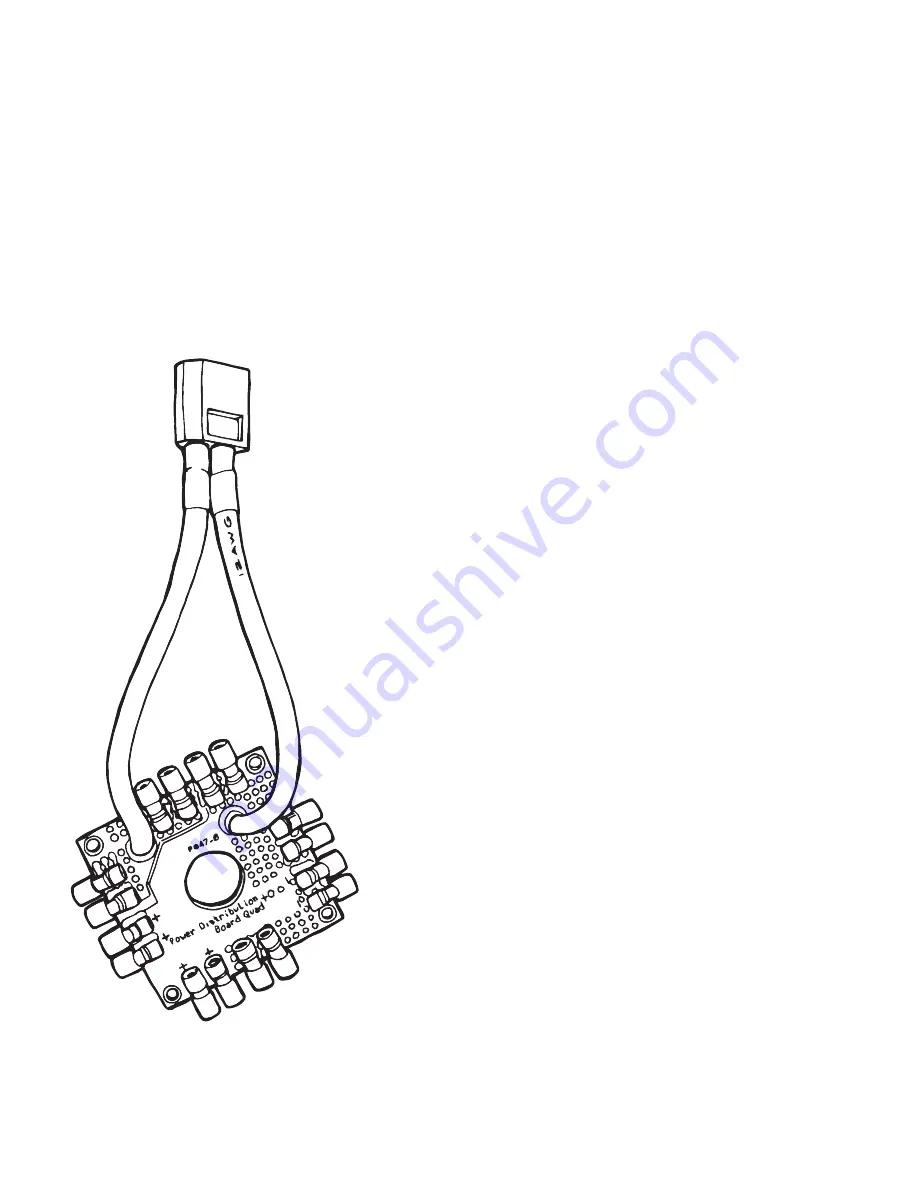
Grab your Power Distribution Board and you’ll
see a thick red and black wire with a yellow tip
coming off of it. This is your power cable, which
will connect to your battery. You’ll need to make
your Power Distribution Board as flat as possible,
so split the red and black wires apart and orient
the wires so the black wire is to the left of the
plugs closest to where it attaches to the board
and the red wire is to the left of the plugs closest
to where that wire is attached.
NOTE: If you squint, it looks like a little heart.
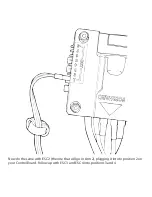
your Control Board. On the bottom of its case
you’ll see a small arrow and the word “forward.”
On the top is a label that reads “Multi-Rotor
Control Board.”
Place your Control Board on the table with the
label-side up and the forward arrow pointing
away from you. You’ll know you’re in the right
position if the words on the label are right-side
up. If they’re upside down, spin it around. If you
are seeing the arrow, flip it over.


