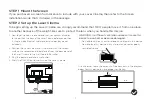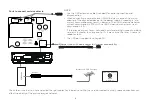
12
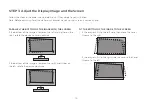
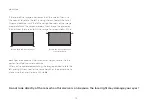
FILL THE TOP OF THE IMAGE TO THE SCREEN
If the top of the image is wider than the screen, then use the
wrench to rotate the center-front foot of the Laser Cinema
2. Now, rotate the Laser Cinema clockwise so that the bottom of
the image is parallel with the screen.
3. Repeat the steps above until the top of the image is parallel
with the screen.
4. Rotate the back-right foot clockwise to the same height as
the left one and make sure the Laser Cinema sits stably.
3. Repeat the steps above until the top of the image is parallel
with the screen.
4. Rotate the back-left foot to the same height as the right one
and make sure the Laser Cinema sits stably.
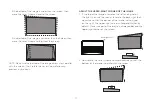
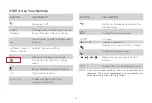
ADJUST THE UPPER-LEFT CORNER OF THE IMAGE
1. If the top of the image is higher on the left and lower on the
right, then use the wrench to rotate the back-left foot of the
Laser Cinema clockwise so that the bottom of the image
is also higher on the left. The upper-left corner will expand
further by default. Make sure part of the image is displayed
beyond the upper-left corner of the screen.
back-left foot
center-front foot
Summary of Contents for 100L5F
Page 26: ...ES 1 ...


