background image

WARNING

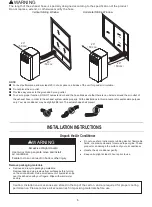
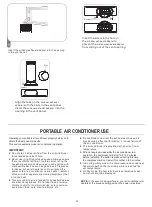
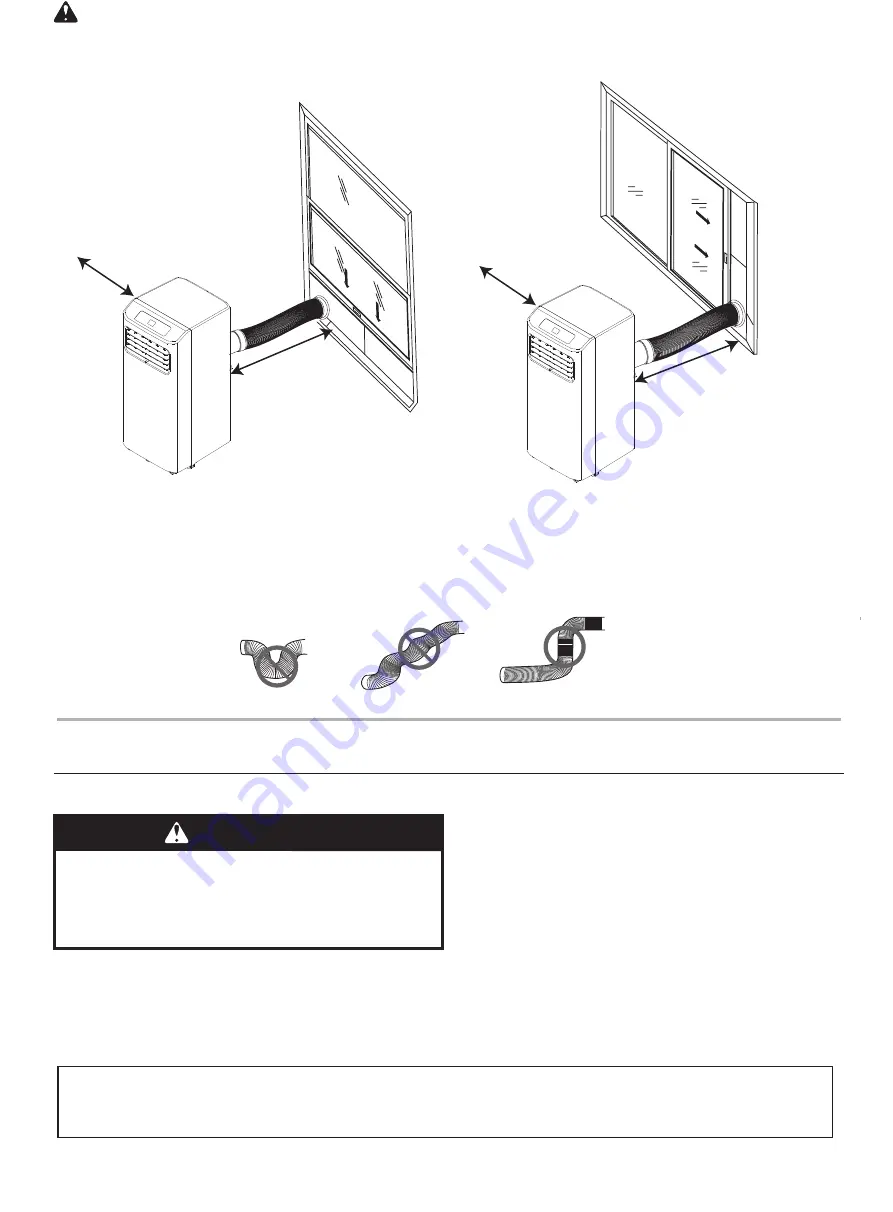
Vertical


Sliding


Window

Horizontal Sliding Window

The length of the exhaust hose is specially designed according to the specification of the product.

Do not replace, extend, or otherwise modify the hose.

20

(

5

0 cm

)

20

(

5

0 cm

)

20

(

5

0 cm

)

20

(

5

0 cm

)

NOTE

:


 For best performance, allow at least 20 in of air space on all sides of the unit for good air circulation.


Do not block the air outlet.

■ 

Provide easy access to the grounded 3 prong outlet. 


 To ensure proper function, DO NOT overextend or bend the hose. Make sure that there is no obstacle around the air outlet of 

the exhaust hose in order to the exhaust system works properly

.

 All the illustrations in this manual are for explanation purpose 

only. Your air conditioner may be slightly different. The actual shape shall prevail.

INSTALLATION


INSTRUCTIONS

Unpack


the


Air


Conditioner

Remove


packaging


materials

Remove


and


recycle


packaging


materials

Remove


tape


and


glue


residue


from


surfaces


before


turning


on


the


air


conditioner

Rub


a


small


amount


of


liquid


dish


soap


over


the


adhesive


with


your


fingers

Wipe


with


warm


water


and


dry

.

Do


not


use


sharp


instruments

rubbing


alcohol

flammable


fluids

or


abrasive


cleaners


to


remove


tape


or


glue

These


products


can


damage


the


surface


of


your


air


conditioner

Handle


the


air


conditioner


gently

.

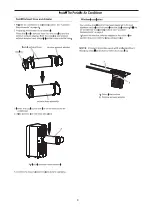
Keep unit upright at least 2 hours prior to use.

WARNING

Excessive


Weight


Hazard

Use


two


or


more


people


to


move


and


install


air


conditioner

.

Failure


to


do


so


can


result


in


back


or


other


injury

.

Caution: Installation accessories are stored in the top of the carton, and are required for proper cooling 

performance. Please remove all accessories from packing materials before use. 

6

Summary of Contents for 4350807

Page 1: ......

Page 2: ......

Page 3: ...indow Vent Panel And Extensions 7 Install The Portable Air Conditioner 8 Installation In Vertical Sliding Windows 9 Installation In Horizontal Sliding Windows 10 Starting Your Portable Air Conditioner...

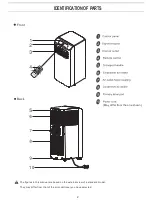
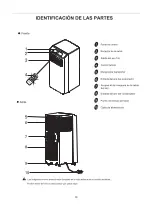
Page 4: ...F PARTS Front Back The figures in this manual are based on the external view of a standard model They may differ from that of the air conditioner you have selected 2 10 T E S T R E S E T May differ fr...

Page 5: ...essor The appliance is not intended for use by young children or impaired persons without supervision Young children should be supervised to ensure that they do not play with the appliance A hazard th...

Page 6: ...screwdriver Pencil Scissors Cordless drill and bit Quantity 1 pc 1 pc 1 pc 1 pc 4 pc 4 pc 2 pc 1 pc 1 pc 1 pc 1 pc 1 pc 2 pc 2 pc 2 pc Description A Foam seal B Coupling C Flexible exhaust hose D Wind...

Page 7: ...r supply cord contains no user serviceable parts Opening the tamper resistant case voids all warranty and performance claims A Test button B Reset button TEST RESET A B This room air conditioner is eq...

Page 8: ...y different The actual shape shall prevail INSTALLATION INSTRUCTIONS Unpack the Air Conditioner Remove packaging materials Remove and recycle packaging materials Remove tape and glue residue from surf...

Page 9: ...nels with rivets E Rivet E H K I J Panel Length 18 18 18 911 16 Panel H 18 Panel J 18 Panel K 18 Panel I 9 11 16 Panel H Panel H For window openings from 19 to 26 use the window vent panel Panel H and...

Page 10: ...8...

Page 11: ...9...

Page 12: ...10...

Page 13: ...limate control for commercial use or for precision equipment food pets plants artwork etc Do not block or obstruct the exhaust vent hose as it may severely affect performance or cause failure of the a...

Page 14: ...12...

Page 15: ...13...

Page 16: ...14...

Page 17: ...15...

Page 18: ...16...

Page 19: ...17...

Page 20: ...18 19 21 21 22 22 23 23 24 25 26 27 29 28 30 32 33 20 33 33 33 33 34...

Page 21: ...10 T E S T R E S E T 19...

Page 22: ...20...

Page 23: ...standar AAA 1 5 volt bater a 21 LIBRE DE MERCURIO GRANDE CAPACIDAD R03 UM 4 deTAMA O AAA 1 5V UTILIZADA PREFERENTEMENTE ANTESDEL C DIGO DE FECHA MES A O EN LA PARTE INFERIOR No mezcle bater as viejas...

Page 24: ...6000 150 sq ft 250 sq ft Habitaci n de hasta15 x 20 300 sq ft 7000 Habitaci n de hasta 10 x 35 350 sq ft 8000 Habitaci n de hasta 15 x30 450 sq ft 10000 Habitaci n de hasta 10 x 55 550 sq ft 10000 Ha...

Page 25: ...a d siste e qu ara e p ap es de era ng ma la d air de ida sa e la d lida de aire de la manguera de escape para que el sistem ne funcio pe sc esca correctamente Todas las ilustraciones en este manual...

Page 26: ...24...

Page 27: ...25...

Page 28: ...26...

Page 29: ...27...

Page 30: ...5 28...

Page 31: ...29...

Page 32: ...30...

Page 33: ...31...

Page 34: ...32...

Page 35: ...33...

Page 36: ...34...

Page 37: ......

Page 38: ...Version No 2171137 02...

Reviews: