44
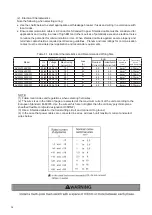
9. Additional Refrigerant Charge
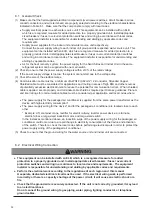
9.1 Leak Test
(1) Check to ensure that the stop valves for high/low pressure gas, low pressure gas and liquid pipes are
closed completely before leak testing.
(2) The refrigerant used for this water source unit is R410A. Use the manifold gauge and the charging
hose for exclusive use of R410A.
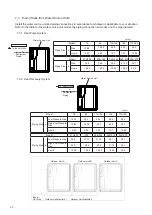
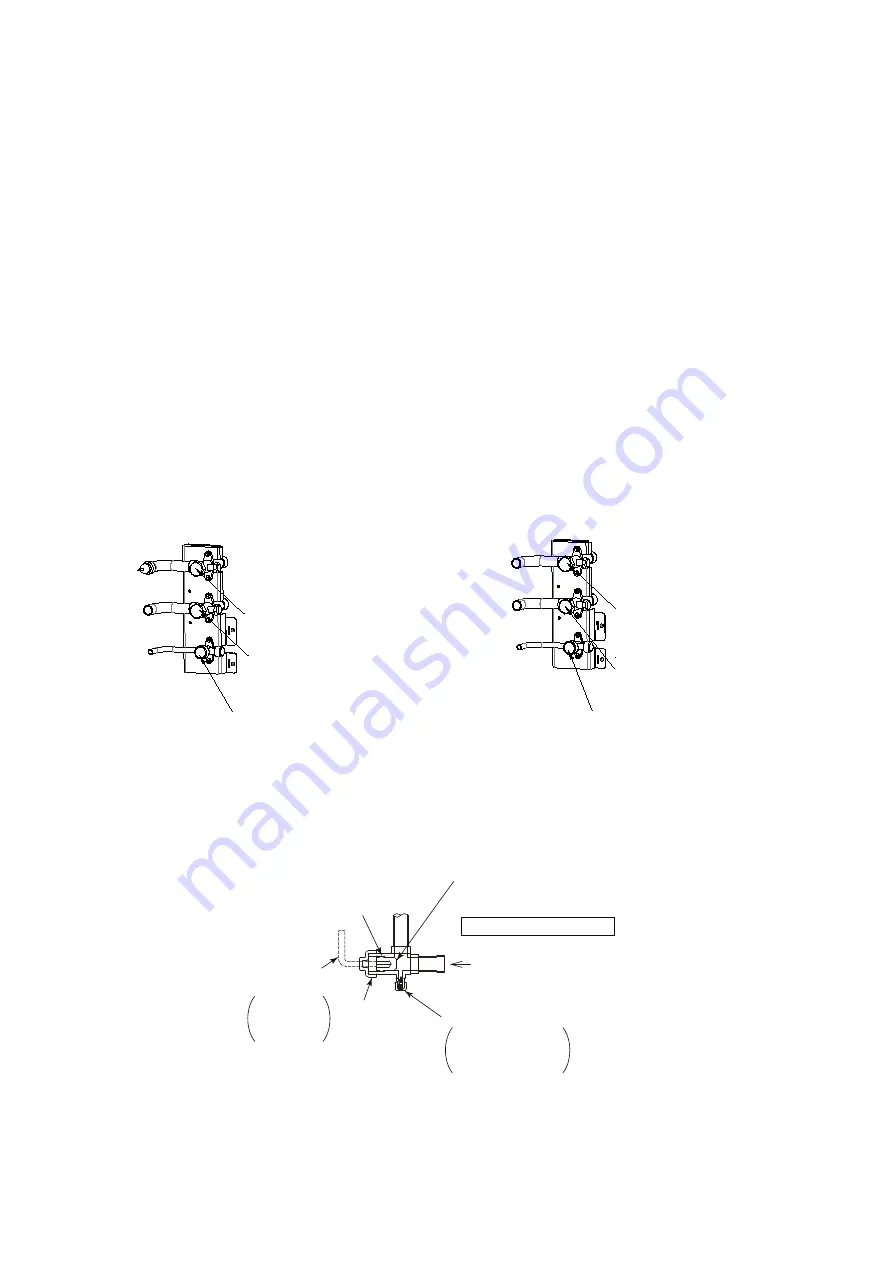
Tightening Check of Stop Valves
After connecting the pipe, remove the caps of stop valves for high/low pressure gas, low pressure gas
(for heat recovery system only) and liquid. Tighten the open-close stop valve in the closing direction
according to the following tightening torque.
Operation of Stop Valves Caution
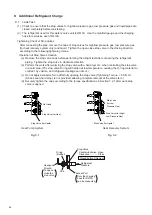
(a) Remove the stop valve caps before performing the airtight test after connecting the refrigerant
piping. Tighten the stop valve in clockwise direction.
(b) Perform the work after warming the stop valve with a hair dryer etc. when controlling the stop valve
in a cold area. (The stop valve O-ring will harden at low temperature, causing the O-ring material to
contract by volume, and refrigerant leakage can occur.)
(c) Do not apply excessive force after fully opening the stop valve (Tightening Torque: < 5.0 N·m).
(A back seat (hard stop), is not provided, allowing complete removal of the valve stem.)
(d) Securely tighten the caps according to the torque specifications in Section 7.2.1 after each stop
valve is opened.
Refrigerant
Pressure
Stop Valve
Counterclockwise...Open
Clockwise...............Close
Only the charging
hose for R410A
can be connected.
Access Port
Cap
O-ring
(Rubber)
Hexagonal
Wrench
To open or
close the
stop valve
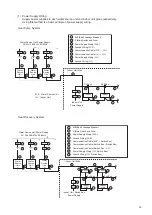
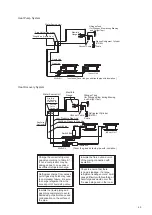
Closed before Shipment
Stop Valve (for Liquid)
Stop Valve (for Gas)
Not Used
Stop Valve (for High/
Low Pressure Gas)
Stop Valve
(for Low
Pressure Gas)
Stop Valve (for Liquid)
Heat Pump System
Heat Recovery System
Fig. 9.1
Fig. 9.2
Summary of Contents for AVWW-114FKFW
Page 2: ......

