background image


Operational Instructions and Function Adjustment 

Operational Instructions 


Operational Instructions 


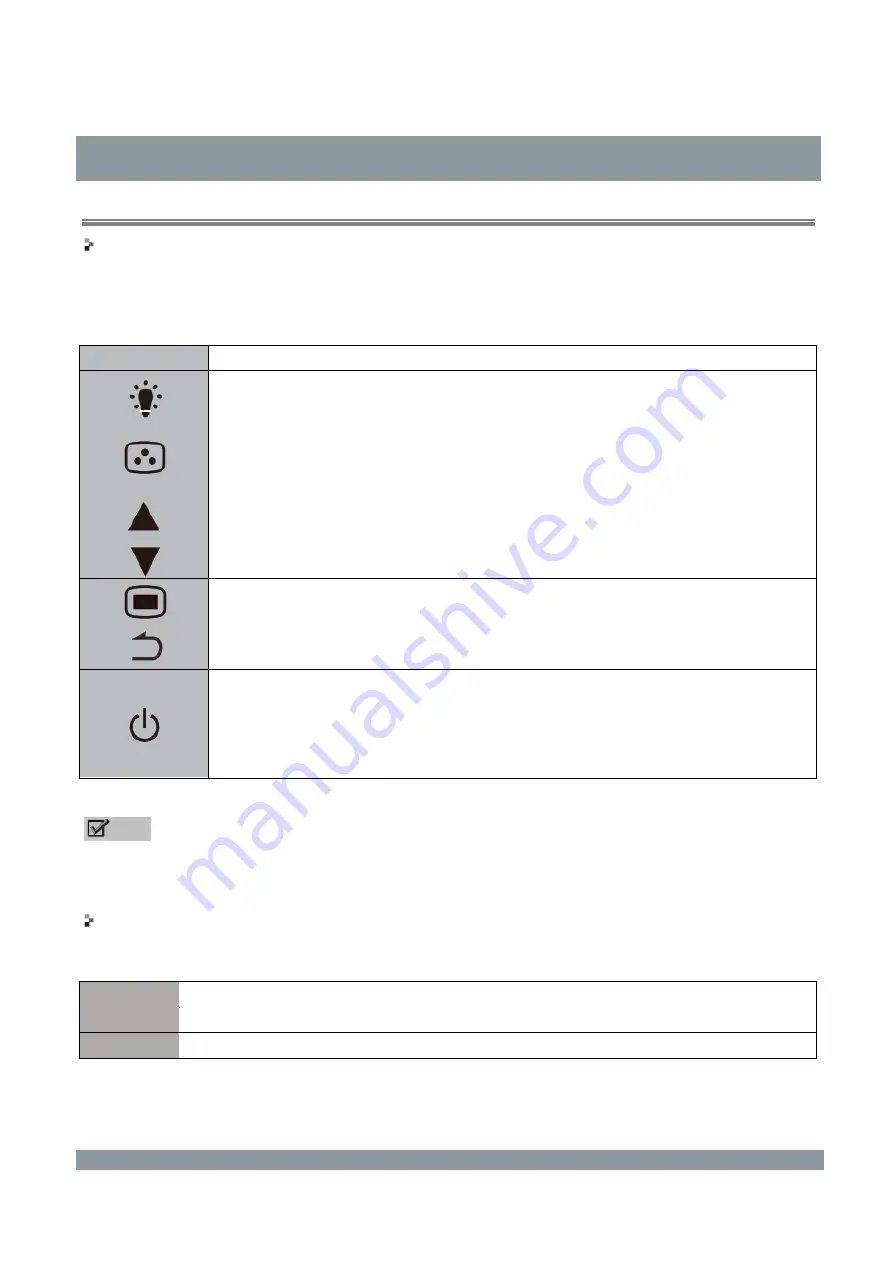
Buttons of the LCD monitor 

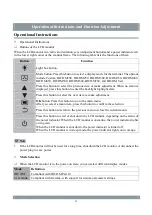
When the LCD monitor is in vertical orientation, seven adjustment buttons and a power indicator exist 
in the lower right corner of the monitor frame. The following table lists the functions of them. 

Button 

Function 


Light box button. 


Mode button. Press this button to select a display mode for the terminal. The options 
include Custom, DICOM200, DICOM250, DICOM300, DICOM350, DICOM400, 
DICOM450, DICOM500, DICOM600, DICOM700, and DICOM User. 


Press this button to select the previous item or make adjustment. When no menu is 
displayed, press this button to enter the backlight highlight state. 


Press this button to select the next item or make adjustment. 


OK

 button. Press this button to go to the main menu. 

After you select a menu item, press this button to confirm the selection. 


Press this button to return to the previous menu or close the current menu. 


Press this button to start or shut down the LCD monitor, depending on the status of 
the power indicator. When the LCD monitor is operating, the power indicator lights 
on in green. 
When the LCD monitor is shut down, the power indicator is turned off. 
When the LCD monitor is in sleep mode, the power indicator lights on in orange. 


 Note 


If the LCD monitor will not be used for a long time, shut down the LCD monitor or disconnect the 
power plug to save power. 


Mode Selection 


When the LCD monitor is in the power-on state, you can select different display modes. 

Mode 

Definition 

DICOM 

Compliant with DICOM Part 14. 

User mode 

Compliant with Gamma, with support for custom parameter settings. 


11 

Summary of Contents for HMD2G21S

Page 1: ...HMD2G21S User Guide Read the User Guide thoroughly before using Hisense LCD monitor and keep it properly for future reference RSAG2 025 6700SS A Version Hisense website www hisense com...

Page 2: ...the User Guide Hisense national customer service hotline 4009940707 Hisense service quality supervision tel 0532 83091111 Only the repair personnel are allowed to repair the LCD monitor and replace i...

Page 3: ...nd its service life Do not perform cleaning and maintenance when the LCD monitor is energized Disconnect the LCD monitor power cable whenever possible Description and Maintenance of the LCD monitor Th...

Page 4: ...abnormal contact Hisense or an authorized distributor Ensure that no sundries exist in the surrounding area of mains disconnection devices such as the switch power plug and appliance coupler and that...

Page 5: ...Connection 9 USB Connection 10 Operational Instructions and Function Adjustment 11 Operational Instructions 11 Mode Selection 11 Light Box 12 Backlight Highlight 12 Menu Adjustment 13 Main Menu Displ...

Page 6: ...ED backlight LCD panel with a long service life The backlight is driven by low voltage which eliminates the hazardous radiation to the body and environment Ambient light induction The LCD monitor prov...

Page 7: ...al interface DVI D x 1 DisplayPort x 1 Output signal interfaces DisplayPort x 1 Dimensions Whole equipment vertical orientation 366 mm x 502 616 mm x 244 mm W x H x D Whole equipment vertical orientat...

Page 8: ...y CD 1 User Guide and LCD monitor control software Image clip 1 Optional depending on the actual delivery Graphics card 1 Note The accessory list is for reference only If any component is lost or dama...

Page 9: ...monitor hold the left and right sides of the monitor with both hands Do not put your hands directly under the monitor to avoid pinching your hands when the monitor reaches the lowest level When rotati...

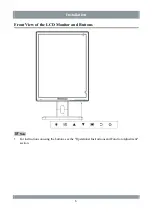
Page 10: ...Installation Front View of the LCD Monitor and Buttons Note For instructions on using the buttons see the Operational Instructions and Function Adjustment section 6...

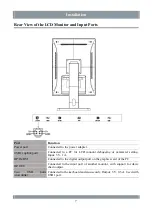
Page 11: ...to a PC for LCD monitor debugging or parameter setting Input 5 V 1 A DP IN DVI Connected to the digital output port on the graphics card of the PC DP OUT Connected to the input port of another monito...

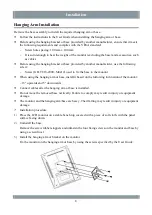
Page 12: ...base to the monitor When using the hanging arm or base install it based on the following inclination of the monitor 15 upwards and 5 downwards Connect cables after the hanging arm or base is installe...

Page 13: ...o connect to another monitor as follows Output the input signals of the DP IN channel to another monitor through the DP OUT channel to implement dual screen independent display The daisy chain must be...

Page 14: ...Installation USB Connection Connect the LCD monitor to a PC by using the USB cable The following figure shows the PC connection diagram DP IN port DP IN port DP OUT port USB1 port USB port 10...

Page 15: ...to select the next item or make adjustment OK button Press this button to go to the main menu After you select a menu item press this button to confirm the selection Press this button to return to the...

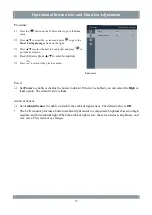
Page 16: ...can set the LCD monitor to light box mode Procedure 1 Press to go to the light box mode adjustment screen 2 Press again to enter light box mode 3 Press any other button to exit light box mode Note Th...

Page 17: ...ks User menu Mode Brightness Display Settings Contrast For details see the Display Settings section Gamma Scale Display Settings Lock Power Saving manager Power For details see the Power Saving manage...

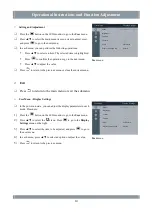
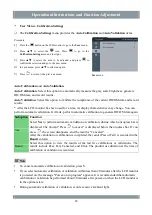
Page 18: ...s to return to the main menu or exit the submenu User Menu Display Settings In the power on state you can adjust the display parameters in each mode Procedure 1 Press the button on the LCD monitor to...

Page 19: ...based on the adjusted value Brightness Set Brightness to adjust the monitor brightness In DICOM200 DICOM250 DICOM300 DICOM350 DICOM400 DICOM450 DICOM5 DICOM600 or DICOM700 mode the system automaticall...

Page 20: ...difference between the image resolution and screen resolution Normal The image is displayed based on its resolution Note The image is automatically displayed in full screen mode if the image resolutio...

Page 21: ...revious menu User menu Power Set Power to enable or disable the power indicator When it is enabled you can select the High or Low option The default value is Low Ambient Sensor Set Ambient Sensor to e...

Page 22: ...automatic calibration to generate DICOM data again Suboption Function Yes Select Yes to perform automatic validation or calibration during which a progress bar is displayed The prompt Press to cancel...

Page 23: ...glish The default value is Chinese LOGO Set LOGO to enable or disable the startup logo When you select Off the startup logo is not displayed upon power on When you select On the startup logo is displa...

Page 24: ...Monitor Info Tap Monitor Info to view the basic monitor model resolution serial number firmware version product use duration backlight use duration and ambient light All Settings Reset Tap All Settin...

Page 25: ...ed that the connection cables delivered with the LCD monitor be used Restart the PC The image is abnormal Check whether the output resolution of the graphics card is proper Tap All Reset to restore al...

Page 26: ...es emitted by power supply equipment may affect the use of the LCD monitor and damage it Install the LCD monitor in an environment free of electromagnetic wave interference If the LCD monitor generate...

Page 27: ...ents containing harmful substances Environmental friendly service life The environmental friendly service life identifier printed on the LCD monitor s nameplate and storage box indicates that the LCD...

Page 28: ...accidents incorrect installation natural disasters or improper maintenance by a third party other than Hisense and authorized distributors The product ages because it has been used with brightness abo...

Page 29: ...or s brightness and its input voltage is non linear A smaller gamma value generates an image with lower contrast whereas a greater gamma value generates an image with higher contrast In Plane Switchin...

Page 30: ...ent Co Ltd Address North 3F Outsourcing Center of Software Park No 169 Songling Road Laoshan District Qingdao P R China Hisense national customer service hotline 4009940707 Hisense service supervision...

Reviews: