Operational Instructions and Function Adjustment
Procedure:
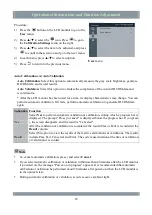
1)
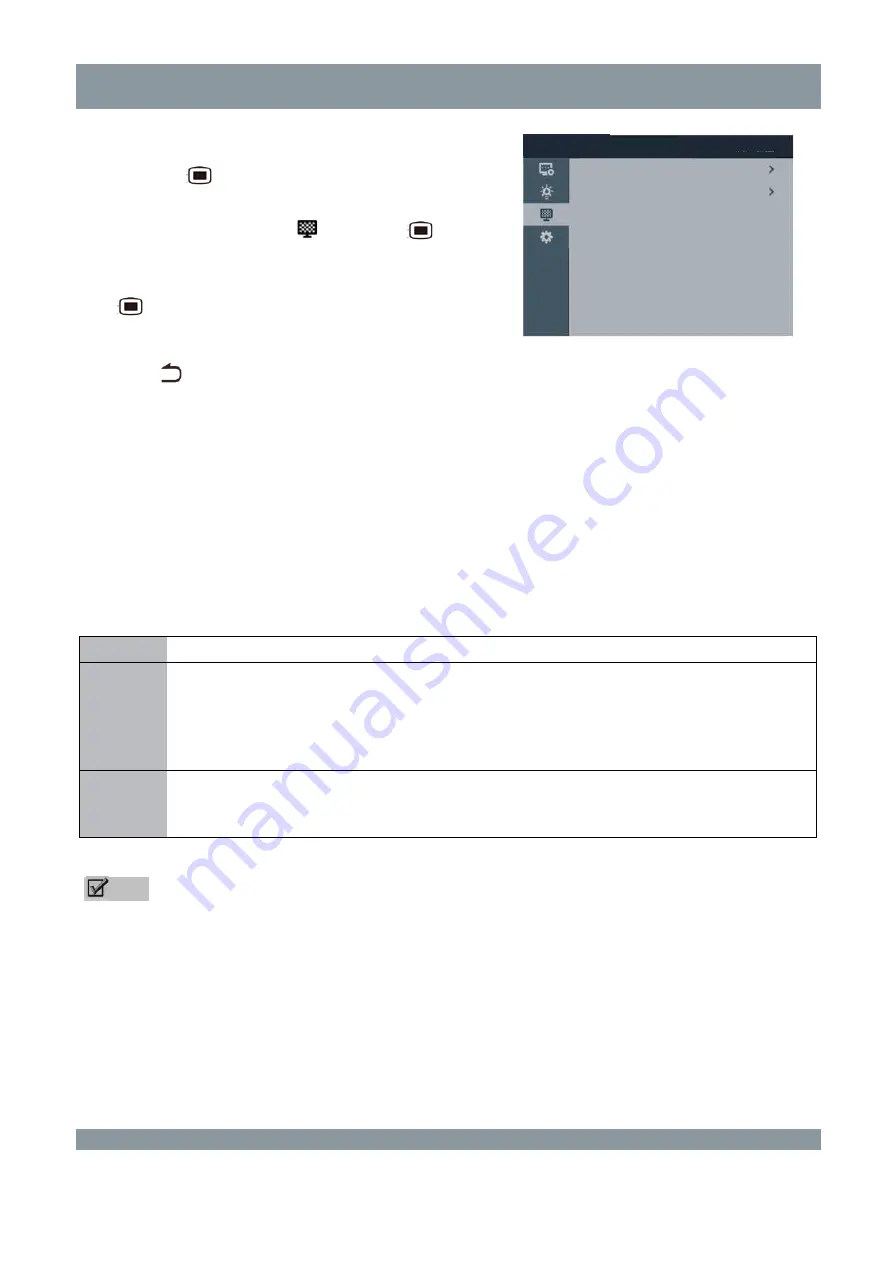
Press the
button on the LCD monitor to go to the
User
menu.
2)
Press ▲/▼ to select the
icon. Press
to go to
the
Calibration Settings
menu on the right.
3)
Press ▲/▼ to select the item to be adjusted, and press
to confirm the selection and go to the next menu.
4)
In each menu, press ▲/▼ to select an option.
5)
Press
to return to the previous menu.
User
menu
Auto Calibration
and
Auto Validation
Auto Calibration
: Select this option to automatically measure the gray scale brightness, generate
DICOM data, and record results.
Auto Validation
: Select this option to validate the compliance of the current DICOM data and
record results.
* After the LCD monitor has been used for a time, its display characteristics may change. You can
perform automatic validation. If it fails, perform automatic calibration to generate DICOM data
again.
Suboption Function
Yes
Select
Yes
to perform automatic validation or calibration, during which a progress bar is
displayed. The prompt "Press j to cancel" is displayed below the progress bar. If you press
j, the screen disappears, and the result is "Canceled".
After the validation or calibration is completed, the result (Pass or Fail) is recorded in the
Result
column.
Result
Select this option to view the results of the last five calibrations or validations. The results
include Pass, Fail, Canceled, and Error. The system use duration at the time of calibration
or validation is recorded.
Note
To cancel automatic calibration, press j and select
Cancel
.
If you select automatic calibration or validation within less than 20 minutes after the LCD monitor
is powered on, the message "Power-on in progress" appears. It is recommended that automatic
calibration or validation be performed about 30 minutes after power-on when the LCD monitor is
in the optimal state.
During automatic calibration or validation, avoid excessive ambient light.
User menu
Power Saving manager
Auto Calibration
Auto Validation
18


