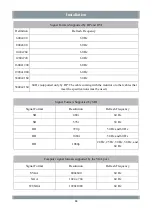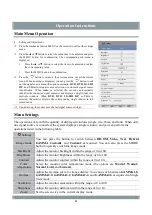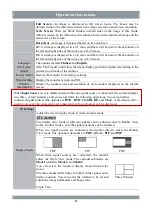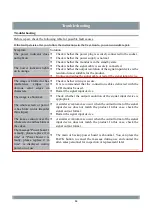
Installation
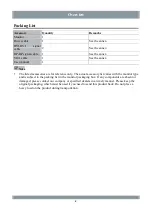
Install the monitor on the arm/bracket and use four M6 screws to securely fix the mounting
arm/bracket to the panel.
The maximum insertion depth and minimum insertion depth of a screw are 9.5 mm and 8.5 mm
respectively.
CAUTION
Use support arms authenticated by VESA.
The VESA interface of the monitor has been designed with a security coefficient of 4 (be able to
support a weight 4 times of the monitor weight). In medical systems, support arms with
appropriate safety factors must be used (complying with IEC60601-1).
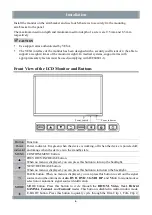
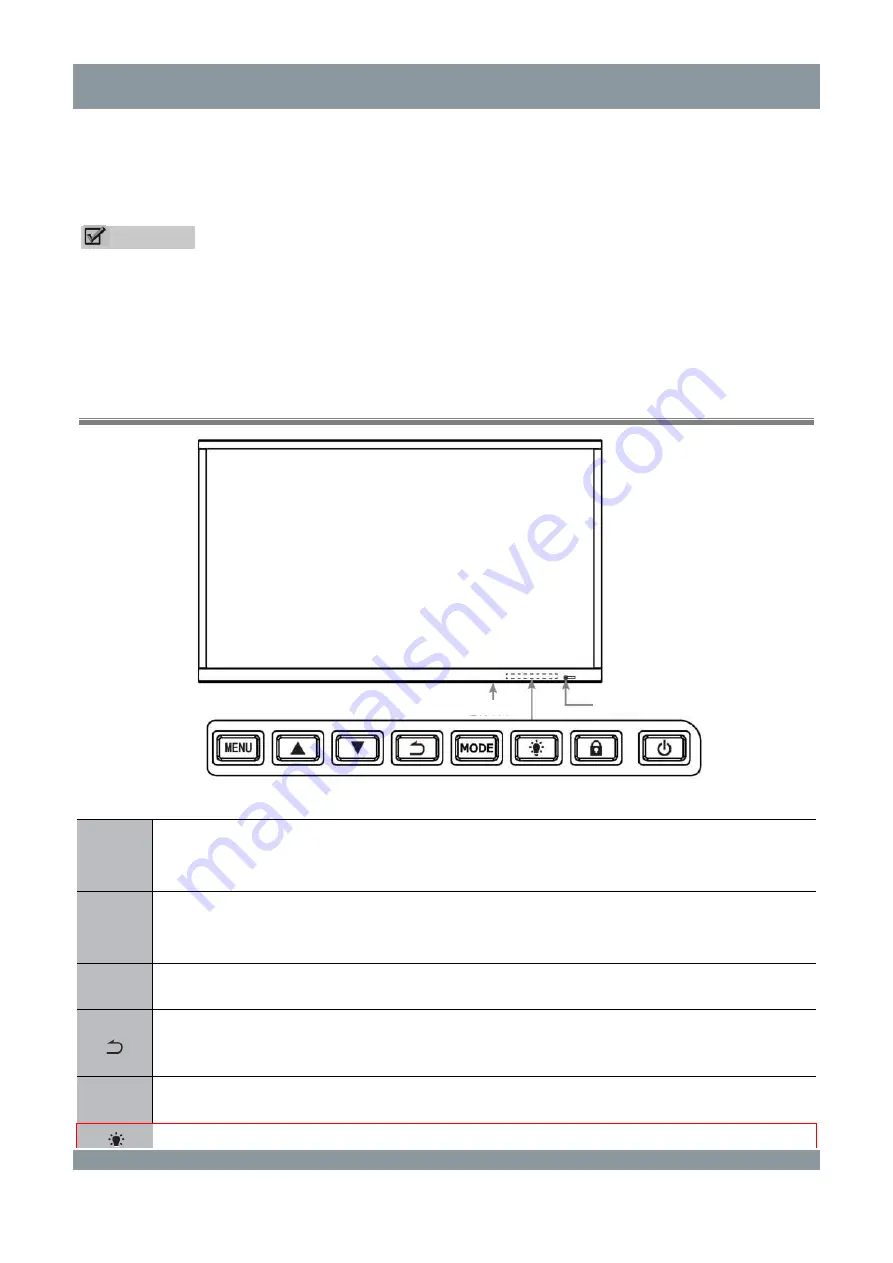
Front View of the LCD Monitor and Buttons
Button Function
Power
indicator
Power indicator. It is green when the device is working, off when the device is powered off,
and orange when the device is in the standby state.
MENU CONFIRM/MENU button.
▲
PREVIOUS/INCREASE button.
When no menu is displayed, you can press this button to turn up the backlight.
▼
NEXT/DECREASE button.
When no menu is displayed, you can press this button to turn down the backlight.
BACK button. When no menu is displayed, you can press this button to call out the signal
source menu (the options are
Auto
,
DVI1
,
DVI2
,
3G-SDI
,
DP
, and
VGA
) for signal source
selection or automatic signal source identification.
MODE
MODE button. Press this button to cycle through the
DICOM
,
Video
,
Text
,
Hybrid
GAMMA
,
Custom1
, and
Custom2
modes. This button is disabled in multi-window mode.
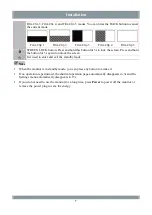
E-LIGHT button. Press this button to quickly cycle through the Film Clip 1, Film Clip 2,
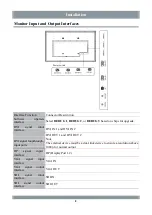
Power switch
Power indicator
6
Summary of Contents for HME8C58
Page 22: ...Annex Display Size 18...


