-158-
ENGINE
- 158 -
1
、
CHECK
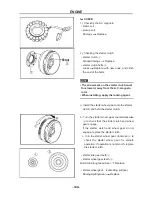
1). Checking the oil pump
• rotor housing
• rotor cover
Cracks/wear/damage
Replace.
• oil pump operation
Unsmooth
Repeat steps #1 and #2 or
replace the defective parts.
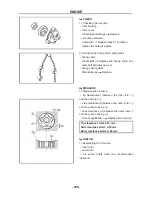
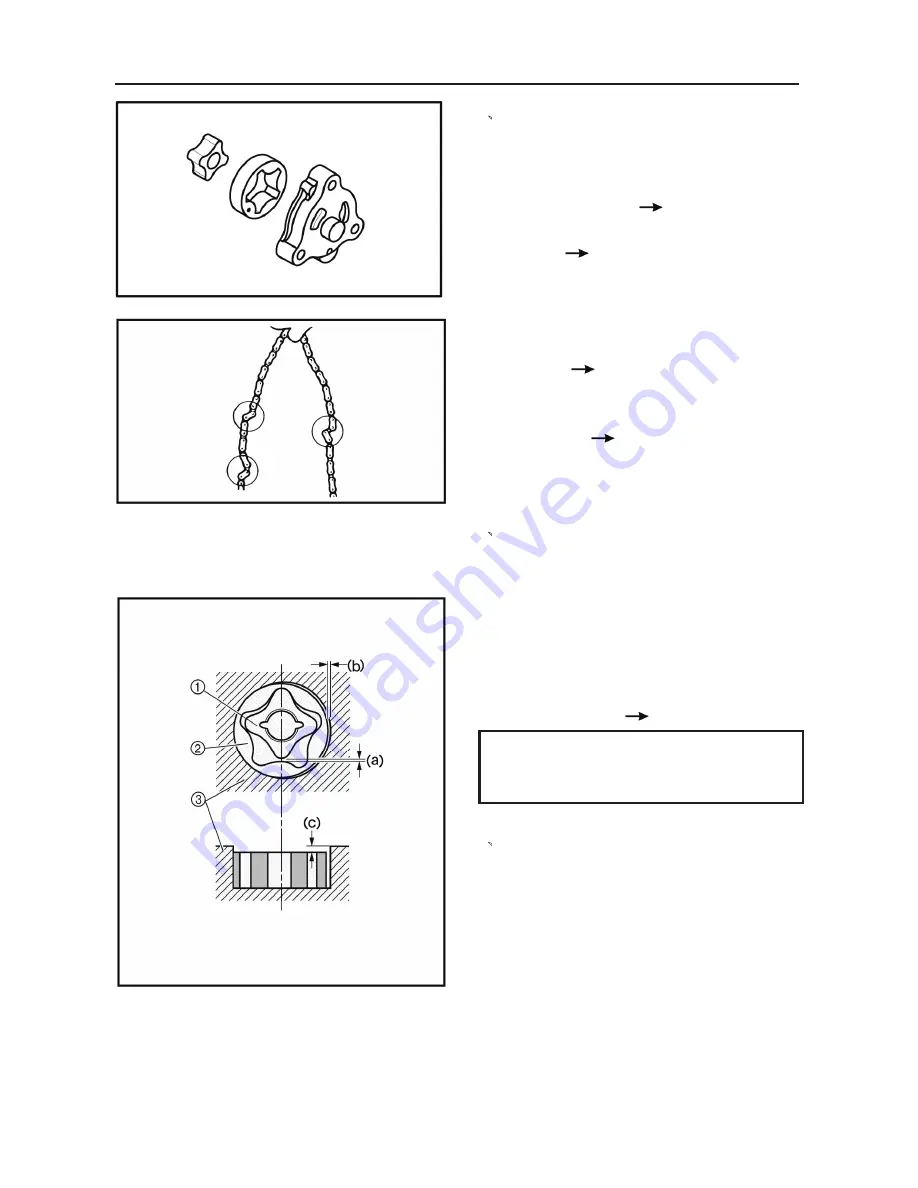
2) Checking the timing chain and guides
• timing chain
Cracks/stiff
Replace the timing chain and
camshaft sprocket as a set.
• timing chain guides
Wear/damage
Replace.
2
、
MEASURE
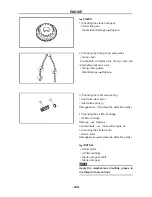
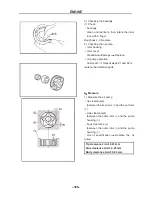
1). Measure the oil pump
• tip clearance(a) (between the inner
rotor
①
and the out rotor
②
)
• side clearance(b)(between the outer rotor
②
and the pump housing
③
)
• body clearance (c) (between the outer rotor
②
and the pump housing
③
)
Out of specification
Replace the oil pump.
Tip clearance Limit: 0.23 mm
Side clearance Limit: 0.25 mm
Body clearance Limit: 0.20 mm
3
、
INSTALL
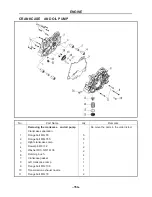
1). Assembling the oil pump
• inner rotor
• outer rotor
• oil pump shaft (with the recommended
lubricant)
ENGINE
- 159 -
1
、
MEASURE
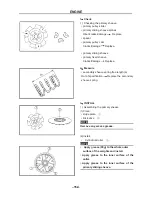
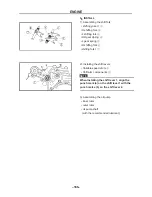
1). Measure the crankshaft
• crank width (A)
Out of specification
Replace the crankshaft.
Crank width
54.95~ 55 mm
(
2.1634~2.1654 in
)
• side clearance (D)
Out of
specification
Replace the crankshaft
Big end side clearance Limit:
0.15 mm (0.0059 in)
• runout (b)(C)
Out of
specification
Replace the crankshaft.
Runout limit
(b): 0.03 mm
(
0.0012 in
)
(C): 0.03 mm
(
0.0012 in
)
The crankshaft
①
and the crank pin
②
oil
passages must be properly interconnected with
a tolerance of less than 1 mm (0.04 in).
.
CAUTION:
The buffer boss and woodruff key should be
replaced when removed from the crankshaft.
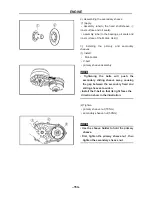
2). Assembling the crankcase
(1) Apply:
• sealant (Quick Gasket)
(to the mating surfaces of both case halves)
(2) Install:
• dowel pins
(3) Fit the left crankcase onto the right case. Tap
lightly on the case with a soft hammer
CAUTION:
Before installing and torque the crankcase
holding bolts, be sure to check whether the
transmission is functioning properly by
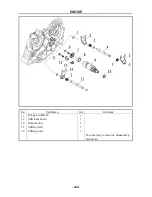
manually rotating the shift drum in both
directions.
Summary of Contents for HS200UTV
Page 3: ......
Page 15: ......
Page 94: ... 79 SPECIFICATIONS 79 HYDROGRAPHIC CHART Hydrographic chart Pressure ...
Page 95: ... 80 SPECIFICATIONS 80 LUBRICATION OIL WAY LUBRICATION OIL WAY Pressure splashing oil ...
Page 248: ... 233 CHASSIS 233 Fuel tank cap Remove the fuel tank cap by turning it counterclockwise ...
Page 263: ... 248 ...
Page 304: ... 289 ...
Page 305: ... 290 ...
Page 306: ... 291 ...
Page 307: ... 292 ...
Page 308: ... 293 ...
Page 309: ... 294 ...
Page 310: ... 295 ...
Page 311: ... 296 ...

