4. Specifying the Exit Port
4-9
C
onven
ie
nt
Fun
ct
ions
Chapter
4
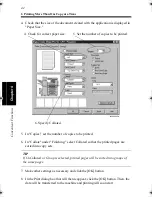
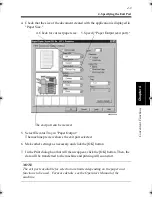
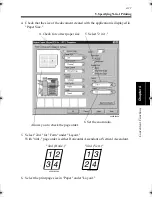
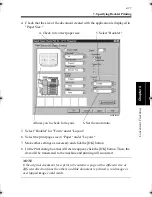
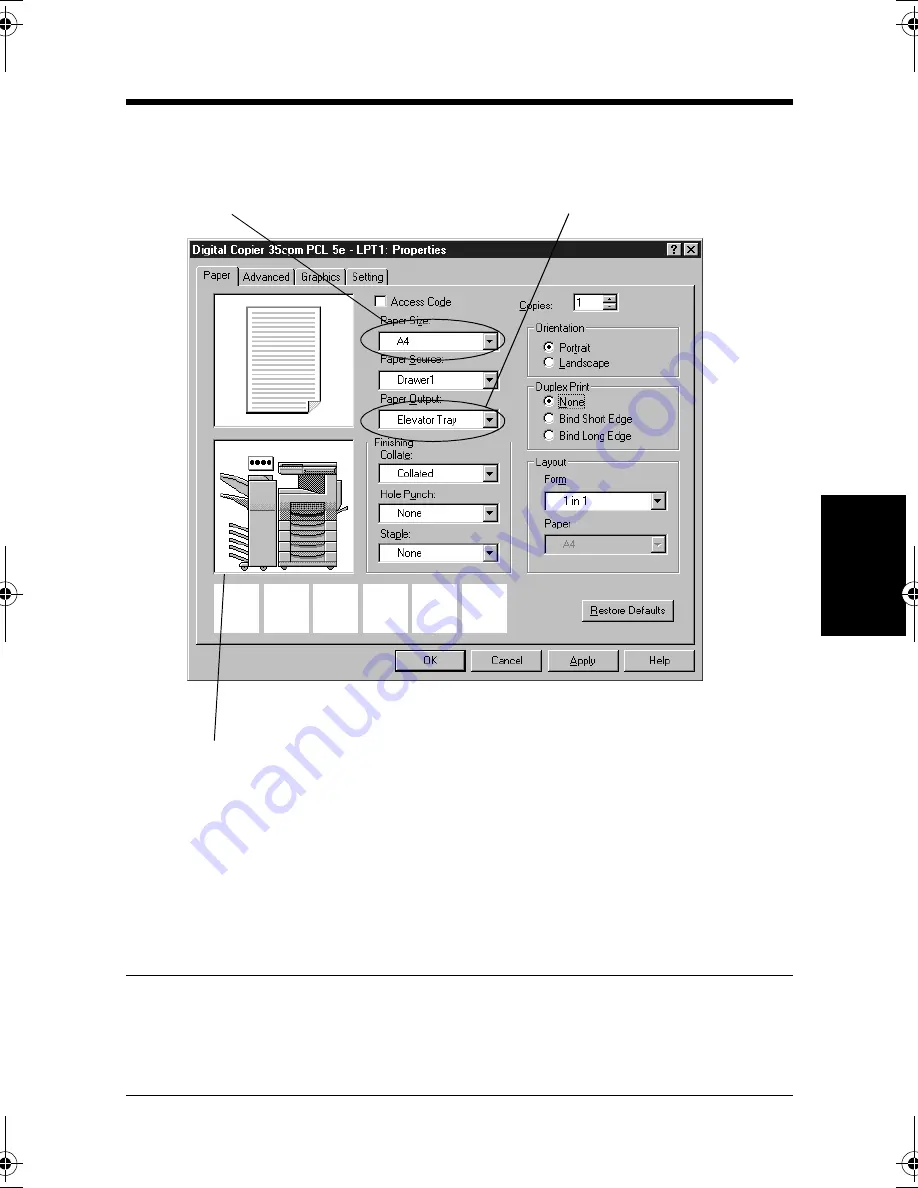
4. Check that the size of the document created with the application is displayed in
"Paper Size."
5. Select Elevator Tray in "Paper Output."
The machine preview shows the exit port selected.
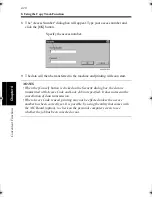
6. Make other settings as necessary and click the [OK] button.
7. In the Print dialog box that will then reappear, click the [OK] button. Then, the
data will be transferred to the machine and printing will soon start.
NOTE
The exit ports available for selection are limited depending on the paper and
functions to be used. For more details, see the Operator’s Manual of the
machine.
4608P228CA
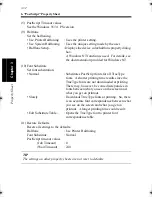
5. Specify "Paper Output (exit port)."
4. Check for correct paper size.
The exit port can be viewed.
win.book Page 9 Wednesday, January 26, 2000 11:31 AM
Summary of Contents for Hi-35pc
Page 19: ...Installing the Printer Driver Chapter 2 2 1 Chapter 2 Installing the Printer Driver ...
Page 69: ...3 1 Property Sheet Chapter 3 Chapter 3 Property Sheet ...
Page 104: ...8 Conflict Settings Validation Dialog Box 3 36 Property Sheet Chapter 3 ...
Page 105: ...Convenient Functions Chapter 4 4 1 Chapter 4 Convenient Functions ...
Page 153: ...5 1 Chapter 5 Troubleshooting Chapter 5 Troubleshooting ...
Page 162: ...1 Troubleshooting 5 10 Chapter 5 Troubleshooting ...
Page 163: ...Appendix A A 1 Appendix A ...
Page 179: ...Appendix B B 1 Appendix B ...
Page 184: ...1 Glossary B 6 Appendix B ...
Page 185: ...Appendix C C 1 Appendix C ...


