


23
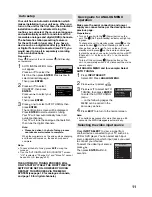
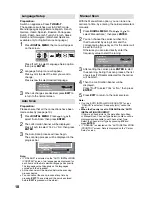
Multi audio
You can select your preferred Audio mode and
DVB (digital TV) subtitle Language.
The Multi audio menu will display the Audio mode
and Language options available with the current
broadcast.
1
Press
AUDIO
I/II
to display the Multi audio
menu.
The Audio mode and Language code will be
displayed if available.
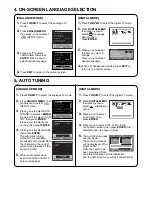
Multi audio
Audio mode
No. Language Code
001 ENG
002 ENG (Dolby Digital)
Stereo
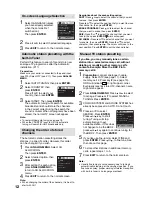
2
To select Audio mode, press or . In general
the below audio modes will be supported in a
service.
Stereo, Left, Right and L + R. Then press
ENTER
.
To select a Language code, press or to
select code within Language code list.
Multi audio
Audio mode
No. Language Code
001 ENG
L+R
002 ENG (Dolby Digital)
3
Press
EXIT
. Your selected audio preferences
will be saved.
Note:
Dolby Digital audio can be selected for some language
options. There is no sound output from the main unit’s
speakers when Dolby Digital audio is selected. You
can only hear Dolby Digital audio through the amplifi er
equipped with a Dolby Digital decorder.
Dolby is a trademark of Dolby Laboratories.
•
•
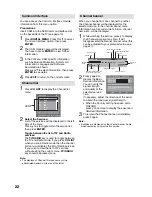
DVB-Subtitle
DVB-Subtitle is a feature supported in DVB
(Digital Video Broadcasting) applications in which
the service shown can be accompanied by a
text display on the screen in parallel with the
corresponding audio service. The DVB-Subtitle
feature can be enabled or disabled at anytime.
1
Press
DIGITAL MENU
. Press / or / to
select “Subtitle”, then press
ENTER
.
2
Press or to select your desired subtitle
language from the available languages.
Subtitle
e
g
a
u
g
n
a
L
English
Navigate
Enter
Exit
3
To turn off the DVB-Subtitle, press or
repeatedly until ‘Off’ appears in the Subtitle
menu.
Press
EXIT
. Your selected subtitle language
will be saved.
Note:
DVB-Subtitle can also be changed by pressing of
repeatedly.
•
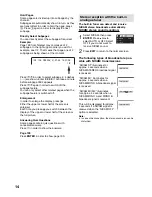
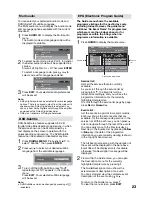
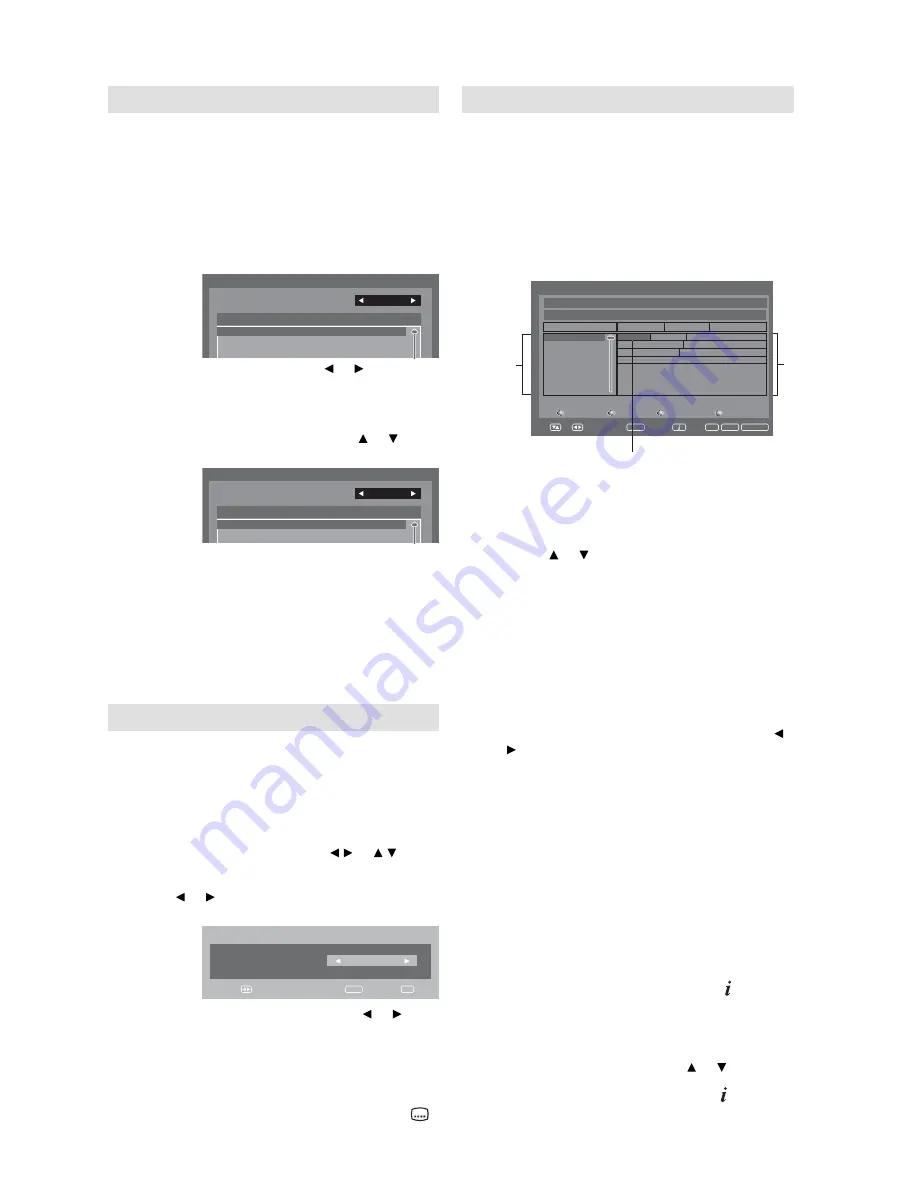
EPG (Electronic Program Guide)
The Guide menu shows the available
programme listings for the next 8 days only,
including today. However, the guide menu
will show ‘No Event Name’ for programmes
which are more than 8 days ahead, or for
programmes within the 8 days when no
programme information is available.
1
Press
GUIDE
to display the Guide menu.
Events
list
Highlighted programme
Service list
Guide
16:50 Sun 20/08/200 9
TV
Page -
Page +
Prev.Day
Next Day
MNO
PQS
STU
TCM
VWXYZ
SAT.1
ARTE
DEF
671_MNO_10Step_0820_0100_0120_Audio2_0100_0120..
.
9
0
0
2
/
8
0
/
0
2
n
u
S
671 MNO
01:00
Channels
679_VWXYZ_Monosoo_0100_0300...
No Event Name
No Event Name
No Event Name
No Event Name
671_M...
672_PQR_SMPTE_col...
673_STU_SDTV.. . 673_STU_SDTV Moving...
672_PQR_SMPTE_col...
671_M...
671_MNO_10step
02:00
01:30
Navigate
Enter
Exit
Guide
View
Info
TV/Radio
Service list :
Lists all the services that are currently
available.
As you scroll through the service list by
pressing or , the Event list will be
refreshed accordingly, and you will see the
programme information for the currently
highlighted programme.
To scroll through the service list page by page,
press
Red
or
Green
Key.
Events list :
List the events in a grid of rows and columns.
Each row shows the list of events that are
available, for the corresponding service in the
service list. Within each row, you can press
or to navigate through the rest of the events.
You can easily move to the Previous day or
Next day in the Events List by pressing
Yellow
or
Blue
key (the date of the programme
information you are currently viewing is shown
in the top right hand corner).
The full Event name along with the duration of
the event will be displayed in the bar above.
Event title will be displayed only if available
otherwise ‘No Description’ message will be
displayed.
2
From within the Guide menu, you can open
the Description menu for the currently
highlighted programme by pressing .
The Guide/Description menu shows the
extended event description of an event.
You can scroll and view the complete event
description of the event using or .
To return to the Guide menu, press .
To clear the menu screen, press
EXIT
.


