12
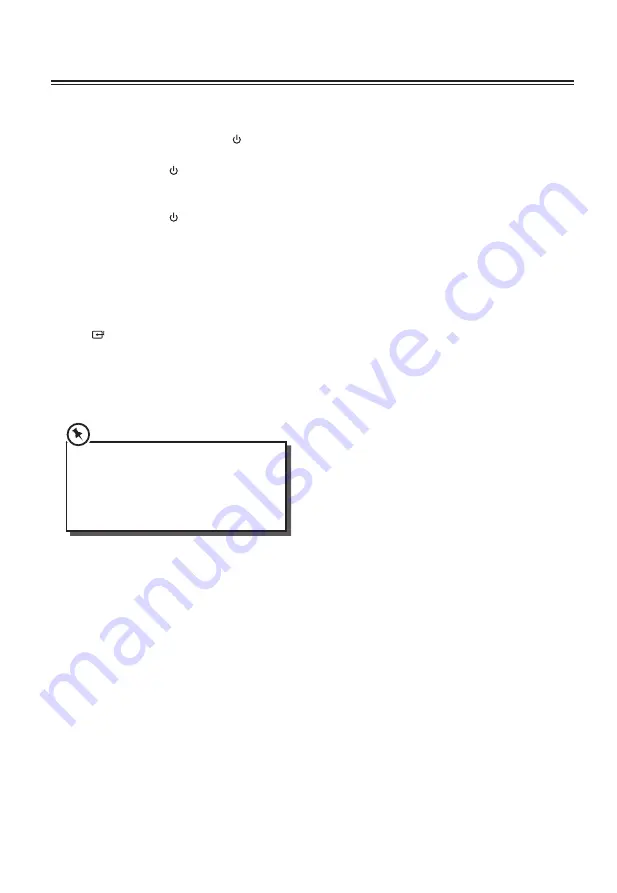
Time Display
Press the
CLOCK
button to show the current time
on the display for few seconds.
Auto Setting the Clock
In FM mode, press
RDS
button repeatedly until
RDS
CLOCKS
shows on the display. Once
RDS CLOCKS
has selected, clock will automatically update.
Manual Setting the Clock
Manual Setting the clock can only be done in
STANDBY
mode.
1. In
STANDBY
mode, press and hold the
CLOCK
button on the remote control until the hour
digits are flashing.
2. Press the
buttons on the remote control to
adjust the hour digits while flashing, then press
the
ENTER
or
CLOCK
buttons on the remote
control to confirm, then the minute digits will
flash.
3. Press the
buttons to adjust the minute digits
while flashing, then press the
ENTER
or
CLOCK
buttons on the remote control to confirm.
4. Each activated state will be cleared if any
buttons are not pressed within 15 seconds.
Setting the Daily Timer
1. In
STANDBY
mode, press and hold the
TIMER
button on the remote control until the display
shows “TIMER SET”.
2. Press the
buttons on the remote control to
select
USB, TUNER, DOCK
or
DISC
mode, and
then press the
ENTER
or
TIMER
buttons on the
remote control to confirm.
3. The display will show volume level and flash.
Press the
buttons on the remote control to
adjust the volume no less than Vol 8, and then
press the
ENTER
or
TIMER
buttons on the
remote control to confirm.
4. The hour digits will flash on the display. Press
the
buttons on the remote control to adjust
the hour digits, and then press the
ENTER
or
TIMER
buttons on the remote control to confirm.
5. The minute digits will flash on the display. Press
the
buttons on the remote control to adjust
the minute digits, and then press the
ENTER
or
TIMER
buttons on the remote control to confirm.
General Operation
Powering On/Off
When you first connect the unit to the mains
socket. The unit will be in
STANDBY
mode and
the
LED Display
will be white.
• Press the STANDBY
button on the unit or
the remote control to switch the unit on.
"
HELLO
" is displayed.
• Press the STANDBY
button on the unit or
the remote control to switch the unit back to
standby mode. "
ECO POWER
" is displayed.
• Disconnect the mains plug from the mains
socket if you want to switch the unit off
completely.
Selecting Modes
Tap the icon repeatedly on the unit to switch
between
USB, TUNER, DOCK, AUX
and
DISC
modes. The selected mode will show on the
display. Alternatively press the
USB, TUNER,
DOCK, AUX
or
DISC
button on the remote
control to select desired mode.
• If there is no signal under the USB, TUNER,
DOCK, AUX
and
DISC
mode or no iPhone/
iPod docked during
iPod
mode, the unit will
automatically switch off within 15 minutes.
• Please turn the unit off completely to save
energy when not in use.
Adjusting the Volume
• Turn the VOL+ / VOL–
dial on the unit or press
the
VOL+ / VOL–
buttons on the remote
control to adjust the volume.
• If you wish to turn the sound off, press the
MUTE
button on the remote control. Press the
MUTE
button again or press the
VOL +
button
on the remote control or turn the
VOL +
dial on
the unit to resume normal listening.
Adjusting the Sound Effect
Press the
POP, JAZZ, ROCK, CLASSIC
or
FLAT
buttons to select a desired music mode.
Adjusting the Bass
Press the
BASS + / –
buttons to select bass level.
Adjusting the Brightness
Press the
DIM + / –
buttons to select brightness
level.
Downloaded from www.vandenborre.be


