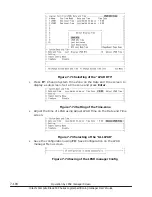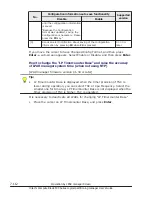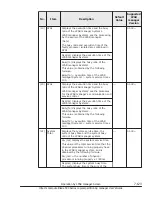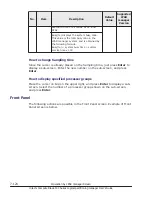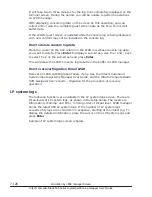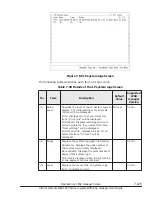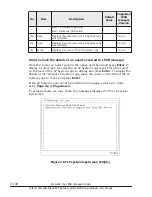
– On the LPAR manager Menu screen, press F9: Save Configuration to
save the configuration.
•
Not using NTP
– Check LPAR manager system time on the Date and Time screen. If it is
not the expected one, set the LPAR manager system time zone using F7:
Change System Time Zone.
– Check LPAR manager system time on the Date and Time screen. If the
LPAR manager system time is not synchronized, adjust the LPAR manager
system time by F6: Change System Date and Time.
– Adjust deactivated LPAR time using Adjust LP Time for LP System Time,
Specified Zone, and UTC, on the Date and Time screen. For activated
LPARs, adjust the time by using the guest OS or NTP time synchronization
for the guest OS.
– Enable the Save Time Config on the Options screen.
– Save the configuration on the LPAR manager Menu screen using F9:
Save Configuration.
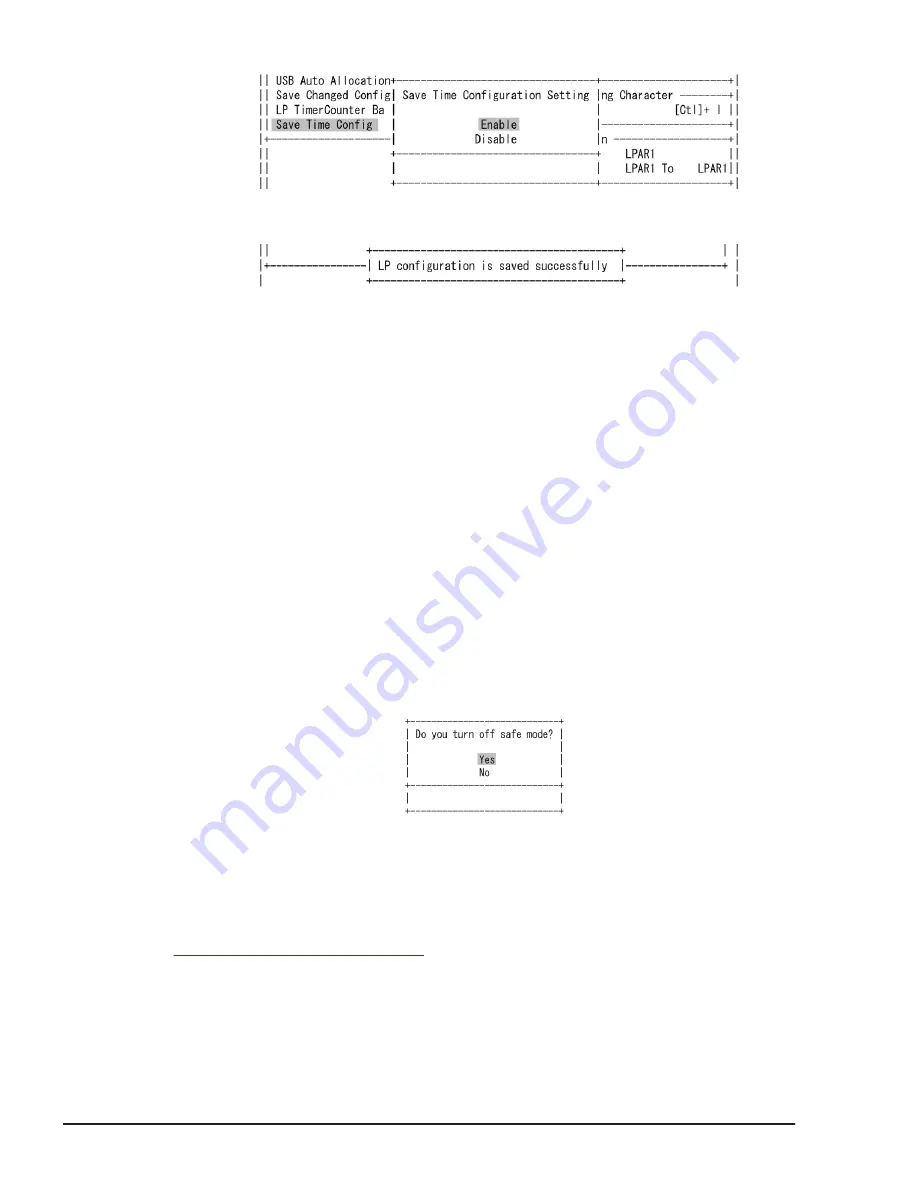
How to release the safe mode
[LPAR manager firmware version 02-2X or later]
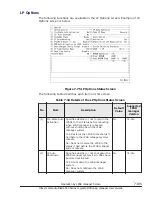
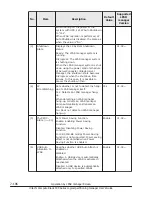
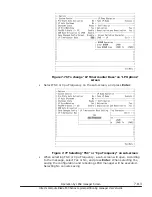
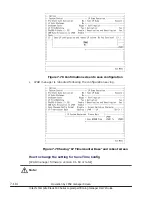
Place the cursor on Safe Mode and press Enter to display the subscreen.
Select Yes and then press Enter.
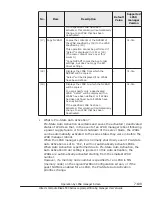
How to collect the LPAR manager dump
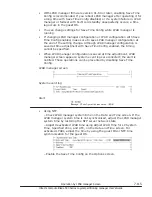
Place the cursor on Execute of Take LP Dump, and press Enter to open a
sub-screen. Enter the new character on the sub-screen, and press Enter. To
display the confirmation prompt sub-screen, select Yes. Details of them see
.
7-116
Operation by LPAR manager Screen
Hitachi Compute Blade 500 Series Logical partitioning manager User's Guide


