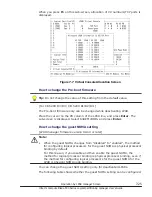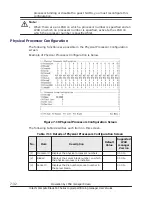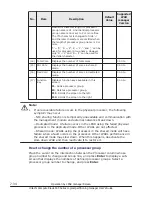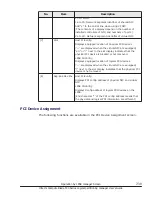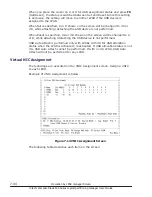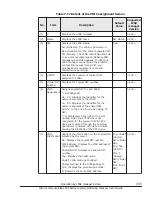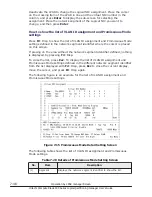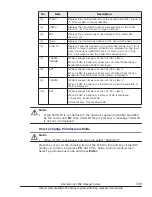
Changing the number of a processor group can be performed to cores in
Activate or Warning at any time. If one of the following conditions is met, an
error message will appear to terminate the screen.
– (a) An LPAR in dedicated mode is activated on the target core.
– (b) When an LPAR in shared mode is activated in the target core: a shared
mode LPAR is activated on the group whose number is to be changed, change
in the group number of the target core removes the physical processor in
shared mode in the source group.
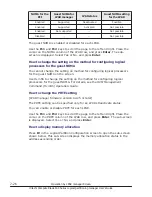
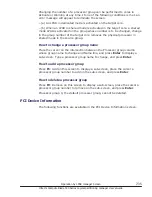
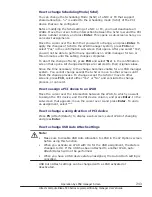
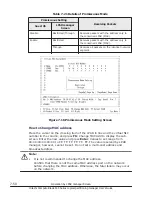
How to change a processor group name
Place the cursor on the intersection between the Processor group column
whose group name to change and Name line, and press Enter to display a
sub-screen. Type a processor group name to change, and press Enter.
How to add a processor group
Press F1: Add on this screen to display a sub-screen, place the cursor a
processor group number to add on the sub-screen, and press Enter.
How to delete a processor group
Press F2: Remove on this screen to display a sub-screen, place the cursor a
processor group number to remove on the sub-screen, and press Enter.
Processor group 0, the default processor group, cannot be deleted.
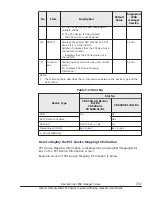
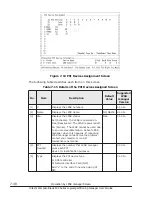
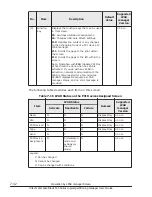
PCI Device Information
The following functions are available in the PCI Device Information screen.
Operation by LPAR manager Screen
7-35
Hitachi Compute Blade 500 Series Logical partitioning manager User's Guide

