Menu items
Description
Setting/display value
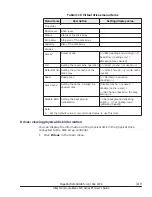
Select Size
5
Size of a disk array
Enter any value within the
maximum capacity value. The
lowest available value is 64 KB.
Notes:
1
.
When building the existing Drive Group to add a disk array, changing of RAID
Levels are not supported.
2
.
For RAID 1 set 64KB by default.
3
.
Always use it in the default or recommended value.
4
.
Change from the default value to the recommended value.
5
.
Maximum capacity values that can be set are shown under [Next LD, Possible
RAID Levels] at the right of the window. Change to any value until the
maximum capacity value for your RAID level. Change to the value after deleting
all values when changing the value. When entering the maximum capacity
value, click the Update Size button.
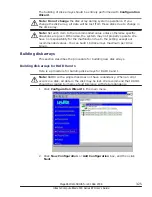
Note: When a drive group contains multiple disk arrays, specify the same
setting values on all disk arrays in the drive group.
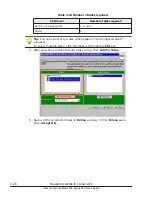
Tip: If you specify a larger disk array size than the maximum capacity,
Unacceptable size is displayed on the window and all the setting items
are initialized. You need to reset all items to the correct size.
11
.
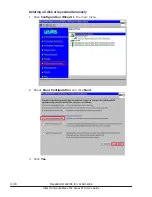
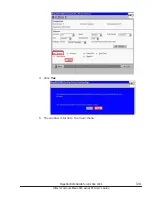
Click Yes.
12
.
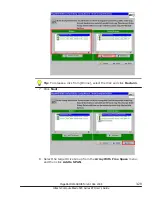
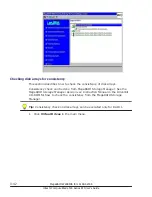
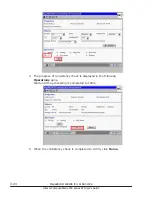
Click Next.
3-32
MegaRAID WebBIOS for LSI SAS 2008
Hitachi Compute Blade 500 Series EFI User's Guide
Summary of Contents for Compute Blade 500 Series
Page 8: ...viii Hitachi Compute Blade 500 Series EFI User s Guide ...
Page 14: ...xiv Preface Hitachi Compute Blade 500 Series EFI User s Guide ...
Page 445: ...SAS configuration utility 7 11 Hitachi Compute Blade 500 Series EFI User s Guide ...
Page 468: ...7 34 SAS configuration utility Hitachi Compute Blade 500 Series EFI User s Guide ...
Page 475: ...BIOS settings for PXE boot 8 7 Hitachi Compute Blade 500 Series EFI User s Guide ...
Page 476: ...8 8 BIOS settings for PXE boot Hitachi Compute Blade 500 Series EFI User s Guide ...
Page 504: ...10 12 Fibre channel over Ethernet FCoE Hitachi Compute Blade 500 Series EFI User s Guide ...
Page 505: ...Hitachi Compute Blade 500 Series EFI User s Guide ...


