23
1. Mounting
COUTION:
s
Be sure to turn power OFF and discon-
nect the plug from the power recep-
tacle.
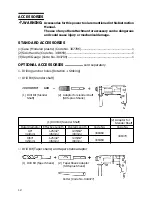
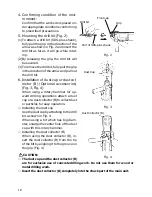
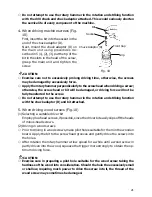
(1)Mount the core bit to the core bit shank.
(Fig. 14)
Lubricate the thread of the core bit
shank to facilitate disassembly.
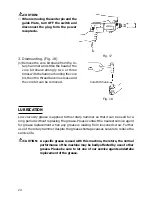
(2)Mount the core bit shank to the rotary
hammer. (Fig. 15)
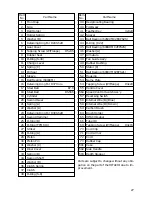
(3)Insert the center pin into the guide plate
until it stops.
(4)Engage the guide plate with the core bit,
and turn the guide plate to left or right
so that it does not fall even if it faces
downward. (Fig. 16)
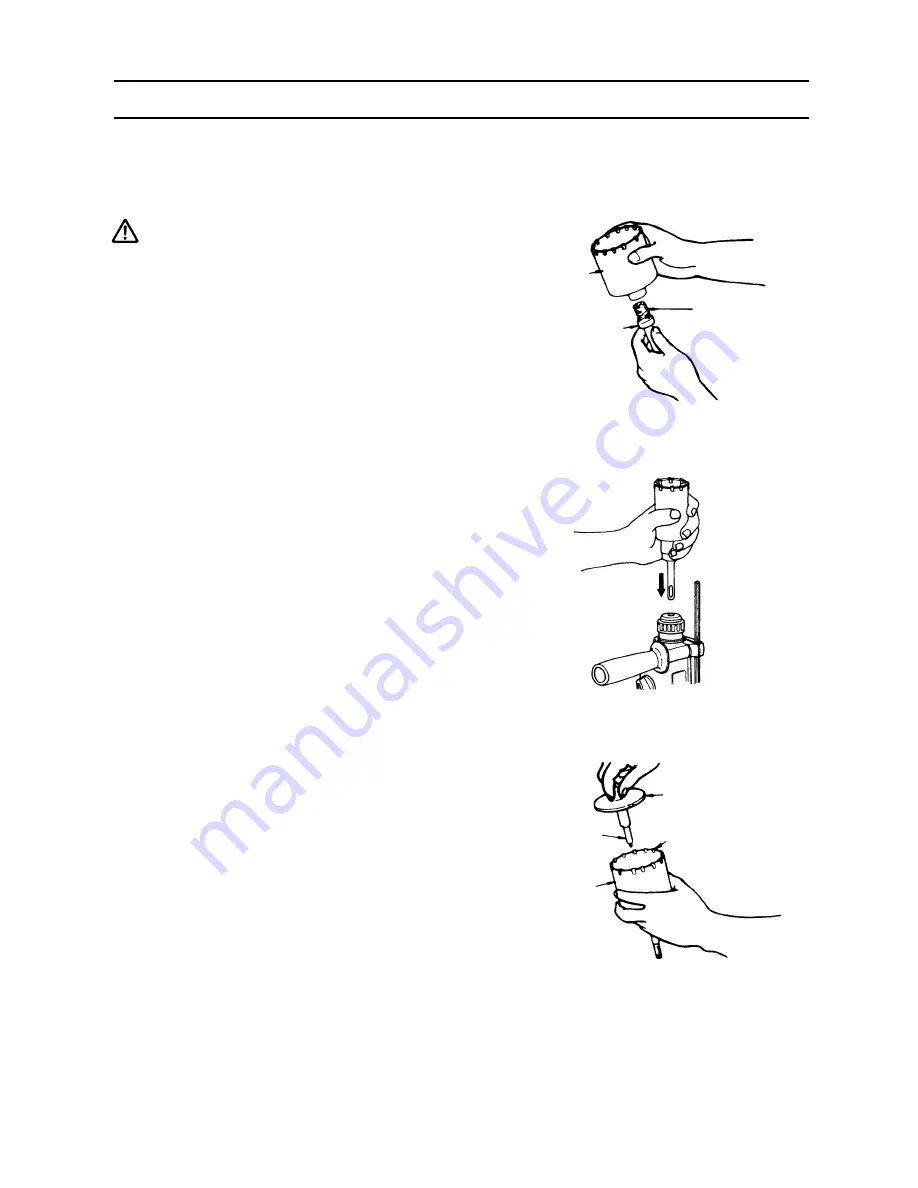
2. How to bore (Fig. 17)
(1)Connect the plug to the power source.
(2)A spring is installed in the center pin.
Push it lightly to the wall or the floor
straight. Connect all over the surface of
the core bit tip and start operating.
(3)When boring about 3/16" (5 mm) in
depth the position of the hole will es-
tablish. Bore after that removing the
center pin and the guide plate from core
bit.
(4)Application of excessive force will not
only expedite the work, but will dete-
riorate the tip edge of the drill bit, re-
sulting in reduced service life of the ro-
tary hammer.
Fig. 16
Fig. 15
Fig. 14
Core Bit
Thread
Core Bit Shank
Core Bit
Core Bit Tip
Guide Plate
Center Pin
HOW TO USE THE CORE BIT (FOR LIGHT LOAD)
When boring penetrating large hole use the core bit (for light load). At that time use
with the center pin and the core bit shank provided as optional accessories.
Summary of Contents for DH 24VB
Page 26: ...26 ...

