E2 - 4
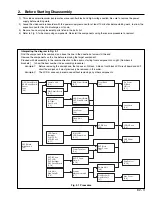
5) Reinstall all components, and perform operation check after completion of reinstallation/reassembly.
6) Lens and loader and mechanism unit are precise components: Do not subject them to impact or force. Do not disassemble
the components in mechanism unit.
7) Be careful that no foreign object, such as dust, enters the lens or mechanism unit.
8) Press the EJECT button and make sure that the disc loading block opens. If there is a disc in the block, remove it. (After
this check or removal of disc, close the disc loading block). If the disc loading block does not open, refer to
“4. Disassembly When Trouble Has Occurred” at the end of this chapter.
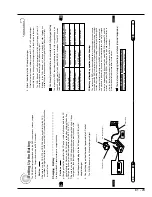
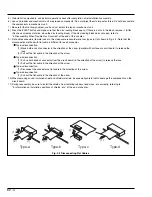
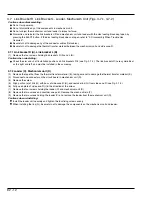
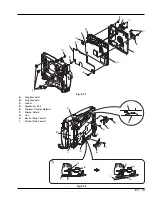
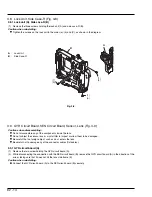
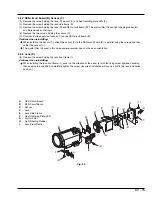
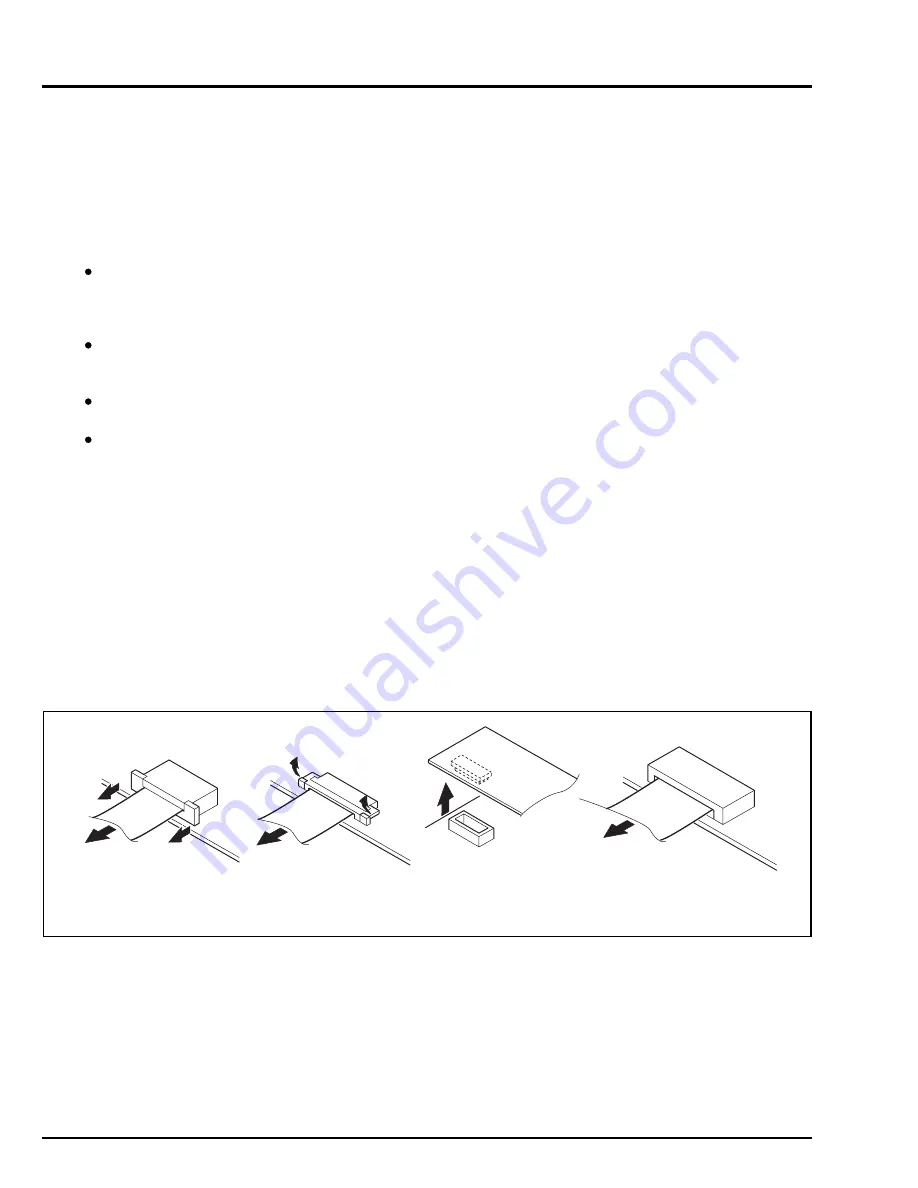
9) Flat-cable connectors (female) used in this video camera/recorder are four types (a)-(d) shown in Fig. 2-2: Note that the
disconnection method with flat cable is different for each connector.
Type-a disconnection
(1) Move both ends of connector in the direction of the arrow (parallel with surface of circuit board) to release the
lock.
(2) Pull out the flat cable in the direction of the arrow.
Type-b disconnection
(1) Pull up both ends of connector from the circuit board (in the direction of the arrow) to release the lock.
(2) Pull out the flat cable in the direction of the arrow.
Type-c disconnection
(1) Disconnect the connector on flat cable in the direction of the arrow.
Type-d disconnection
(1) Pull out the flat-cable in the direction of the arrow.
10) When removing sound insulation sheet and shield materials, be especially careful not to damage the components on the
circuit board.
11) During reassembly, be sure to install the shields, heat radiating rubbers, lead wires, etc. correctly, referring to
"5. Information on installation positions of shields, etc." at the end of chapter.
Fig. 2-2 Disconnecting Flat Cables
Type-a
Type-b
Type-c
Type-d
(1)
(1)
(1)
(1)
(2)
(2)
(1)
(1)

