
--- 10 ---
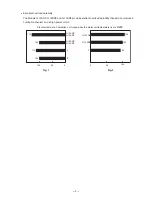
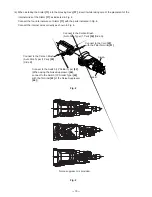
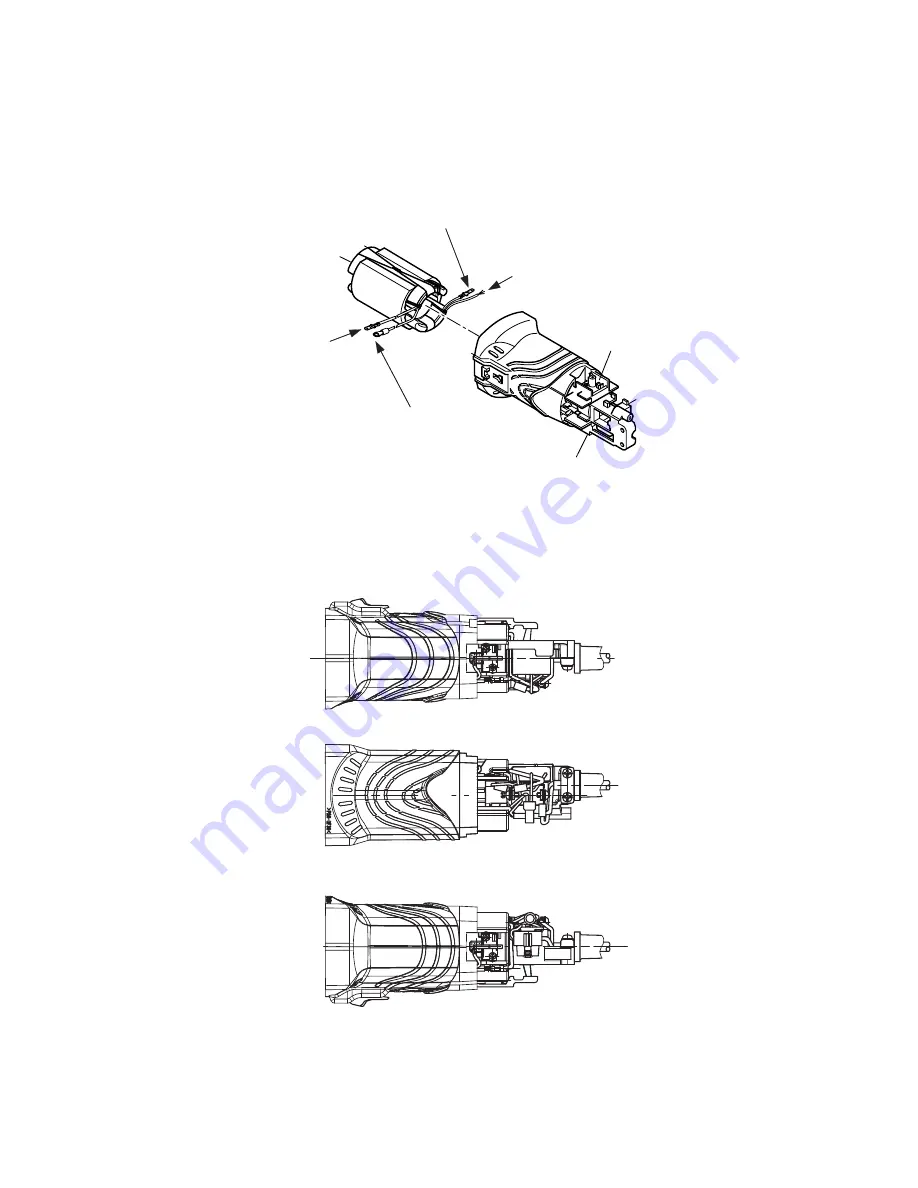
(4) When installing the Stator
[11]
into the Housing Ass'y
[37]
, insert it while taking care of the placement of the
internal wires of the Stator
[11]
as indicated in Fig. 8.
Connect the four internal wires of Stator
[11]
with the parts indicated in Fig. 8.
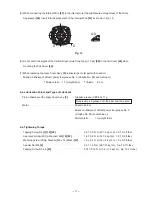
Connect the internal wires correctly as shown in Fig. 9.
Connect to the Carbon Brush
(Auto Stop Type) (1 Pair)
[39]
(Side A).
Connect to the Cord
[52]
with the Pillar Terminal
[41]
.
Connect to the Carbon Brush
(Auto Stop Type) (1 Pair)
[39]
(Side B).
Connect to the Switch (1P Solder Type)
[42]
.
(When using the Noise Suppressor
[46]
,
connect to the Switch (1P Solder Type)
[42]
with the Terminal
[45]
of the Noise Suppressor
[46]
.)
Fig. 8
Fig. 9
Side A
Side B
Noise suppressor is provided.
Summary of Contents for G 13SR3
Page 30: ......


