GR2K-GA-0008
2-1
Rev. 1.00
Chapter 2
Setup Process
This chapter explains briefly about the whole process from unpacking a product
package to powering up the GR2000-B.
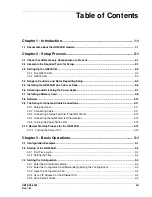
2.1, “Check that All Necessary Components are Present,” on page 2-1
2.2, “Assemble the Required Tools for Setup.,” on page 2-1
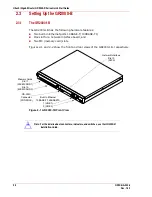
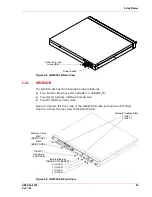
2.3, “Setting Up the GR2000-B,” on page 2-2
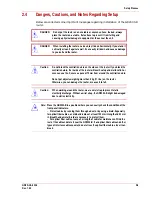
2.4, “Dangers, Cautions, and Notes Regarding Setup,” on page 2-5
2.5, “Installing the GR2000-B on a Table or Desk,” on page 2-6
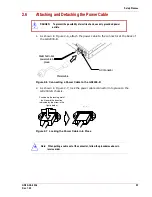
2.6, “Attaching and Detaching the Power Cable,” on page 2-7
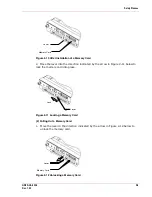
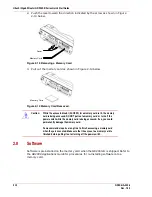
2.7, “Installing a Memory Card,” on page 2-8
2.8, “Software,” on page 2-10
2.9, “The Setup Terminal and Cable Connections,” on page 2-11
2.10, “Normal Start-Up Process for the GR2000-B,” on page 2-13
2.1
Check that All Necessary Components are Present
Before you unpack the GR2000-B, find the packing list and check the contents of the
box against the list. Make sure that all components are present before you begin the
setup process.
2.2
Assemble the Required Tools for Setup.
Make sure you have the following tools before you begin setup. The only tools
required to install and set up a GR2000-B router are:
A #2 Phillips screwdriver for attaching the GR2000-B to a rack
A medium-sized flat-blade screwdriver for attaching cables.

