GR4000 Installation Guide Version 1.00 - Preliminary
74
520-10-014-20X
(2) Installation in a 19-Inch Rack
The GR4000 can be mounted in the racks complying with the standard indicated in
Table 2.8-1. Since the router must be cooled, purchase a rack with enough space on the
sides to ensure that air can enter and exit the unit. For details, refer to the section 2.10
Cooling Considerations. The depth of the GR4000 is as indicated in Table 2.2-1.
Considering the depth of a router, ensure that there is at least 100 mm of space to
place cables at the front/back of a rack. Use the guide rails and screws provided in a
package to install the router into an rack. For the amount of screws necessary for the
installation, see Table 2.8-2.
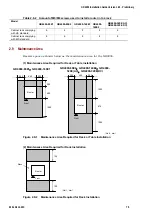
Table 2.8-1
Rack specification required for GR4000 models
Models
GR4000
-
80E1
,
GR4000
-
80E2
,
GR4000
-
160E1
,
GR4000
-
160E2
,
GR4000-320E (AC)
GR4000-320E (DC)
Standard of
racks
Racks satisfying the following conditions should be used;
・
19-inch cabinet rack complying with EIA standard
・
19-inch cabinet rack complying with JIS standard, which opening must be at least 450 mm wide
Guide rail
Guide rails which were provided with a rack and satisfy the following conditions should be used;
・
sustainable to the weight of a router
(
See Table 2.2-1.
)
・
types which does not interfere with the rubber feet attached to the underside of a router
(
width:
45mm or less
)(
See Figure 2.8-1.
)
Fixing screws
M5 or M6 screws provided with a rack
!
Caution: The rack-mounting brackets provided with a router are not intended for
sustaining the weight of a router but for fixing a router into a rack, therefore
make sure that you use the guide rails together with these rack-mounting
brackets when mounting a router. You should use the guide rails provided with a
rack as its accessories.
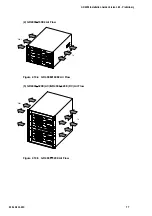
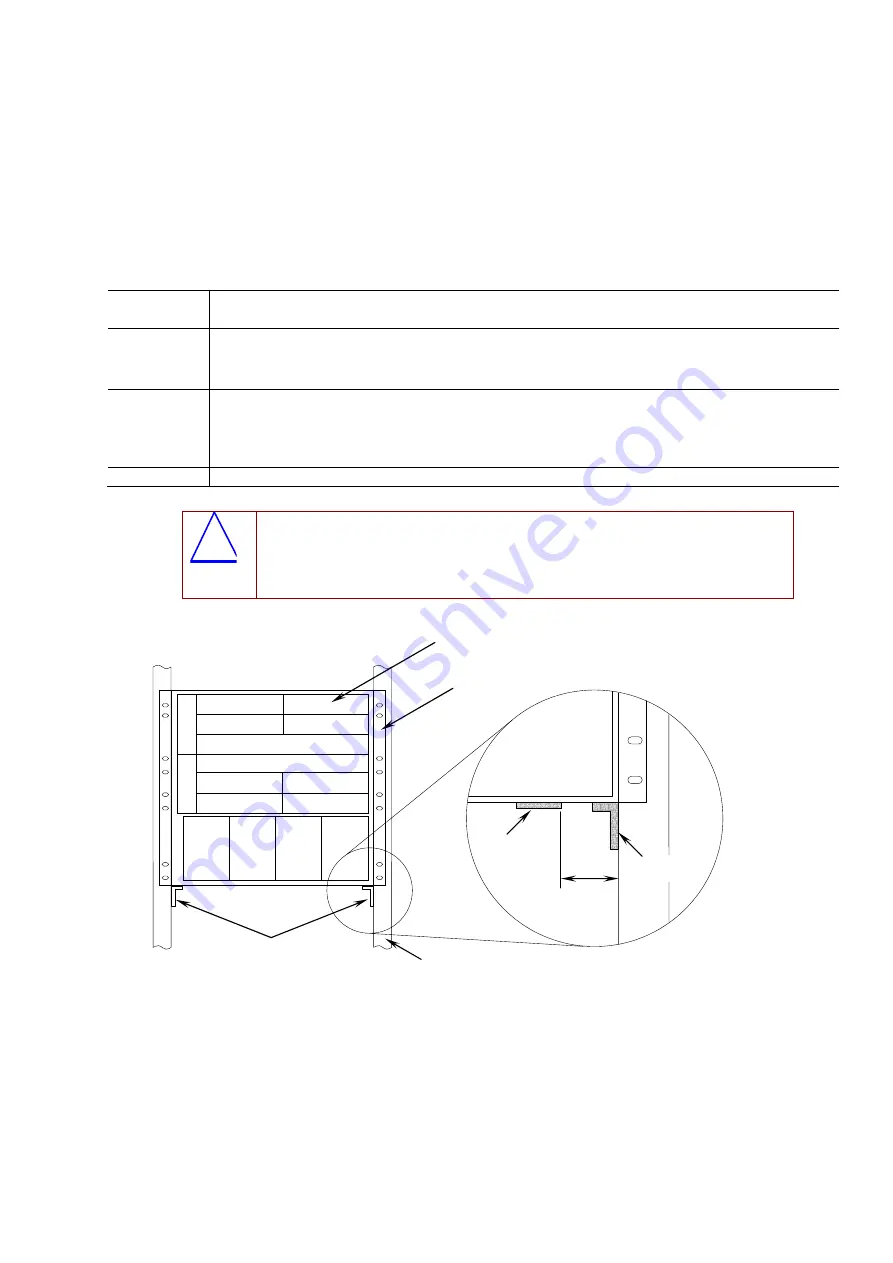
Figure 2.8-1 Accessories used to install a router into a rack
Guide rail
Rubber feet
45
Guide rail
Rack-mounting brackets
Cabinet rack
Router


