2
1. TEM startup
•
Check the comments in the TEM log book. Enter your name,
laboratory and contact information on the log book before any
action on the TEM.
•
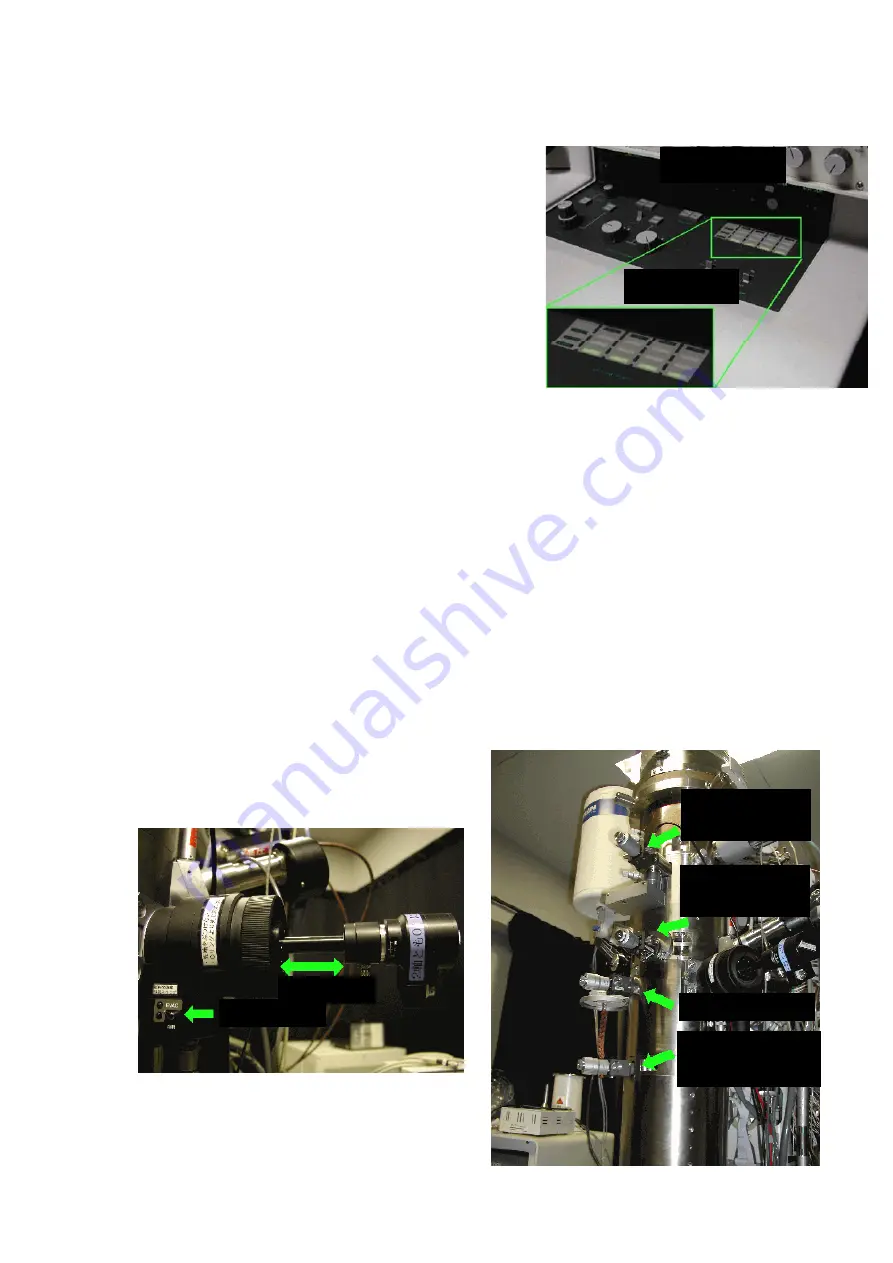
Make sure that TEM vacuum is good. At the vacuum state
(right panel), SPEC, COL, and CAM indicators should be
VAC position (all green), and GUN indicator is at EVAC
position (green flashing).
•
Make sure that TEM is set at standby positions:
a)
OBJ. TEMP. MONITOR: 21
0
C and below
b)
Objective, selected area and condenser apertures are out (position 0).
c)
GV (Gun Valve) is Closed
d)
ACC. VOLTAGE: off; HV: on at 200kV
e)
Sample position: X = 0, Y = 0; Sample tilts: 0
f)
Bright/Dark field selector set at Bright field.
g)
Microscope is at [ANA1] mode.
h)
Magnification: 1000K – 1500K
i)
Normally, the sample holder stays TEM. It is situated at position A
j)
Lens Current (C1, C2, OBJ) : not 0
k)
Unexposed film number: 50 FULL
Film number: 1 0
•
After confirmation of the standby positions, enter chiller temperature and pressure, COMPR pressure,
HV tank pressure, and vacuum state on the log book.
Position A
EVAC
Selected Area
diffraction aperture
Objective aperture
Correct condenser
aperture
X-ray detector
aperture
Right main panel
Vacuum state


