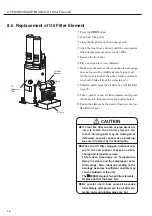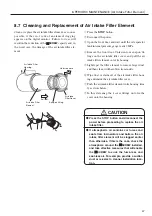
8.10 Replacement of Oil Separator Element
8.10.1 Remove the Oil Separator Element
Use a special tool (genuine part No. 52303330) for remov-
ing a housing.
①
Press the
STOP
button.
②
Disconnect the power.
③
Fasten the stop valve on the discharge side.
④
Open the front door and wait until the oil separator
tank internal pressure gauge reads 0 MPa.
⑤
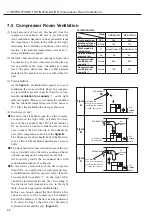
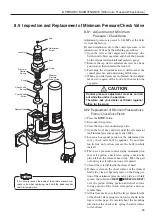
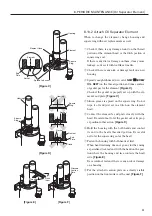
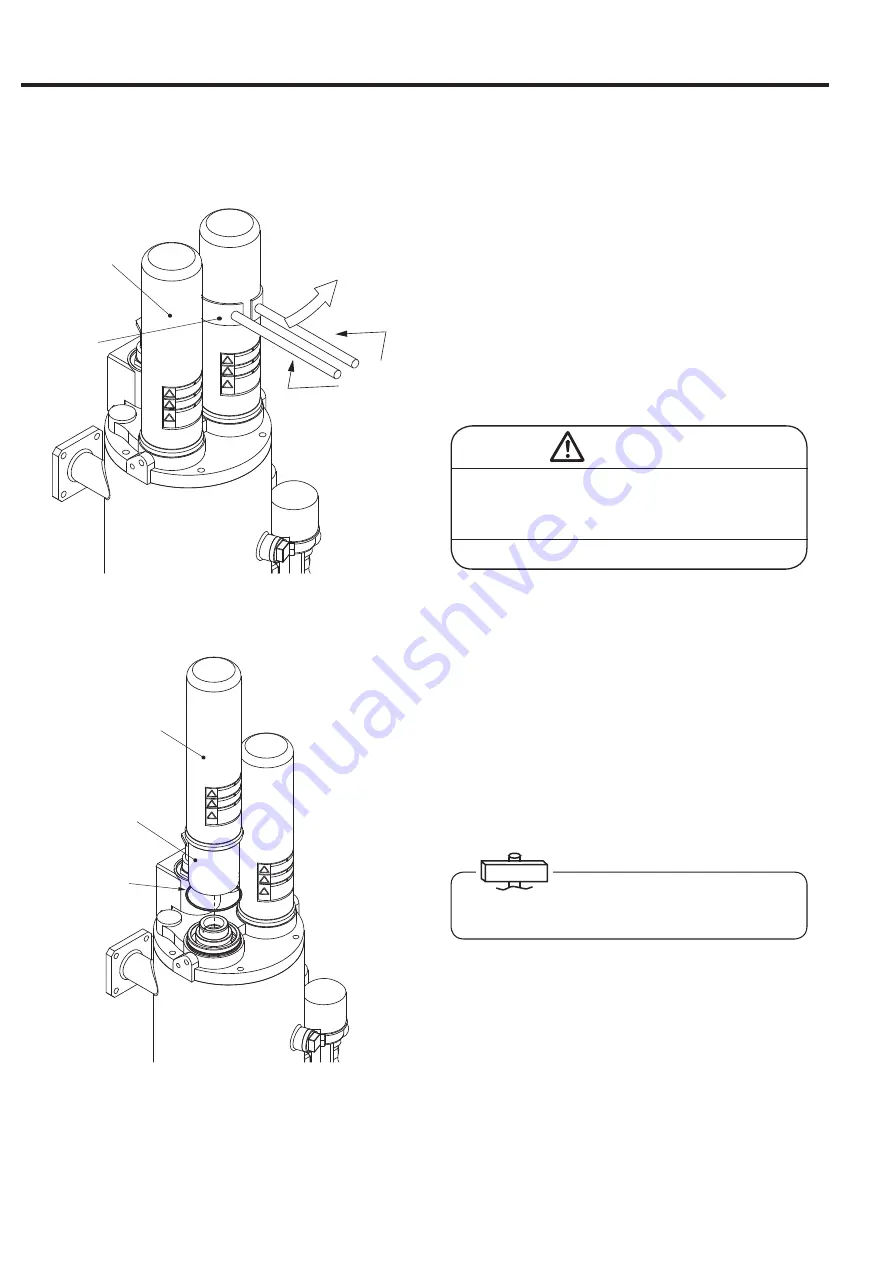
Use the special tool to pinch the housing (a nearby
one) on its lower cylindrical portion. Turn it anti
clockwise to loosen and detach.
[Figure A]
⑥
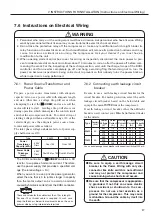
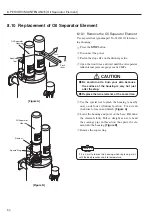
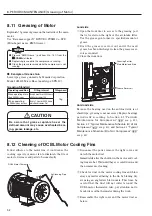
Lower the housing and put it on the base. Pull down
the element slowly. Pull so straight as not to bend
the scavenge pipe in this action; thus place the ele-
ment into the housing.
[Figure B]
⑦
Remove the square ring.
[Figure A]
Oil Separator
Housing
Special
Tool
Turn.
Pinch
them
Element
Oil Separator
Housing
Square Ring
[Figure B]
If it is hard to loosen the housing when replacing, wait
until the body reaches cools to temperature.
●
Be careful not to burn your skin because
the surface of the housing is very hot just
after the stop.
●
Replace the two elements at the same time.
CAUTION
IMPORTANT
50
8. PERIODIC MAINTENANCE [Oil Separator Element]

