4-24
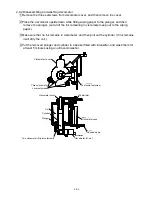
4.9.2 Disassembling and washing viscometer
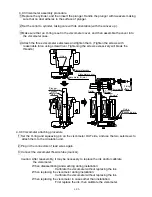
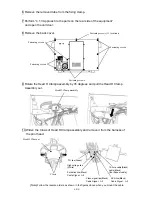
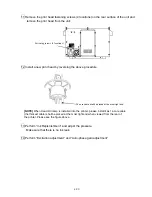
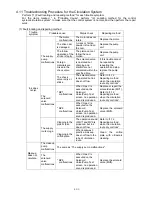
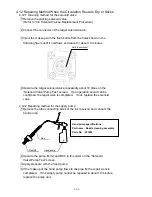
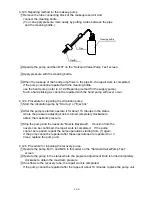
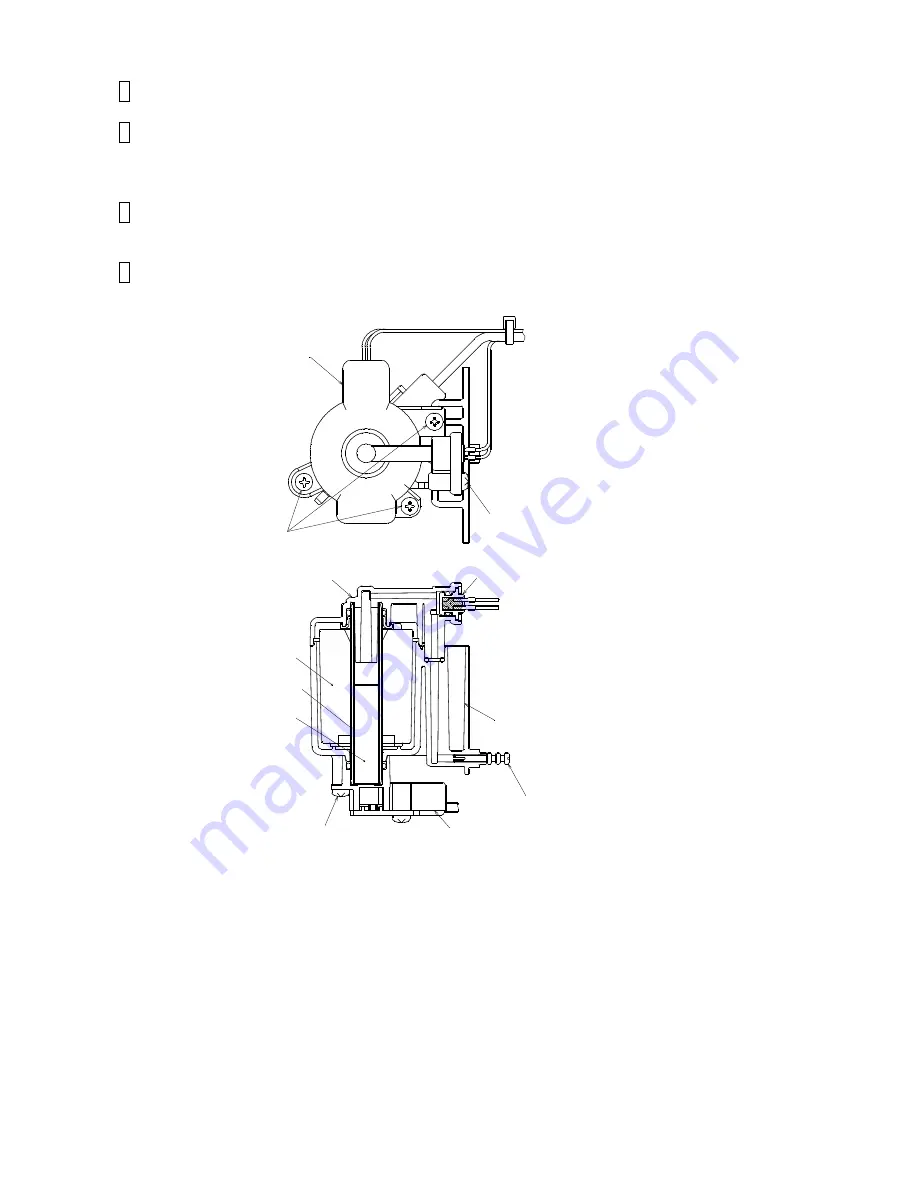
1 Remove the three setscrews from viscometer cover, and then remove the cover.
2 Place the viscometer upside down while fitting wiping paper to the plunger, and then
remove the plunger. (Let all of the ink remaining in viscometer seep out to the wiping
paper.)
3 Make sure that no ink remains in viscometer, and then pull out the cylinder. (If ink remains,
it will dirty the coil.)
4 Put the removed plunger and cylinder in a beaker filled with intensifier, and wash them for
at least 5 minutes using an ultrasonic washer.
Viscometer cover
Three viscometer
cover setscrews
Coil
Cylinder
Plunger
Two viscometer IN joint setscrews
Thermistor setscrew
Thermistor
Viscometer case
Squeezing pin
Viscometer IN joint
Viscometer cover
Summary of Contents for IJ RX2
Page 1: ...Service Manual HITACHI Printer Model RX2 Revision Feb 2014 Version A ...
Page 13: ...1 8 2 External views Rear side 1 2 2 Main body internal ...
Page 14: ...1 9 1 2 3 Print head ...
Page 101: ...3 26 Circuit diagram of EZJ127A ...
Page 102: ...3 27 Circuit diagram of EZJ127B ...
Page 116: ...3 41 Circuit diagram of EZJ129 ...
Page 164: ...4 40 5 Reset the time of the R air filter to 0 on the Parts usage time management screen ...
Page 247: ...7 Attached Drawing 7 1 Circulation System Diagram Circulation System Diagram 7 1 ...
Page 249: ...7 3 7 2 2 Electrical Connection Diagram RX2 B Basic model 7 3 ...


