5-11
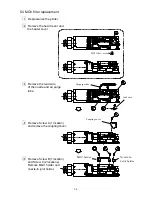
5.8 Nozzle replacement
1
Depressurize the printer.
2
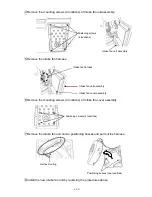
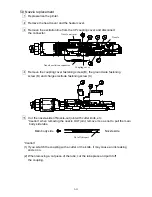
Remove the head cover and the heater cover.
3
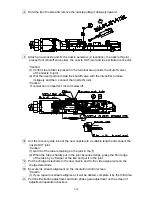
Remove the excitation line from the 3P coupling cover and disconnect
the connector.
4
Remove the coupling cover fastening screw (B), the ground wire fastening
screw (D) and charge electrode fastening screw (C).
5
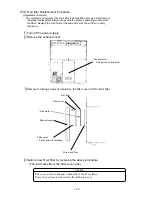
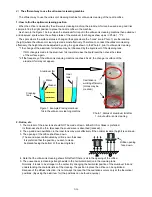
Cut the nozzle-side of Nozzle-out joint with cutter knife, etc.
“Caution” when removing the nozzle OUT joint, remove it so as not to pull the main
body side tube.
“Caution”
(1) If you scratch the coupling with a cutter or the knife, it may cause an ink leaking
and so on.
(2) When removing a cut piece of the tube, cut the tube piece and pull it off
the coupling.
Nozzle excitation connector
Coupling cover
Cut off this part
Nozzle out joint
Nozzle
Nozzle side
Main body side
Summary of Contents for IJ RX2
Page 1: ...Service Manual HITACHI Printer Model RX2 Revision Feb 2014 Version A ...
Page 13: ...1 8 2 External views Rear side 1 2 2 Main body internal ...
Page 14: ...1 9 1 2 3 Print head ...
Page 101: ...3 26 Circuit diagram of EZJ127A ...
Page 102: ...3 27 Circuit diagram of EZJ127B ...
Page 116: ...3 41 Circuit diagram of EZJ129 ...
Page 164: ...4 40 5 Reset the time of the R air filter to 0 on the Parts usage time management screen ...
Page 247: ...7 Attached Drawing 7 1 Circulation System Diagram Circulation System Diagram 7 1 ...
Page 249: ...7 3 7 2 2 Electrical Connection Diagram RX2 B Basic model 7 3 ...

