- 25 -
Colour System
By pressing
/
select
Colour System.
By press-
ing
/
button, you can change the colour system to
PAL, SECAM, PAL 60, NTSC 4,43, NTSC 3,58 or
AUTO.
VCR
By pressing
/
select
VCR.
By pressing
/
button, you can set the VCR to ON or OFF.
Store
By pressing
/
button, select Store. Press
or
OK button to store the adjustments. “
Stored
...” will
be displayed on the screen.
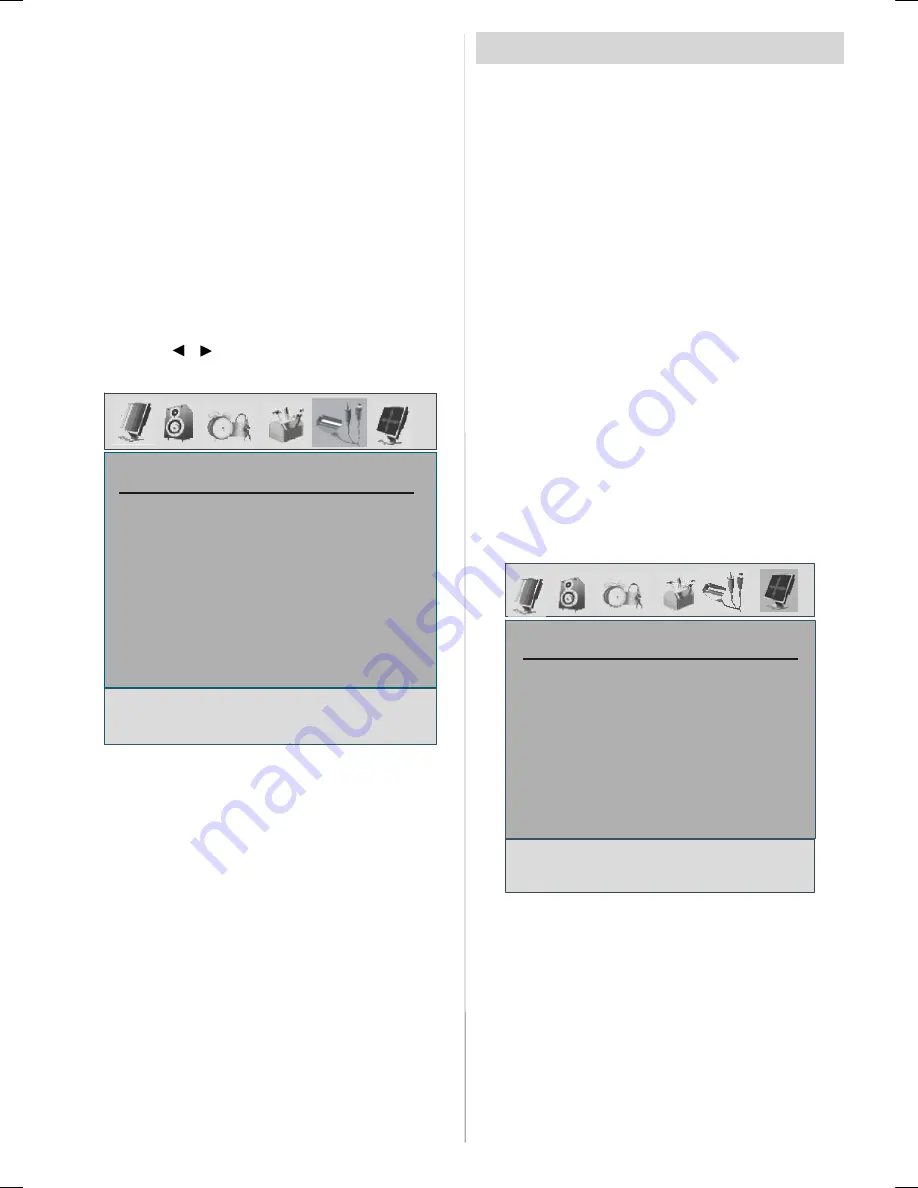
Source menu
By pressing
/
button, select the fifth icon. Source
menu appears on the screen.
SOURCE
TV
AV-1
AV-2
AV-2 S
DTT
In source menu, highlight a source by pressing
/
button and switch to that mode by pressing
or
OK
button. Source options are;
TV, DTT, AV-1, AV-2,
AV-2 S, AV-3 (*), FAV, S-Video, YPbPr, HDMI-1
,
HDMI-2
and
PC
.
* Note:
AV-3 is only functional for the models with 3
SCART sockets.
PC Mode
Installation
• Power off both Computer and Display before making
any connections.
• Set your PC’s resolution correctly before connect-
ing to the TV. See the table on Appendix A on
page
34
.
• Use 15-pin display cable to connect a PC to the LCD
TV.
Menu System in PC mode
Sound Menu/Feature Menu
The items in these menus are described at
Sound &
Feature Menu
explained in “Menu System”.
PC Picture Menu
By pressing
/
button, select the second icon. PC
Picture menu appears on the screen.
Brightness, Contrast and Colour Temperature adjust-
ments in this menu are identical to adjustments de-
fined in TV picture menu in “MENU SYSTEM”.
PC POSITION Menu
By pressing
/
button, select the sixth icon. PC
POSITION menu appears on the screen.
PC POSITION
Autoposition
H Position
V Position
Phase
Dot Clock
Autoposition
If you shift the picture horizontally or vertically to an
unwanted position, use this item to put the picture into
correct place automatically.
• Select Autoposition item by using
/
buttons.
Press or
OK
button.
Warning:
Auto position adjustment recommended to
be done with the full screen image for the proper
adjustment.
A01-IB-ENG-(L26H01E)-MB22-PANEU-26810W-(RRC1001-2511E)-(BASIC PIP)-10049810-50109125.p65
12.06.2007, 13:26
25


