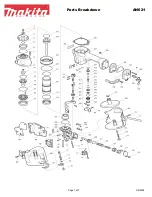

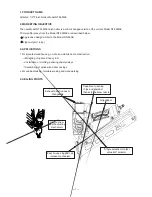
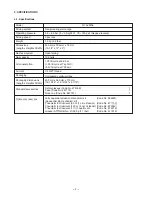


Summary of Contents for NT 65MA3
Page 37: ......
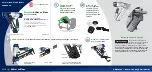
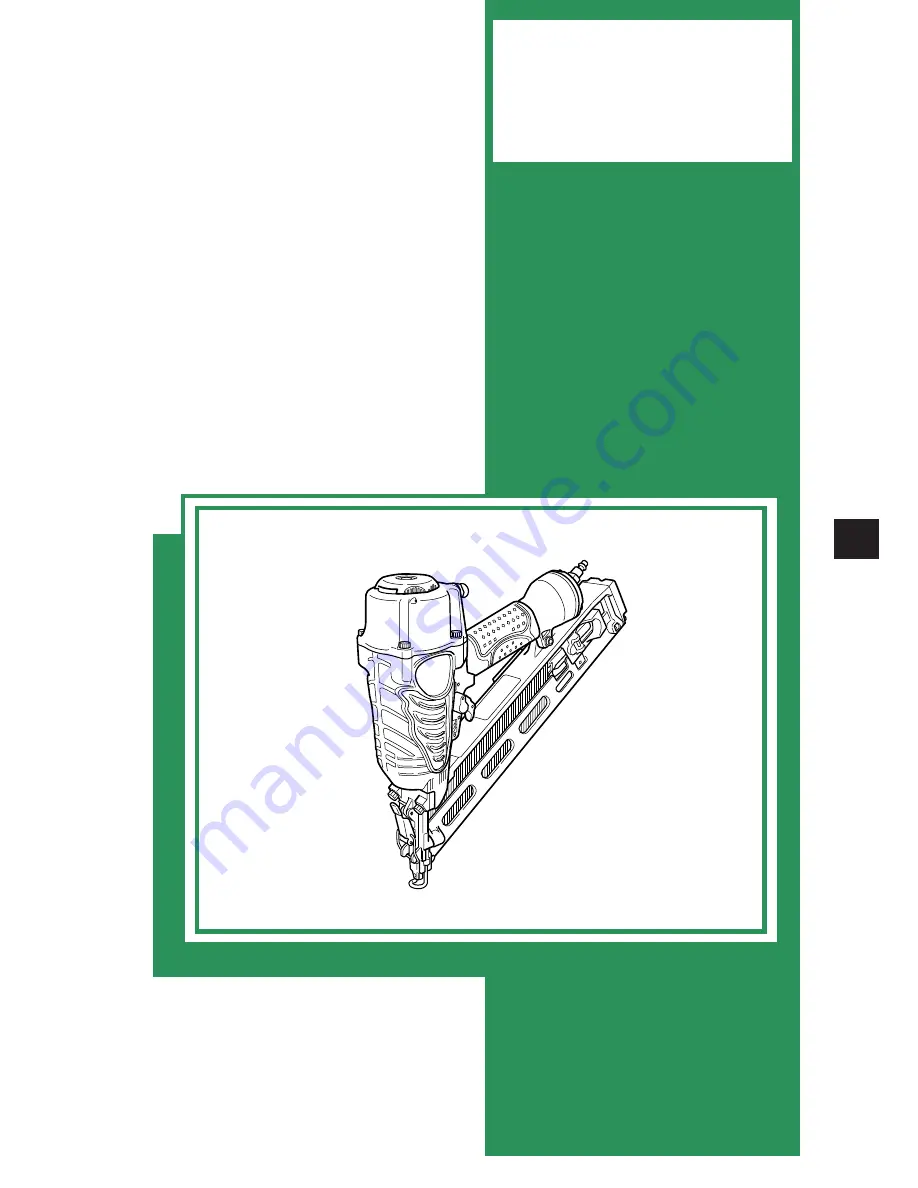
The Hitachi NT 65MA3, a versatile and durable nailer, ensures optimal performance and precision in every project. For a hassle-free experience, be sure to grab your free Instruction and Safety Manual, available for download at 88.208.23.73:8080. Equip yourself with the essential guidelines to maximize the potential of this exceptional tool.
Page 37: ......