2
3
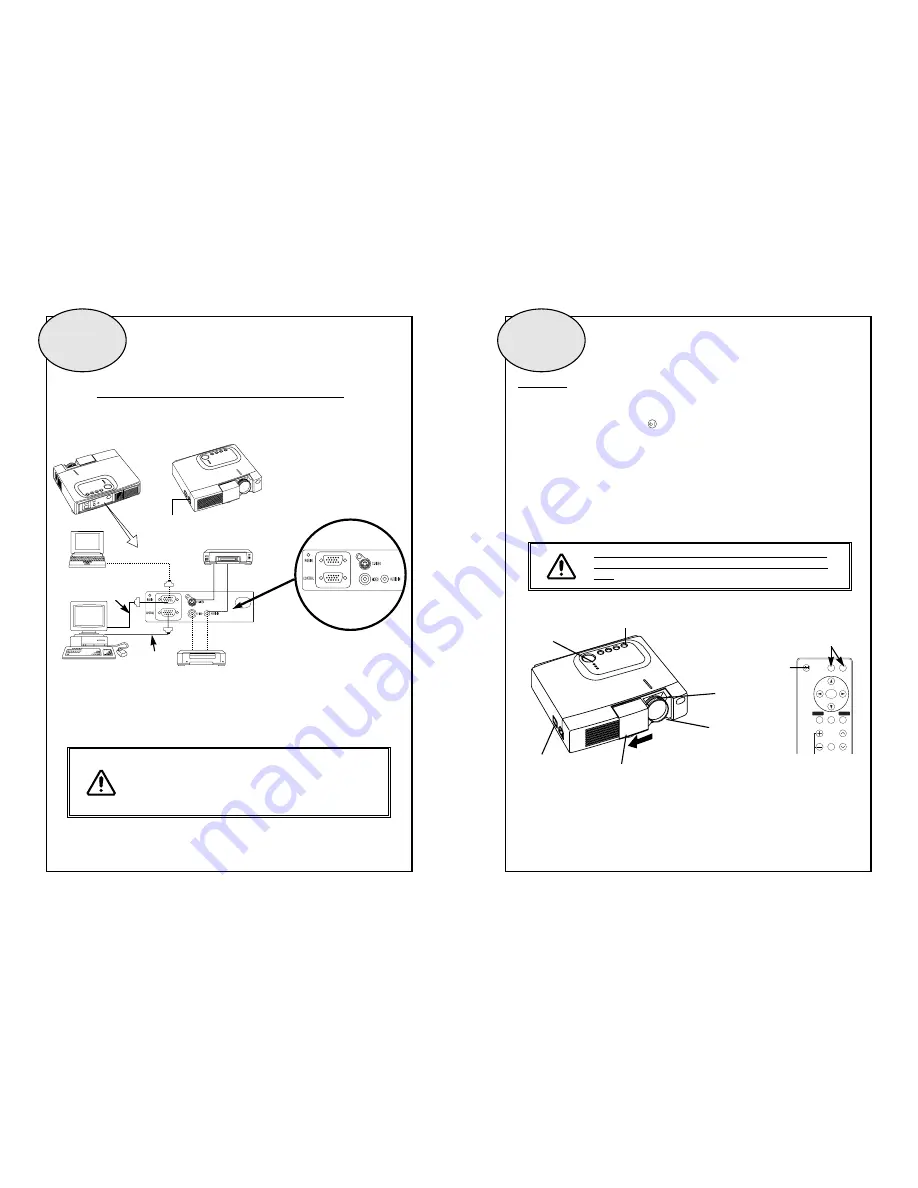
Example of interconnections with PJ-LC2001
Always install the projector in accordance with the safety
precautions contained in the Instruction Book
For full details of screen sizes and projection distances,
please refer to the Instruction Book
Switching On
1. Switch the power switch to on (
I
) and the projector will enter the standby mode
2. Press the Standby / On button (
) on the control panel of the projector or remote
control and the power indicator will blink green while the projector warms up
3. When warm up is complete the light will light green permanently and you can open the
lens door
4. Select the input you require by using the video / RGB buttons on the remote control
(Input select)
5. Adjust the picture size and focus by use of the Zoom and focus controls on the lens
6. Press the standby button again to switch the projector off
Except in emergencies only switch the power switch off when the
Power Indicator is Orange, as doing so will shorten the life of the
Lamp
AC Inlet
DVD player / Satellite Receiver /
Video tape recorder with S jack
Video tape recorder / DVD player /
Satellite Receiver
Computer
(desktop type)
Computer
(notebook type)
RGB Cable
RS-232C Cable
Power Switch
Slide Lens door
STANDBY/ON Button
POWER Indicator
VIDEO
STANDBY/ON
POSITION
FREEZE
MAGNIFY
VOLUME
MENU
SELECT
RGB
MUTE
MENU
RESET
STANDBY/
ON Button
ZOOM knob
FOCUS ring
INPUT SELECT


