


– 46 –
!"#$
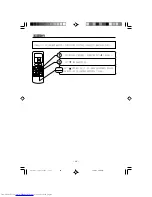
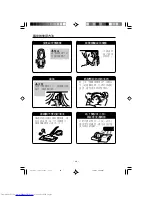
!"#$%
!"#$%&'()*+,-./
! " # $ % & ' ( ) * + , - . /
!
“
!"#
”
!"
!"#
2
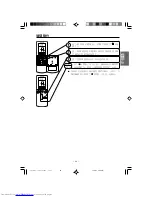
!"#$%
●
!
“
!"#
”
!
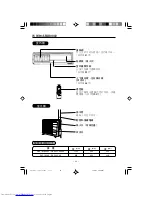
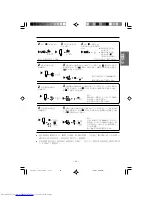
!"#$%&'()#*+,-
!"#$%&'()*+
E
6
F
!"#$%&
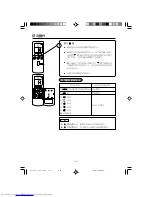
●
!"#$%&'()*+,-./
!"
●
!"#$%&'()*+ !,
!"#$%&
!
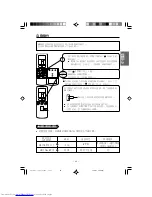
●
“
”
!"#$%&'()*+
!"#$%&'()*+,-.
!"#$%&
15˚
!"#
60˚
RESET
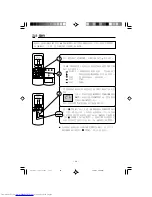
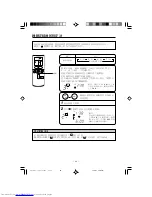
1
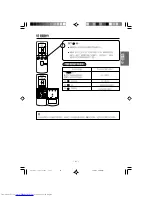
●
!"#$
“ ”
!"#$%
!"#$ %&'()*+,-.
!"#$%&'()*!+,
S
!"#$%&'(
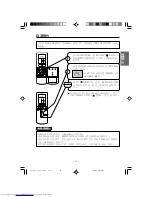
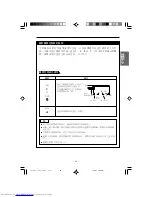
●
!"#$
“ ”
!"#$%
!"#$ %&'()*+,-.
!"#$%&'()*!+,
S
!"#$%&'(
●
!"
●
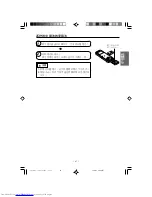
!"
!
!
!"
RAS/RAC-18/24CX9KS2 (45-47)
12/2/07, 3:30 PM
46
Summary of Contents for RAC-18CX9
Page 28: ... 28 MEMO EN3 RAS 18 24CX9KS2 24CX9 4 11 07 17 44 28 Black ...
Page 33: ... 33 20 0 FILTERE STANBY MODE RAS RAC 18 24CX9KS2 30 33 12 2 07 3 32 PM 33 ...
Page 38: ... 38 RESET 0 123456 7689 012 2 1 0 12 RAS RAC 18 24CX9KS2 34 41 12 2 07 3 35 PM 38 ...
Page 39: ... 39 RESET C C 01 012 0 1 2 3 0 RAS RAC 18 24CX9KS2 34 41 12 2 07 3 35 PM 39 ...
Page 40: ... 40 C RESET C 20 20 1 2 1 20 RAS RAC 18 24CX9KS2 34 41 12 2 07 3 35 PM 40 ...
Page 41: ... 41 01 2345 67 89 67 1 01 RAS RAC 18 24CX9KS2 34 41 12 2 07 3 36 PM 41 ...
Page 46: ... 46 2 E 6 F 15 60 RESET 1 S S RAS RAC 18 24CX9KS2 45 47 12 2 07 3 30 PM 46 ...
Page 47: ... 47 1 2 01 1 2 0 RAS RAC 18 24CX9KS2 45 47 12 2 07 3 30 PM 47 ...
Page 48: ... 48 2 RAS RAC 18 24CX9KS2 48 58 12 2 07 3 23 PM 48 ...
Page 49: ... 49 8W OFF N RAS RAC 18 24CX9KS2 48 58 12 2 07 3 23 PM 49 ...
Page 52: ... 52 2 0123 40 012 RAS RAC 18 24CX9KS2 48 58 12 2 07 3 24 PM 52 ...
Page 56: ... 56 MEMO RAS RAC 18 24CX9KS2 48 58 12 2 07 3 25 PM 56 ...
Page 57: ... 57 MEMO RAS RAC 18 24CX9KS2 48 58 12 2 07 3 25 PM 57 ...
Page 58: ... 58 MEMO RAS RAC 18 24CX9KS2 48 58 12 2 07 3 25 PM 58 ...


