14. Adding and Replacing Modules
14-13
14.5 J.NET module (LQE540-E)
This section explains how to replace a J.NET module or add a new J.NET module to the system.
Replacing a module involves removing the existing module and then installing the new one. For details on these
procedures, see
14.5.1
and
14.5.2
respectively.
J.NET module parameters are registered in the CPU module. Therefore, no parameter setting is required when
replacing the module.
14.5.1 Removing the J.NET module
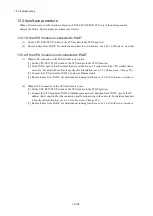
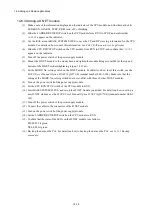
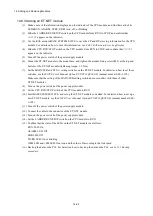
(1) Make a note of the information displayed on the indicator of the CPU module, and whether each of its
LEDs(RUN, ALARM, STBY, ERR) is on, off, or blinking. Similarly, make a note of the state of the
LEDs on the J.NET module.
(2) Slide the LADDER RUN/STOP switch on the CPU module from RUN to STOP, and confirm that
LDRSTP
appears on the indicator.
(3) Use the RAS menu in BASE SYSTEM/S10VE to save the CP and HP error log information for the CPU
module. For details on how to save this information, see
8.4.6.2 RAS menu: Error Log Display
.
(4) Make a note of the state of the MODU No. and BIT RATE setting switches on the J.NET module.
(5) Slide the CPU RUN/STOP switch on the CPU module from RUN to STOP, and confirm that
CPUSTP
appears on the indicator.
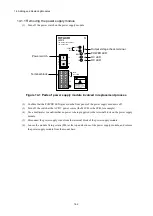
(6) Turn off the power switch of the power supply module.
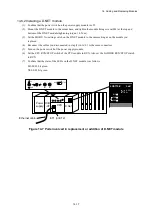
(7) Make a note of the cable connections to the terminal block on the J.NET module. This is so you can
reconnect the cables correctly later.
(8) Disconnect any cables connected to the terminal block on the J.NET module.
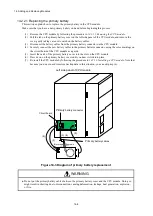
(9) Loosen the module fixing screws(M4) at the top and bottom of the J.NET module, and remove the
J.NET module from the mount base.
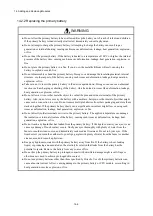
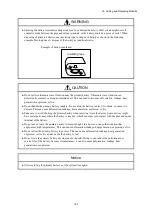
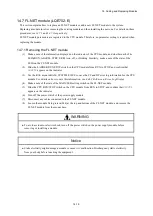
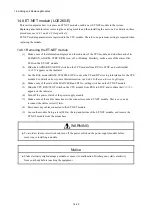
WARNING
● To avoid accident or electric shock, turn off the power switch on the power supply module before
removing or installing a module.
Notice
● Static electricity might damage a module or cause it to malfunction. Discharge any static electricity
from your body before touching the equipment.
Summary of Contents for S10VE
Page 1: ...User s Manual General Description SEE 1 001 A ...
Page 2: ...User s Manual General Description ...
Page 53: ...This page is intentionally left blank ...
Page 59: ...This page is intentionally left blank ...
Page 67: ...This page is intentionally left blank ...
Page 75: ...This page is intentionally left blank ...
Page 77: ...This page is intentionally left blank ...
Page 103: ...This page is intentionally left blank ...
Page 129: ...This page is intentionally left blank ...
Page 295: ...This page is intentionally left blank ...
Page 309: ...This page is intentionally left blank ...
Page 341: ...This page is intentionally left blank ...
Page 345: ...This page is intentionally left blank ...
Page 475: ...This page is intentionally left blank ...
Page 489: ...This page is intentionally left blank ...
Page 505: ......


