background image

– 13 –

ENGLISH

CIRCUIT BREAKER

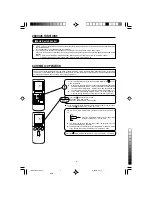
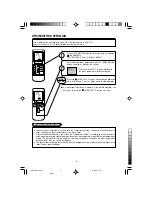
When you do not use the room air conditioner, set the circuit breaker to “OFF”.

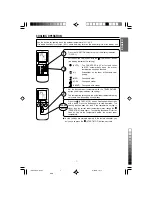
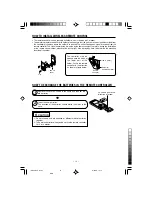
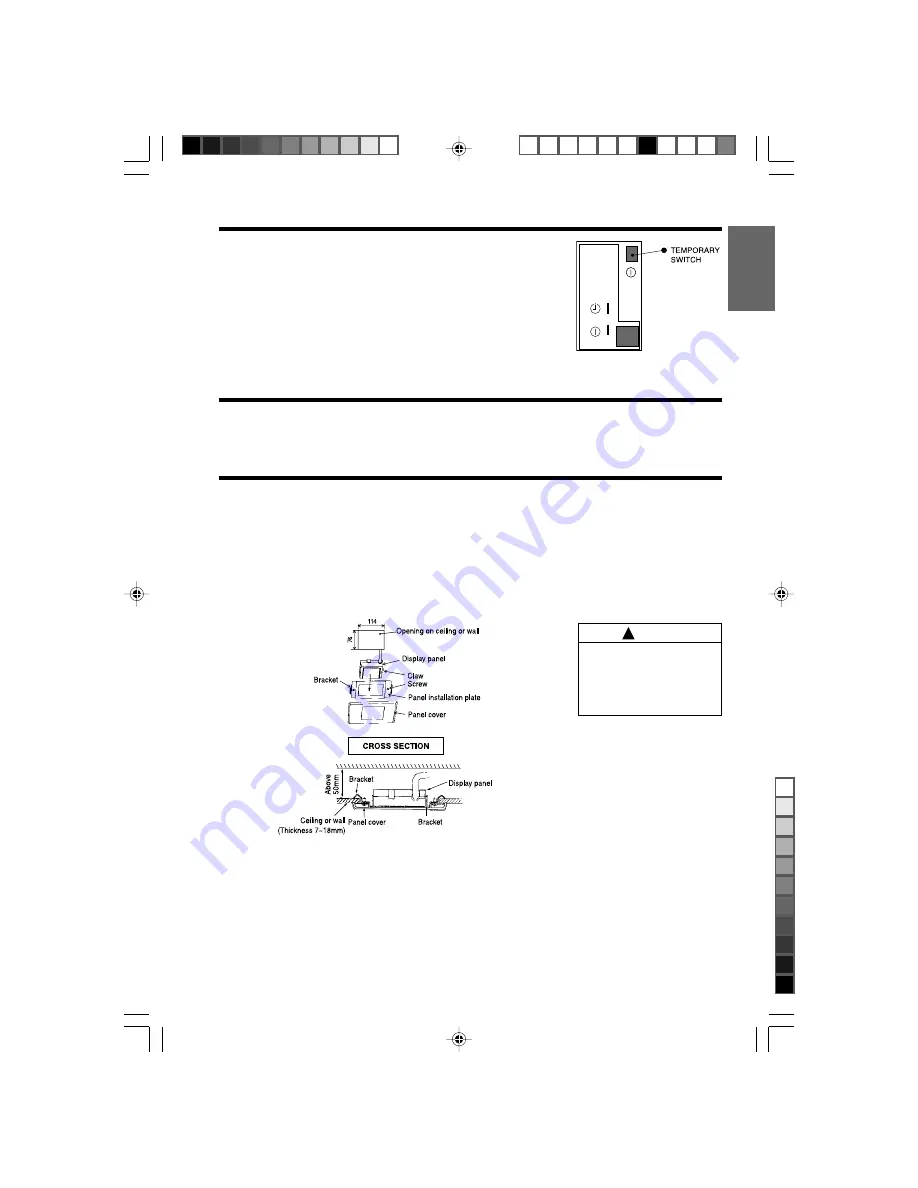
Select an installation position on ceiling or wall where there is no obstacle to interrupt signal reception.

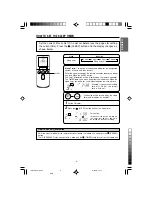
Loosen screws of panel installation plate so that bracket can be slightly moved.

Match the display panel to panel installation plate so the fixing claws on the panel are securely hooked.

Match brackets to the opening on ceiling or wall and tighten screws until bracket is firmly secured to ceiling
material.

Install the panel cover so inside claws are securely hooked to the panel installation plate.

Conduct the indoor unit side housing of display panel cord to the electric box of the indoor unit and connect
it with the housing at the side of the unit.

Attach the connector of display panel to the connector CN11A on the PWB.


CAUTION

!

Please disconnect wired
remote controller or Weekly
Timer connector at CN1102
if to use wireless remote
controller.

HOW TO INSTALL DISPLAY PANEL

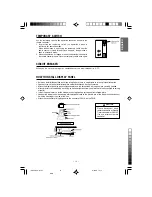
TEMPORARY SWITCH

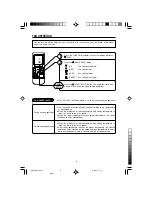
Use the temporary switch when operation cannot be done with the
remote controller.
1. By pressing the temporary switch, the operation is done in

previously set operation mode.
When the operation is done using the temporary switch after the
power source is turned off and turned on again, the operation is
done in automatic mode.

2. When the operation is stopped or when the operation is done with

the remote controller again. Press the temporary switch once again.

(EN A5) SPX-RCK2

8/25/08, 12:10

13

Black

Summary of Contents for SPX-RCK2

Page 1: ... 1 ENGLISH DEUTSCH FRANÇAIS ITALIANO ESPAÑOL PORTUGUÊS ÏÏËÓÈÎ РУССКИЙ WIRELESS REMOTE CONTROLLER MODEL SPX RCK2 EN PG 1 SPX RCK2 8 25 08 12 09 1 Black ...

Page 2: ...Controller and Wired Remote Controller at the same time When use this Wireless Remote Controller to replace the Wired Remote Controller the Auto Swing Control shall not function since the air deflector is not available in the indoor unit EN A5 SPX RCK2 8 25 08 12 10 2 Black ...

Page 3: ...hese buttons to raise or lower the temperature setting Keep pressed and the value will change more quickly TIME button Use this button to set and check the time and date RESET buttons FUNCTION selector Use this button to select the operating mode Every time you press it the mode will change from AUTO to HEAT to DEHUMIDIFY to COOL and to FAN cyclically FAN SPEED selector This determines the fan spe...

Page 4: ...s the settings are stored in memory in the remote controller you only have to press the START STOP button next time Press the FUNCTION selector so that the display indicates the AUTO mode of operation When AUTO has been selected the device will automatically determine the mode of operation HEAT COOL or DEHUMIDIFY depending on the current room temperature However the mode of operation will not chan...

Page 5: ...ired room temperature with the TEMPERATURE buttons the display indicates the setting The temperature setting and the actual room temperature may vary somewhat depending on conditions Press the START STOP button Heating operation starts with a beep Press the button again to stop operation As the settings are stored in memory in the remote controller you only have to press the START STOP button next...

Page 6: ... will stop emitting air as soon as the room temperature becomes lower than the setting temperature The preset room temperature may not be reached depending on the number of people present in the room or other room conditions Set the desired room temperature with the TEMPERATURE button the display indicates the setting The range of 20 26 C is recommended as the room temperature for dehumidifying Pr...

Page 7: ... SILENT Fan speed ultra slower Set the desired room temperature with the TEMPERATURE button the display indicates the setting The temperature setting and the actual room temperature may vary some how depending on conditions Press the START STOP button Cooling operation starts with a beep Press the button again to stop operation The cooling function does not start if the temperature setting is high...

Page 8: ...r room temperature reaches the preset temperature the cooling operation which changes the fan speed and room temperature to obtain optimum conditions for natural healthful cooling will be performed For the cooling operation FAN OPERATION You can use the device simply as an air circulator Use this function to dry the interior of the indoor unit at the end of summer Press the FUNCTION selector so th...

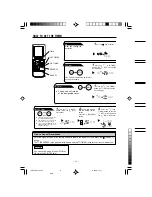
Page 9: ...te controller The TIMER lamp lights with a beep from the indoor unit When the sleep timer has been set the display indicates the turn off time Example If you set 3 hours sleep time at 11 38 p m the turn off time is 2 38 a m 2 Press the SLEEP button and set the sleep timer The device will be turned off by the sleep timer and turned on by on timer How to Cancel Reservation Point the signal window of...

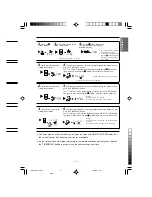
Page 10: ...or unit and press the CANCEL button The RESERVED sign goes out with a beep and the TIMER lamp turns off on the indoor unit 1 Set the TIME button 1 Press the OFF TIMER button The OFF mark blinks on the display 1 Press the ON TIMER button the ON mark blinks on the display 2 Set the turn off time with the TIMER control button Press the RESERVE button 3 Press the ON TIMER button so that the OFF mark l...

Page 11: ...e setting of turn off time is now complete Example The device will turn off at 11 00p m Example The device will turn on at 7 00 a m The setting of the turn on time is now complete 4Set the turn on time with the TIMER control button 5 Point the signal window of the remote controller toward the indoor unit and press the RESERVE button The ON mark starts lighting instead of flashing and the RESERVED ...

Page 12: ...e holder AAA size battery HOW TO INSTALL WIRELESS REMOTE CONTROL The controller must be hooked onto the hook at the lower part of the holder Push in the remote controller in the direction as shown in figure below HOW TO EXCHANGE THE BATTERIES IN THE REMOTE CONTROLLER 1 Remove the cover as shown in the figure and take out the old batteries 2 Install the new batteries The direction of the batteries ...

Page 13: ... display panel cord to the electric box of the indoor unit and connect it with the housing at the side of the unit Attach the connector of display panel to the connector CN11A on the PWB CAUTION Please disconnect wired remote controller or Weekly Timer connector at CN1102 if to use wireless remote controller HOW TO INSTALL DISPLAY PANEL TEMPORARY SWITCH Use the temporary switch when operation cann...

Page 14: ... 14 MEMO EN A5 SPX RCK2 8 25 08 12 10 14 Black ...

Reviews: