3 - 8
7.
Camera Adjustment (Adjustment) Procedure
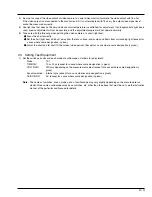
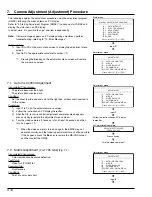
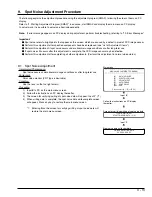
Main menu
***********************************************************
MANUAL ADJUSTMENT PROGRAM
***********************************************************
[A]
DATA INITIALIZE
[B]
ELECTRIC VOLUME
[C]
ADJUSTMENT
[D]
AUTO FOCUS
[E]
SPOT NOISE
[ESC] END
Please select [A] - [F] or [ESC]
***********************************************************
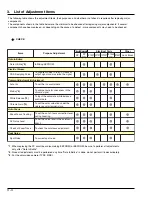
ADJUSTMENT
***********************************************************
[1]
AUTO IRIS CONTROL
[2]
MATRIX
[3]
WHITE BALANCE
[4]
CHROMA GAIN
[ESC] RETURN TO MAIN MENU
Please select [1] - [3] or [ESC]
Adjustment menu
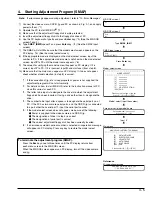
ADJUSTMENT FINISHED
PRESS ANY KEY
AIC adjustment complete
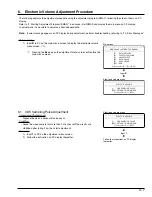
Input C.
***********************************************************
ADJUSTMENT
***********************************************************
[1]
AUTO IRIS CONTROL
[2]
MATRIX
[3]
WHITE BALANCE
[4]
CHROMA GAIN
[ESC] RETURN TO MAIN MENU
Please select [1] - [3] or [ESC]
Adjustment menu
Input 1.
Follow the instructions on PC display
thereafter.
The following explains the adjustment procedure using the adjustment program
(SMAP), following the order of items on PC display.
Refer to "4. Starting Adjustment Program (SMAP)" in advance, start SMAP and
display the main menu on PC display.
In actual work, it is possible to adjust one item independently.
Note: If error message appears on PC display during adjustment, perform
troubleshooting, referring to "10. Error Messages".
Before starting:
1)
Input C to PC on the main menu screen to display the adjustment menu
screen.
2)
Input to PC the appropriate adjustment number. (*1)
*1:
Pressing the Esc key on the adjustment menu screen will restore
the main menu screen.
7.1
Auto Iris Control Adjustment
Incompleted Phenomenon:
The picture becomes too bright.
The picture becomes too dark.
Condition:
Set the zoom to wide end and point at the light box, without chart inserted, to
fill the screen.
Procedure:
1)
Input 1 to PC on the adjustment menu screen.
2)
Follow the instruction on PC display thereafter.
3)
After the AIC (auto iris control) adjustment complete screen appears,
press any key to restore the adjustment menu screen.
4)
Turn the video camera off, leave as is for at least 5 seconds, and then
turn it on again. (*1)
*1:
When the video camera is turned on again, the SMAP may not
operate normally, and the following adjustments may not be possible.
If this happens, press the Esc key to restore the MS-DOS screen,
and then restart the SMAP.
7.2
Matrix Adjustment
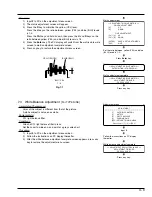
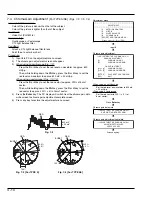
[For TYPE S/SE] (Fig. 7-1)
Incompleted Phenomenon:
Color reproduction becomes defective.
Test Point:
Video Out (PG1601-6)
Equipment/Jig:
Oscilloscope
Conditions:
Point at a color bar chart.
Press any key.
Turn the video camera off.
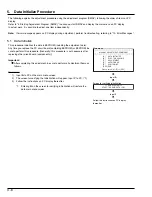
***********************************************************
ADJUSTMENT
***********************************************************
[1]
AUTO IRIS CONTROL
[2]
MATRIX
[3]
WHITE BALANCE
[4]
CHROMA GAIN
[ESC] RETURN TO MAIN MENU
Please select [1] - [3] or [ESC]
Adjustment menu
Input 2.


