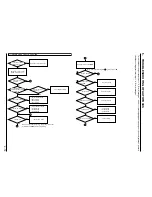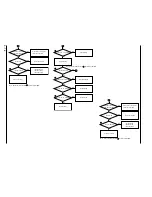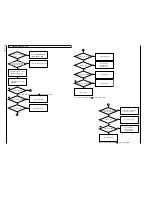
3 - 7
2.6.5 Autofocus Adjustment Procedure
Before Starting Adjustment
Be sure to perform this adjustment after replacing or
initializing the lens block or VCA circuit board (EEPROM).
(1)
Start the MAP.
(2)
Refer to display 2-6.
(3)
Press
D
key.
(4)
Refer to display 5-1.
(5)
Select the number of the required adjustment.
Note:
To complete adjustment, press the [ESC]
(escape) twice to restore the MS-DOS screen
and then turn off the camera/recorder and jig.
(1)
Zoom Trace Adjustment
Purpose:
To set the out-of-focus correction level during zooming.
Incompleted Phenomenon:
Focus is lost during zooming.
Equipment/Jig:
Color Video Monitor
Backfocus Chart
Test Point:
Video Out Jack
Condition:
Point at the backfocus chart, 1500 ± 5 mm away from
the lens surface.
Light the chart with 200 - 400 lx.
Caution When Adjustment:
1) Measure the distance between the chart and lens
surface precisely.
2) Place the chart as parallel as possible to the lens
surface.
3) The backfocus chart should always be at the center
of the monitor screen when the zoom is set to the
wide-angle and telephoto ends.
4) The zoom trace adjustment procedure is completed
within 2 minutes after it is selected.
5) Do not place any obstruction between the lens and
chart during adjustment.
Procedure:
1) Refer todisplay 5-1.
2) Press
1
key.
Perform adjustment according to the computer display
hereafter.
See "4. Error Messages" if an error message appears
on the computer display.
(2)
AF Noise Level Adjustment
Purpose:
To set the noise level in the autofocus circuit.
Incompleted Phenomenon:
It takes time until a subject is brought into focus.
Correct focus is not obtained.
Equipment/Jig:
Color Video Monitor
Test Point:
Video Out Jack
Condition:
Set the focus to AUTO.
Point at a light box without a chart inserted at a
distance of up to 10 cm.
Caution When Adjustment:
1) Place the light box as parallel as possible to the lens
surface.
2) The AF noise level adjustment procedure will be
completed within thirty seconds after it is selected.
Procedure:
1) Refer todisplay 5-1.
2) Press
2
key.
Perform adjustment according to the computer display
hereafter.
See "4. Error Messages" if an error message appears
on the computer display.
Display 2-6
MAIN MENU
***********************************************************
MANUAL ADJUSTMENT PROGRAM
***********************************************************
[A]
DATA INITIALIZE
[B]
ADJUSTMENT
[C]
VCR ADJUSTMENT
[D]
AUTO FOCUS
[E]
STABILIZER
[F]
SPOT NOISE
[G]
LCD
[ESC] END
Please select [A] - [G] or [ESC]
Display 5-1
AF ADJ MENU
***********************************************************
AUTO FOCUS ADJUSTMENT
***********************************************************
[1]
ADJUSTMENT OF ZOOM/FOCUS TRACKING
[2]
ADJUSTMENT OF AF NOISE LEVEL
[ESC] RETURN TO MENU
Please select [1], [2] or [ESC]
Display & Figs


