TIMER RECORDING
29
Make sure...
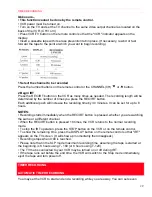
• This function cannot be done by the remote control.
• VCR power must be turned on.
• Turn on the TV and set the TV channel to the same video output channel as located on the
back of the VCR. (CH 3 or 4)
• Press VCR/TV button on the remote control so that the "VCR" indicator appears on the
display.
• Insert a cassette tape with its erase prevention tab in place. (If necessary, rewind or fast
forward the tape to the point at which you want to begin recording.)
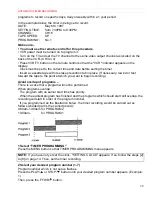
1 Select the channel to be recorded
Press the number buttons on the remote control or the CHANNEL(CH)
or
button.
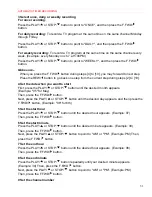
2 Begin IRT
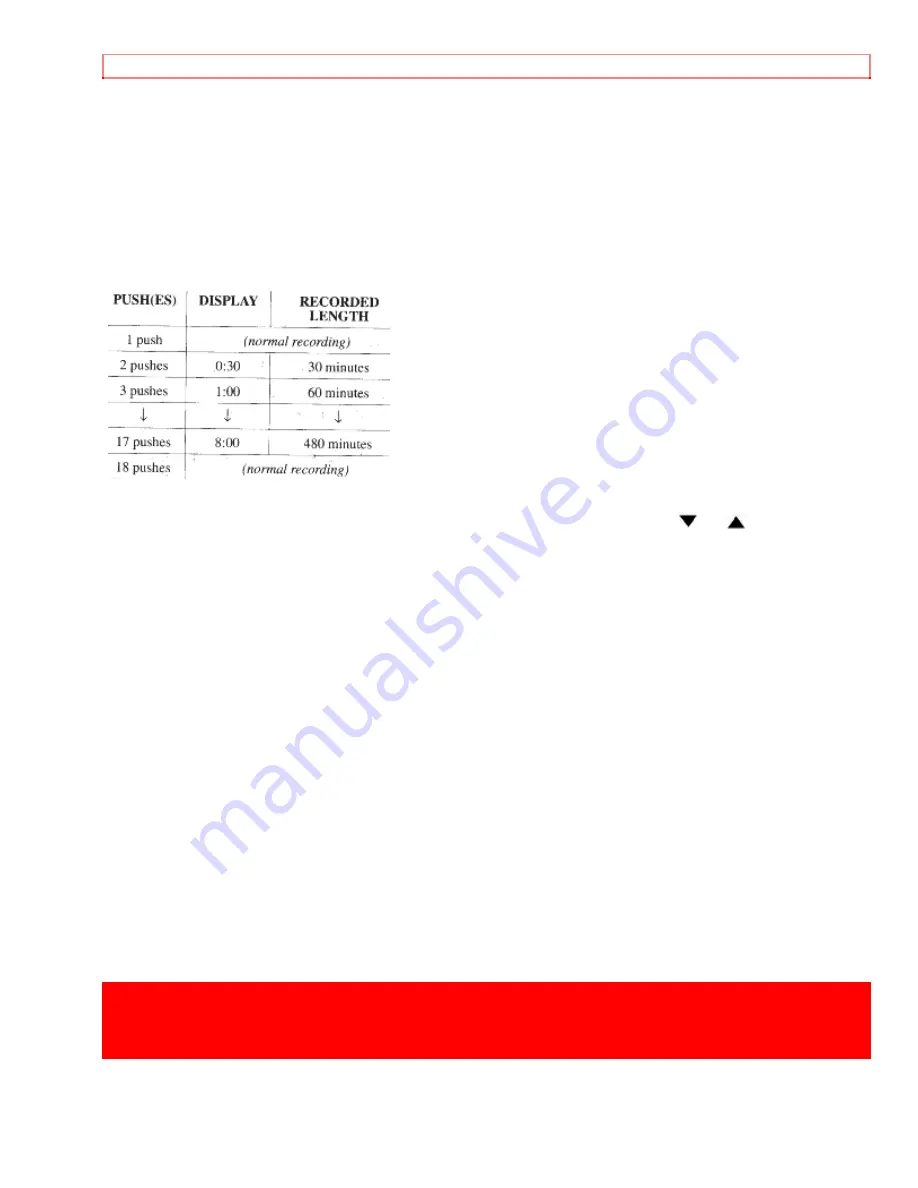
Press the REC/IRT button on the VCR as many times as needed. The recording length will be
determined by the number of times you press the REC/IRT button.
Each additional push will increase the recording time by 30 minutes. It can be set for up to 8
hours.
NOTES:
• Recording starts immediately when the REC/IRT button is pressed, whether you are watching
the same or a different channel.
• When the REC/IRT button is pressed 18 times, the VCR returns to the normal recording
mode.
• To stop the IRT operation, press the STOP button on the VCR or on the remote control.
• To show the remaining time, press the DISPLAY button on the remote control so that "IRT"
appears on the TV screen. (It will show up momentarily then disappear.)
• Recording stops when 0:00 is reached.
• Please note that in the SLP mode maximum recording time, assuming the tape is started at
the beginning, is 8 hours using T- 160 (or 6 hours using T-120).
• The TV that is connected to your VCR may be turned on or off during IRT.
• If the tape runs out before the end time, the VCR will switch to the Stop mode immediately,
eject the tape and turn power off.
TIMER RECORDING
AUTOMATIC TIMER RECORDING
You may set the VCR to start and end a recording while you are away. You can set seven


