6
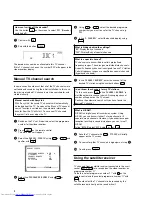
Confirm with
OK
. The following message will briefly
appear on the TV screen: '
ALLOCATED ON P01
'.
7
Then the sorting for the next highest programme number
will appear on the screen, e.g. '
ALLOCATE ON P02
'.
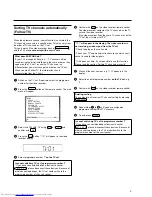
8
Using
Q
or
P
, select the saved TV channel that
you want to assign to this programme number, e.g. '
P02
'.
Deleting TV channels
Using
CLEAR (CL)
you can delete unwanted TV channels
or those with poor reception.
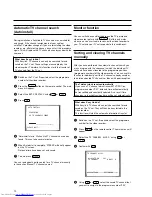
9
Confirm with
OK
. The following message will briefly
appear on the TV screen: '
STORED
'.
The main menu will appear on the screen
* After you have confirmed the last channel that can be
sorted, you will automatically return to the main menu since
no more TV channels can be assigned.
0
To assign other TV channels to a programme number,
repeat steps
7
to
9
.
A
Confirm the assignment of the TV channel with
MENU
.
B
To exit the main menu, press
MENU
.
Setting the time and date
If the display shows an incorrect time or '
--:--
', the time and
date must be reset manually.
If a TV channel which transmits TXT/PDC (teletext/PDC) is
stored under programme number 'P01', time/date will
automatically be taken from the TXT/PDC information.
(SMART CLOCK)
1
Switch on the TV set. If required, select the programme
number for the video recorder.
2
Press
MENU
on the remote control. The main menu will
appear.
3
Select line '
CLOCK
' using
P-
=
or
;
P+
and confirm
with
OK
.
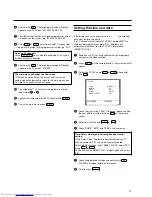
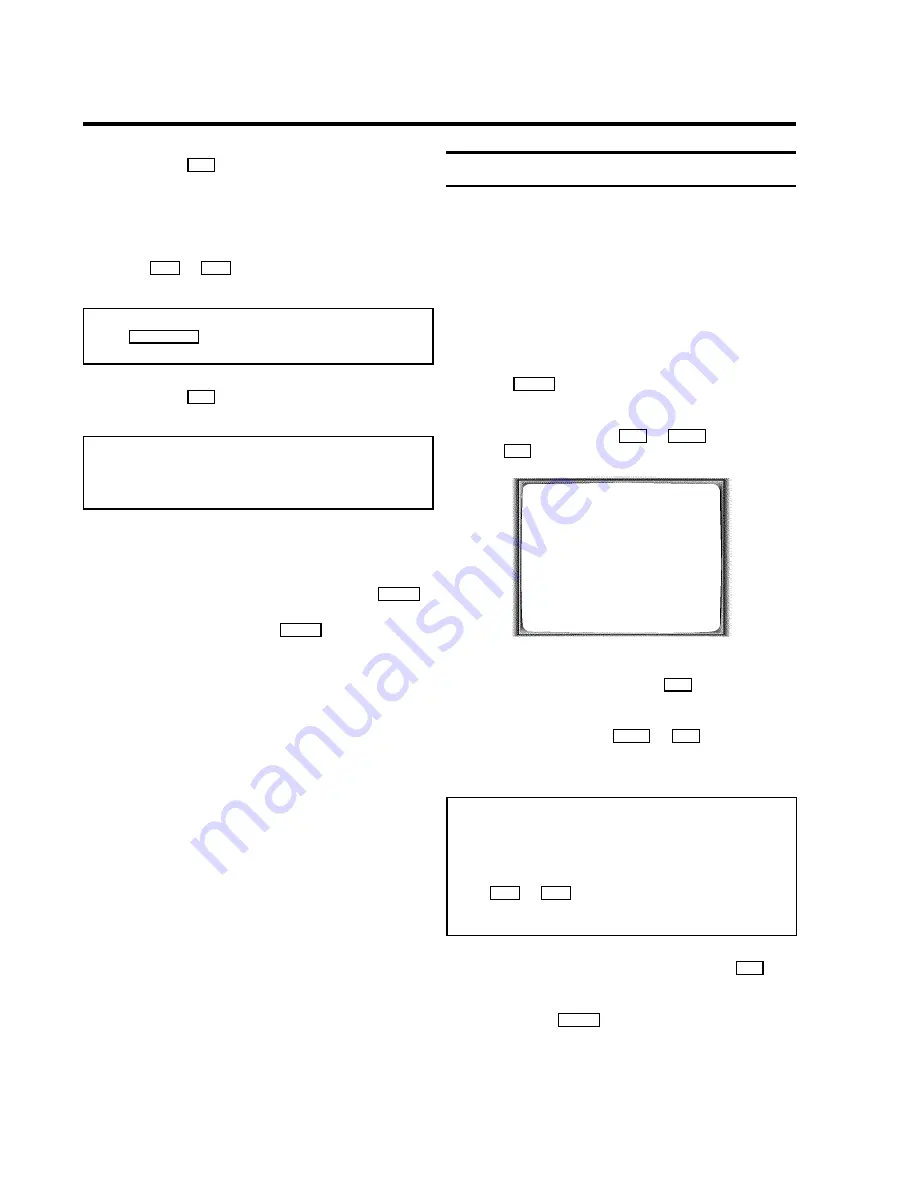
CLOCK
YEAR
è 2001
p
MONTH
01
DATE
01
TIME
20:00
SMART CLOCK
ON
________________________________
EXITpMENU
STOREpOK
4
Check the year in line '
YEAR
'. If required, please change
the year with the number buttons
0-9
on the remote
control.
5
Select the next line with
;
P+
or
P-
=
.
6
Check '
MONTH
', '
DATE
' and '
TIME
' in the same way.
Time/date is displayed incorrectly despite manual
setting
* With Smart Clock, time/date is transferred from the TV
channel saved on 'P01' and automatically corrected.
Switch off Smart Clock. In line '
SMART CLOCK
', select '
OFF
'
using
Q
or
P
.
You can switch on 'SMART CLOCK' again when you select
'
ON
'.
7
Check the displayed settings and confirm with
OK
.
'
STORED
' will appear briefly on the screen.
8
To end, press
MENU
.
11


