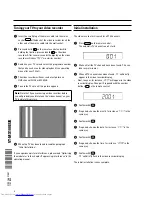
Tuning your TV to your video recorder
1
Insert the small plug of the mains cable into the mains
socket
4
at the back of the video recorder. Insert the
other end of the mains cable into the wall socket.
2
Press and hold
h
on the remote control and while
holding that button, press and hold
h
on the video
recorder. After several seconds the dipslay on the video
recorder will show ’
M583
’ or a similar number.
3
Switch on your TV set and select the programme number
that you have chosen for video playback (see operating
manual for your TV set).
4
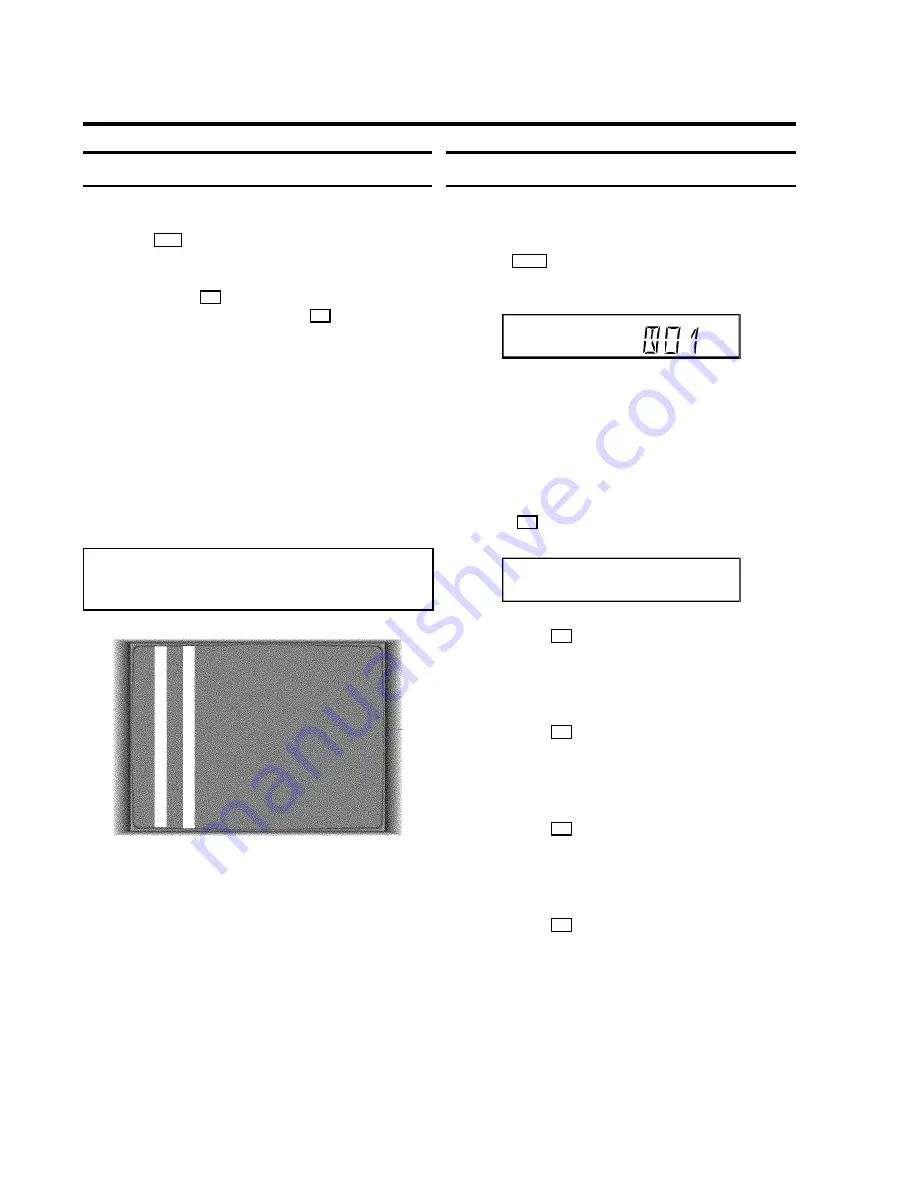
The video recorder will now send a testpicture on
UHF-channel CH35 or 583 MHz.
5
Tune in the TV set until this picture appears.
Note:
Note that if you were using a video recorder before,
you will probably need to retune the ’video channel’ on your
TV to obtain this picture.
6
When the TV has been tuned in read the paragraph
’Initial Installation’.
If you experience picture interference, please read ’Optimising
the modulator’ in the chapter ’Suppressing interference’ in the
operating manual.
Initial installation
The video recorder will search for all TV channels.
1
Press
MENU
on the remote control.
The automatic TV channel search starts.
2
Wait until all the TV channels have been found. This can
take several minutes.
3
When all TV channels have been found, ’
OK
’ will briefly
appear in the video recorder display.
•
Next, the year, for instance, ’
2001
’ will appear in the video
recorder display. Change it if required with the number
buttons
0-9
on the remote control.
2001
4
Confirm with
OK
.
5
If required, change the month, for instance ’
M 01
’ in the
same way.
6
Confirm with
OK
.
7
If required, change the date, for instance, ’
D 01
’ in the
same way.
8
Confirm with
OK
.
9
If required, change the time, for instance, ’
20:00
’ in the
same way.
0
Confirm with
OK
.
’
OK
’ will briefly flash in the video recorder display.
The initial installation is now complete.
2
3103
166
31591
1141/000
VT-MX100EUK
(WwnnNNNwwnwNNnwNWwnnWnNnwNwnwN)

