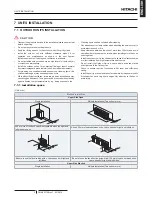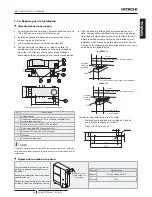
Suspended unit
Suspend the unit as the drawing
indicates.
Ensure that wall can resist the outdoor
unit weight indicated in specification label
plate.
It is recommended to select each foot
support to bear the full weight of the
unit (in order to consider stress fatigue
applied when unit is working too).
Wall bracket (*)
Anchor Bolts (*)
(*) field supplied
!
C A U T I O N
Pay attention to the following for installation:
Installation shall ensure that outdoor unit
will not incline, vibrate, make noise or fall
down by a blast of wind or in an earthquake.
Calculate quake-resistance strength to ensure
that installation is strong enough against
falling. Fix the unit with wires (field supplied)
when installing in a location without walls or
windbreak and likely exposed to a blast of
wind.
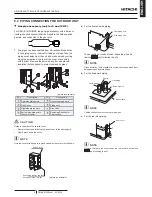
To use a vibration-proof mat, fix four places to
the front and back.
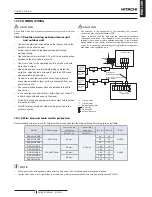
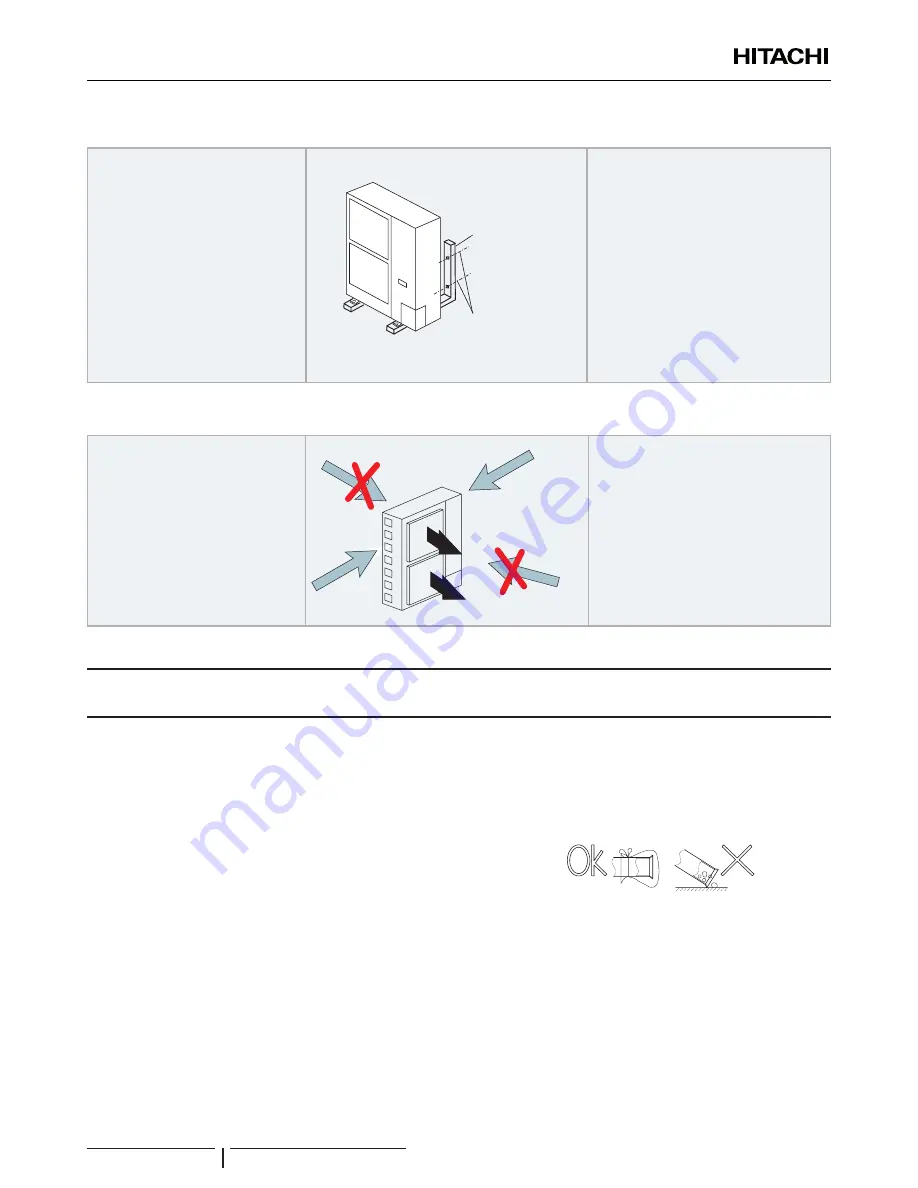
Installing location where the unit will be exposed to strong wind
follow the instructions below to install
on the rooftop or a location without
surrounding buildings, where strong wind
is expected against the product.
Choose a location where the outlet
or inlet side of the product will not be
exposed to strong wind.
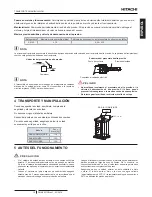
When the outlet is exposed to strong
wind:
Direct strong wind may cause lack
of air flow and adversely affect to the
operation.
!
C A U T I O N
Excessive strong wind against the outdoor
unit outlet may cause inverse rotation and
damage the fan and motor.
8 REFRIGERANT PIPING & REFRIGERANT CHARGE
8.1 PIPING MATERIALS
1
Prepare locally-supplied copper pipes.
2
Select the piping size with the correct thickness and correct
material which can have sufficient pressure strength.
3
Select clean copper pipes. make sure there is no dust and
moisture inside. Blow the inside of the pipes with oxygen
free nitrogen to remove any dust and foreign materials
before connecting pipes.
?
N O T E
• A system with no moisture or oil contamination will give maximum
performance and lifecycle compared to that of a poorly prepared
system. Take particular care to ensure all copper piping is clean and
dry internally.
• There is no refrigerant in the cycle of the indoor unit.
!
C A U T I O N
• Cap the end of the pipe when pipe is to be inserted through a hole.
• Do not put pipes on the ground directly without a cap or vinyl tape at
the end of the pipe
• If piping installation is not completed until next day or over a longer
period of time, braze off the ends of the piping and charge with
oxygen free nitrogen through a Schrader valve type access fitting to
prevent moisture and particle contamination.
• Do not use insulation material that contains NH3 because it can
damage cooper pipe material and can be a source of future leakage.
• Completely insulate both refrigerant gas piping and liquid piping
between the indoor unit and the outdoor unit.
• If not insulated, dew will ocur on the piping surface
rEfrIGErAnT PIPInG & rEfrIGErAnT CHArGE
PMML0372B rev.1 - 03/2016
8


