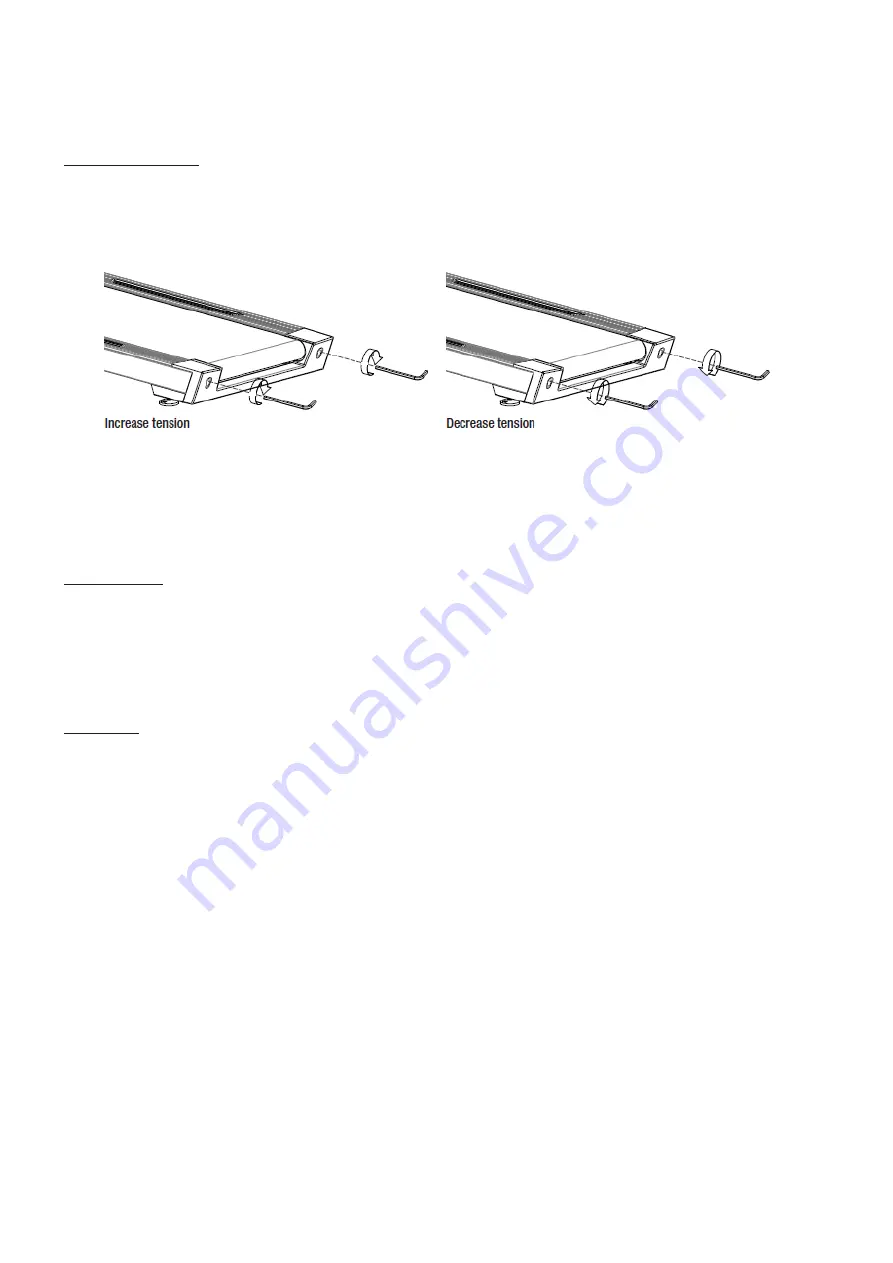
Centering the belt
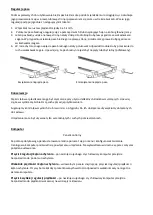
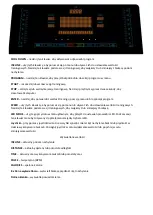
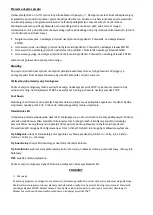
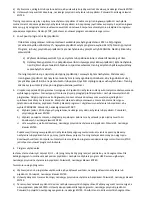
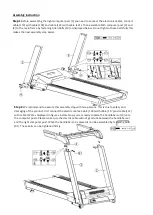
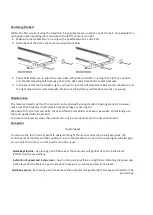
Within the first weeks of using the treadmill, it is possible that you need to centre the belt. For example this
can happen when applying more pressure to the left foot over your right:
1.
Make sure the treadmills are running with a speed between 3 and 5 KPH.
2.
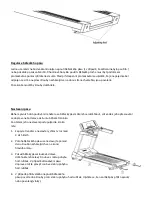
At the back of the frame there are two adjustment bolts.
3.
These bolts allow you to adjust the rear roller. When the treadmill is running to the left, you need to
turn the left adjusting bolt clockwise on and the right adjustment bolt counter clockwise.
4.
In the event that the treadmill is right, you have to turn the left adjustment bolt counter-clockwise and
the right adjustment screw clockwise. Make sure the belt stays well tensioned and is not waving.
Maintenance
The metal and plastic parts of the product can be cleaned by using standard cleaning products. However,
make sure that all parts are completely dry before they are used again.
We advise to fasten nuts and bolts, check and fasten pivot points once every six weeks. For fastening use
the tool supplied with the product.
To prevent unnecessary wear, the product can only be used indoors and in a dry environment.
Computer
Control panel
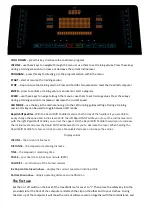
You can use the touch control panel to navigate thought the menus and setup training exercises. The
control panel of this item will light up after you turn the treadmill on. The control panel lights will also give
you an indication of your current speed and incline level.
Quick keys incline
-
By pressing one of these keys the computer will go directly to the incline level
indicated on the pressed key.
Indication of speed and incline level
- Next to the quick keys there are light bars indicating the speed and
incline level. With a blink an eye you are able to see your current speed and incline level.
Quick key speed -
By pressing one of these keys the computer will go directly to the speed indicated on the
pressed key.

