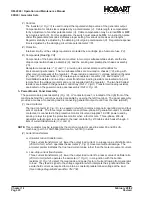
c. Installing Output Cables
Units are generally shipped without generator set-to-aircraft cables.
(1)
Three-phase, AC output cable assembly installation.
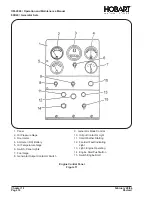
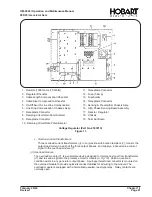
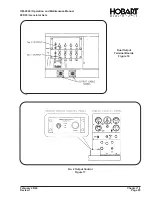
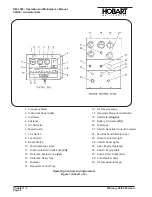
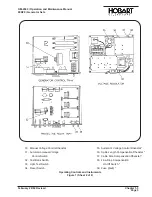
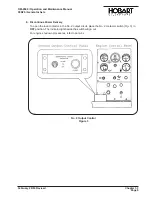
The AC output terminal panel is located on the left side, below the generator control box.
(See
Fig. 2)
.
a. Open left front canopy door and loosen cable clamp screws at cable horn.
b. Route cables through cable horn and clamp and upward to terminal board.
NOTE: Conductor size recommended for AC output is 2/0. Use No. 12 size for control (E and F
terminals).
Large cables
(A, B, C, N)
should be equipped with terminals having at least a 3/8-inch
diameter mounting hole. Mounting hole in small leads
(E and F)
should be at least 1/4 inch
diameter.
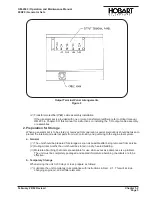
c. Each terminal stud is identified by an identification plate. Each cable should be identified by a
band-type marker. Connect cable “A” to “A”, “B” to “B”, etc. Tighten terminal nuts securely.
Connect small plug interlock lead “E” or “F” to terminal “E” or “F” respectively.
d. Tighten clamp screws securely, but avoid damage to cable insulation.
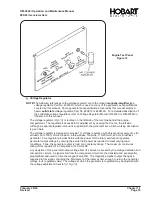
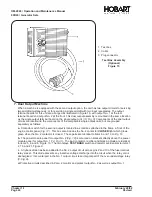
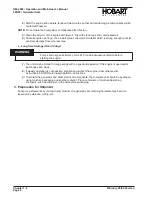
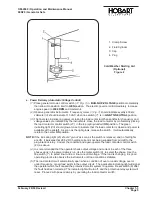
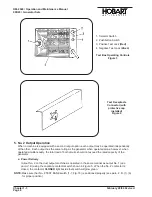
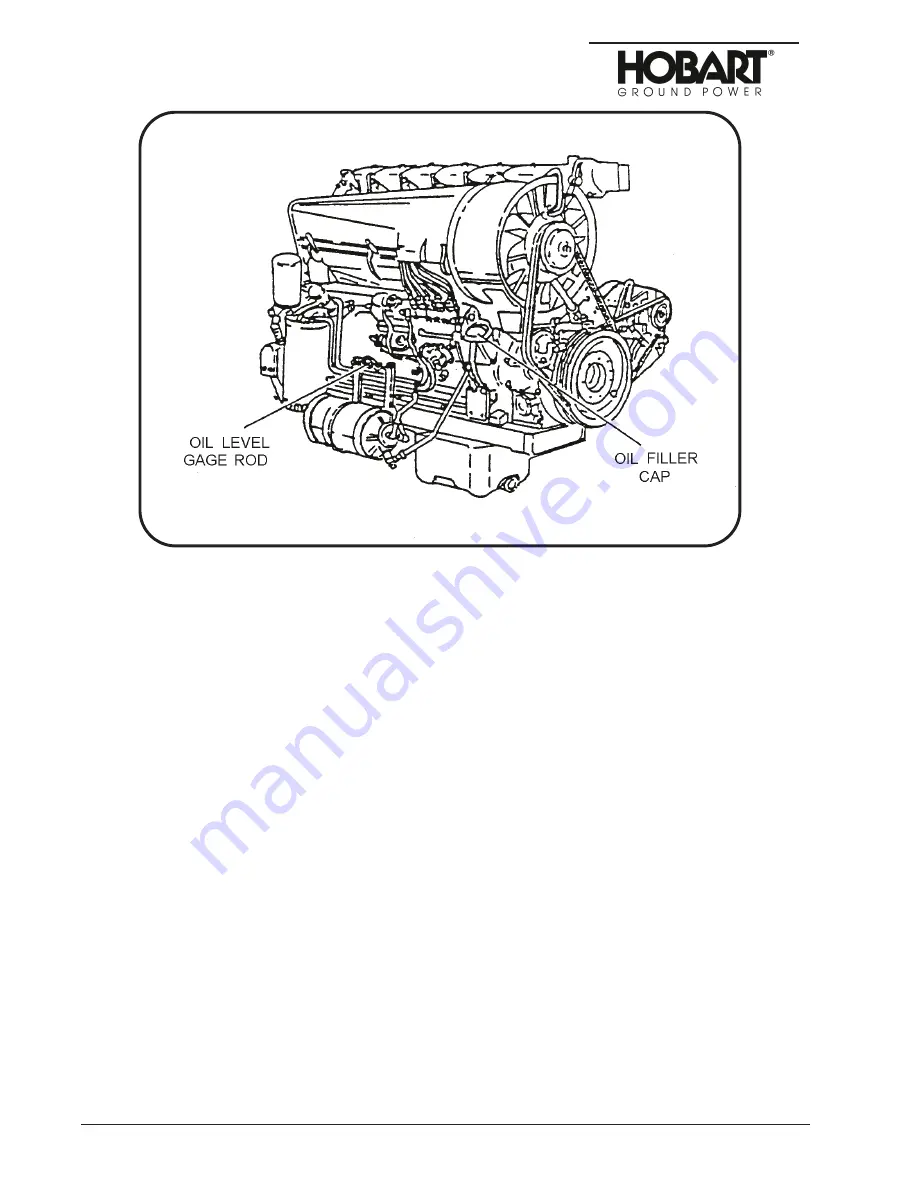
Engine Oil Gage Rod and Filler Cap
Figure 1
OM-2040 / Operation and Maintenance Manual
90D20 / Generator Sets
Chapter 1-2
February 28/94 Revised
Page 2
Summary of Contents for 6921 Series
Page 2: ...This page intentionally left blank ...
Page 223: ......
Page 224: ......
Page 225: ......
Page 226: ......
Page 227: ......
Page 228: ......
Page 229: ......
Page 230: ......
Page 231: ......
Page 232: ......
Page 233: ......
Page 234: ......
Page 235: ......
Page 236: ......
Page 237: ......
Page 238: ......
Page 239: ......
Page 240: ......
Page 241: ......
Page 242: ......
Page 243: ......
Page 244: ......
Page 245: ......
Page 246: ......
Page 247: ......
Page 248: ......
Page 249: ......
Page 250: ......
Page 251: ......
Page 252: ......
Page 253: ......
Page 254: ......
Page 255: ......
Page 256: ......
Page 257: ......
Page 258: ......
Page 259: ......
Page 260: ......

