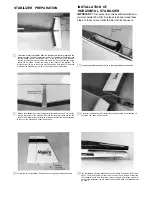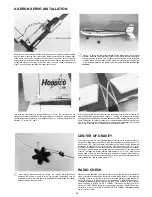
Using the same scrap of plywood apply an even coat of epoxy to the top and
bottom of the horizontal stabilizer in the area where you removed the covering
INSTALLATION OF
VERTICAL STABILIZER
Now if we have done a good job with the wing-stabilizer relationship the
installation of the rudder should be easy The vertical stabilizer needs to be
at 90° to the horizontal stabilizer and the horizontal stabilizer is parallel to
the wing A drafting triangle would be helpful here
Looking into the fuselage vertical stabilizer slot apply some epoxy to the top
surface of the horizontal stabilizer that is visible inside the fuselage
Slide the stabilizer into the slot from the rear This fit should be close but not tight
Using a ruler (12 ) check to see if you have equal distance from the center of the
tail to the outside edge of the stab Now using the string explained in the stabilizer
preparation section adjust the stabilizer so it is 90° to the center line of the
fuselage
Mix a small batch of epoxy and apply it to the area inside the fuselage on the
surface of the exposed wood Apply an even coat to the vertical stabilizer base
where you removed the covering Insert the vertical stabilizer into the slot and
push down until the stabilizer stops
Now view the stabilizer wing relationship from behind with the plane resting on
a level surface (see photo above) Distance "x" should be the same If not shim
the stabilizer using a small silver of wood to get the proper relationship Let the
epoxy cure thoroughly
Using the triangle check to see if the rudder is 90 to the horizontal stabilizer
If so a couple of straight pins will hold the rudder in position until the epoxy cures
10
Summary of Contents for avistar 40
Page 20: ......


