WING JOINER INSTALLATION
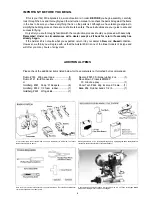
Using the wing joiner assembled in Step 1 of pre assembly insert the wing joiner
into the wing panel temporarily Also install the wing #43 alignment peg as
shown Do not glue at this time
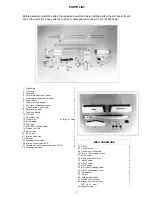
When you are satisfied with the fit of the wing joiner remove the wings from the
joiner Mix a batch of 30 minute epoxy and using the right wing panel (has Avistar
on top) smear the inside of the right wing joiner pocket with a heavy coat of
epoxy Also coat half of the wing joiner with epoxy and push into the wing )oiner
pocket Coat half of the wing alignment peg with epoxy and insert it into the hole
at the rear of the wing root Clean the epoxy from the wing root to prevent epoxy
build up Allow the epoxy to cure
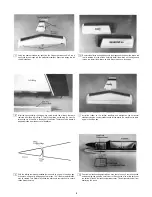
Slide the other wing panel onto the wing joiner Slide the two wing halves
together Check for proper alignment There should be no gap between the wing
halves If there is trim the end of the wing joiner slightly to allow proper fit Do
not glue at this time
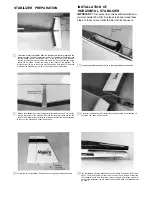
Mark the location on the bottom of the wing where the wing joiner is installed
The wing should form a "V" when assembled as shown The top of the wing has
lettering on it
When the epoxy has cured you may proceed to join both wing panels together
Mix a batch of epoxy and heavily coat the wing joiner pocket of the left wing Also
apply an even coat of epoxy on both wing roots Be sure to cover the whole wing
root When satisfied with the gluing slide the wing panels together and check
for fit Wipe excess glue from the joint IsopropyI alcohol works well for this It
is best to use masking tape to hold the wing halves together until the epoxy
cures
Summary of Contents for avistar 40
Page 20: ......


