background image

❏ 

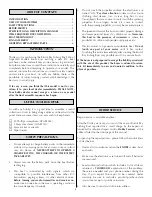
3. Insert the front mast into the round opening in front of

the radio compartment. Gently twist it so that the lights are
facing toward the front of the boat.

❏ 

4. Insert the rear mast into the round opening at the rear of

the radio compartment opening. Gently twist the mast so that
the running light is toward the port (left) side as shown. 

Note:

Be sure that the receiver antenna is inserted into the rear mast
before inserting the mast into the opening.

❏ 

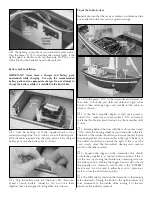
5.  Each  rigging  line  and  coupler  has  been  numbered.

Gently  screw  together  the  rigging  couplers  as  shown  in
numerical  sequence  (i.e.  #1  line  connects  to  #1  rigging
coupler, the #2 line connects to the #2 coupler etc...). 

Note:

The numerical sequence in the photos may not match those
of your model.

❏ 

6.  Each  lighting  plug  and  battery  connector  has  been

numbered. Plug them into their respective battery connectors.

Note: The  connectors  only  fit  together  one  way  and  the
numerical  sequence  in  the  photos  may  not  match  that  of
your model.

Lighting System Battery Installation

❏ 

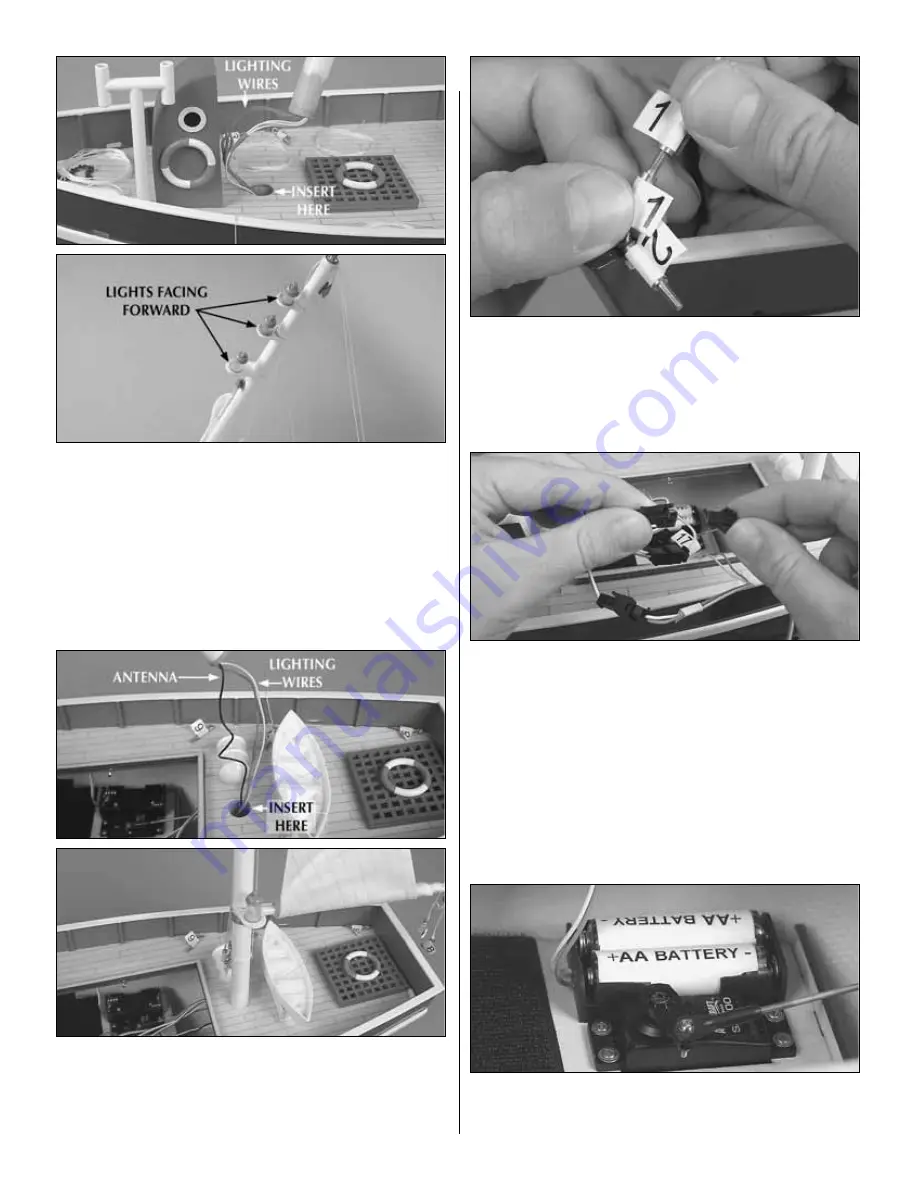
1.  Install  two  (2)  new  “AA”  batteries  into  the  lighting

system battery holder as shown. Be sure to follow the positive
(+) and negative (-) pattern molded into the battery holder.

4

Summary of Contents for Bristol Bay

Page 1: ...ou bought your model It is your proof of purchase and we must see it before we can honor the warranty To return your Bristol Bay Fishing Boat for repairs covered under warranty you should send your bo...

Page 2: ...the same frequency channel Do not touch the propeller anytime the electronics are turned ON Pay close attention to items such as loose clothing shirt sleeves ties scarves long hair or any loose object...

Page 3: ...ides out it is not installed properly 2 Slide off the battery door on the bottom of the transmitter Install eight 8 new AA batteries into the bottom of the transmitter in the configuration molded into...

Page 4: ...been numbered Gently screw together the rigging couplers as shown in numerical sequence i e 1 line connects to 1 rigging coupler the 2 line connects to the 2 coupler etc Note The numerical sequence i...

Page 5: ...arboard right cabin hooks to their retaining rings and carefully set the cabin in place as shown 2 If the boat s propeller begins to spin once power is turned ON make sure your transmitter is ON and s...

Page 6: ...and check for proper operation before running the boat in water Launch Procedure 1 Turn the power ON to the transmitter and receiver in that order 2 Gently place the boat in water that is at least 8...

Page 7: ...quires 40 to 46 size engine 2 channel radio propeller AquaCraft Models Nitro Hammer GP RTR HCAB26 Fully assembled with fiberglass deck and hull FREE engine video with tips for tuning and maintenance S...

Page 8: ...motor forward only ESC NiMH battery and a 2 hour AC wall charger Bury the throttle and let the direct drive system send you screaming across the water Go for a turn and you ll enjoy rapid fire respon...

Reviews: