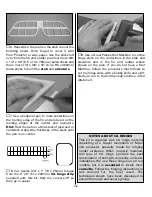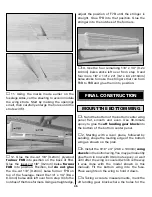
plan. Drill 1/16" [1.6mm] holes for the control
horn screws. Run the #2 x 3/8" [9.5mm] screws
in and out of the control horn mount, remove
the screws, then add a few drops of thin CA to
the holes and allow to fully harden. Mount the
control horn and hook up the aileron. Make
adjustments where necessary.
Other than final-sanding (which will be done
after the outer panels are joined to the center
panel), the outer panels are now completed. You
know the routine…return to the beginning and
mount the servos and finish the wing tips on
the remaining three outer panels the same way.
❏
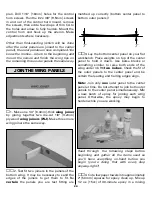
1. Make one 1/4" [6.4mm]-thick
wing joiner
by gluing together two die-cut 1/8" [3.2mm]
plywood
wing joiners (WJ)
. Make three more
wing joiners the same way.
❏ ❏
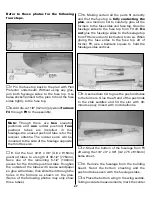
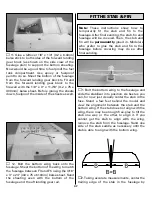
2. Test fit two joiners in the panels of the
bottom wing. It may be necessary to sand the
edges of the joiners to get them to fit. Be
certain
the panels you are test fitting are
matched up correctly (bottom center panel to
bottom outer panels)!
❏ ❏
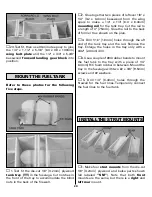
3. Lay the bottom center panel on your flat
workbench. Place weights on top of the center
panel to hold it down. Use balsa blocks or
something similar to raise both ends of the
wing under rib R6
two inches
. Check the fit of
the outer panels to the center panel and be
certain the leading and trailing edges align.
Note:
Join only
one
outer panel to the center
panel at time. Do not attempt to join both outer
panels to the center panel simultaneously. Mix
a new batch of epoxy for joining each wing
panel. Otherwise, the epoxy may begin to
harden while you are working.
Read through the following steps before
beginning and gather all the items used so
you’ll have everything on-hand before you
begin (you’re doing that with every step
anyway–right?)
❏ ❏
4. Cut a few paper towels into approximately
2" [50mm] squares for epoxy clean up. Mix up
1/2 oz. [15cc] of 30-minute epoxy in a mixing
JOIN THE WING PANELS
24
Summary of Contents for Dynaflite S.E.5a
Page 9: ...9 Die Drawing...
Page 10: ...10 Die Drawing...


